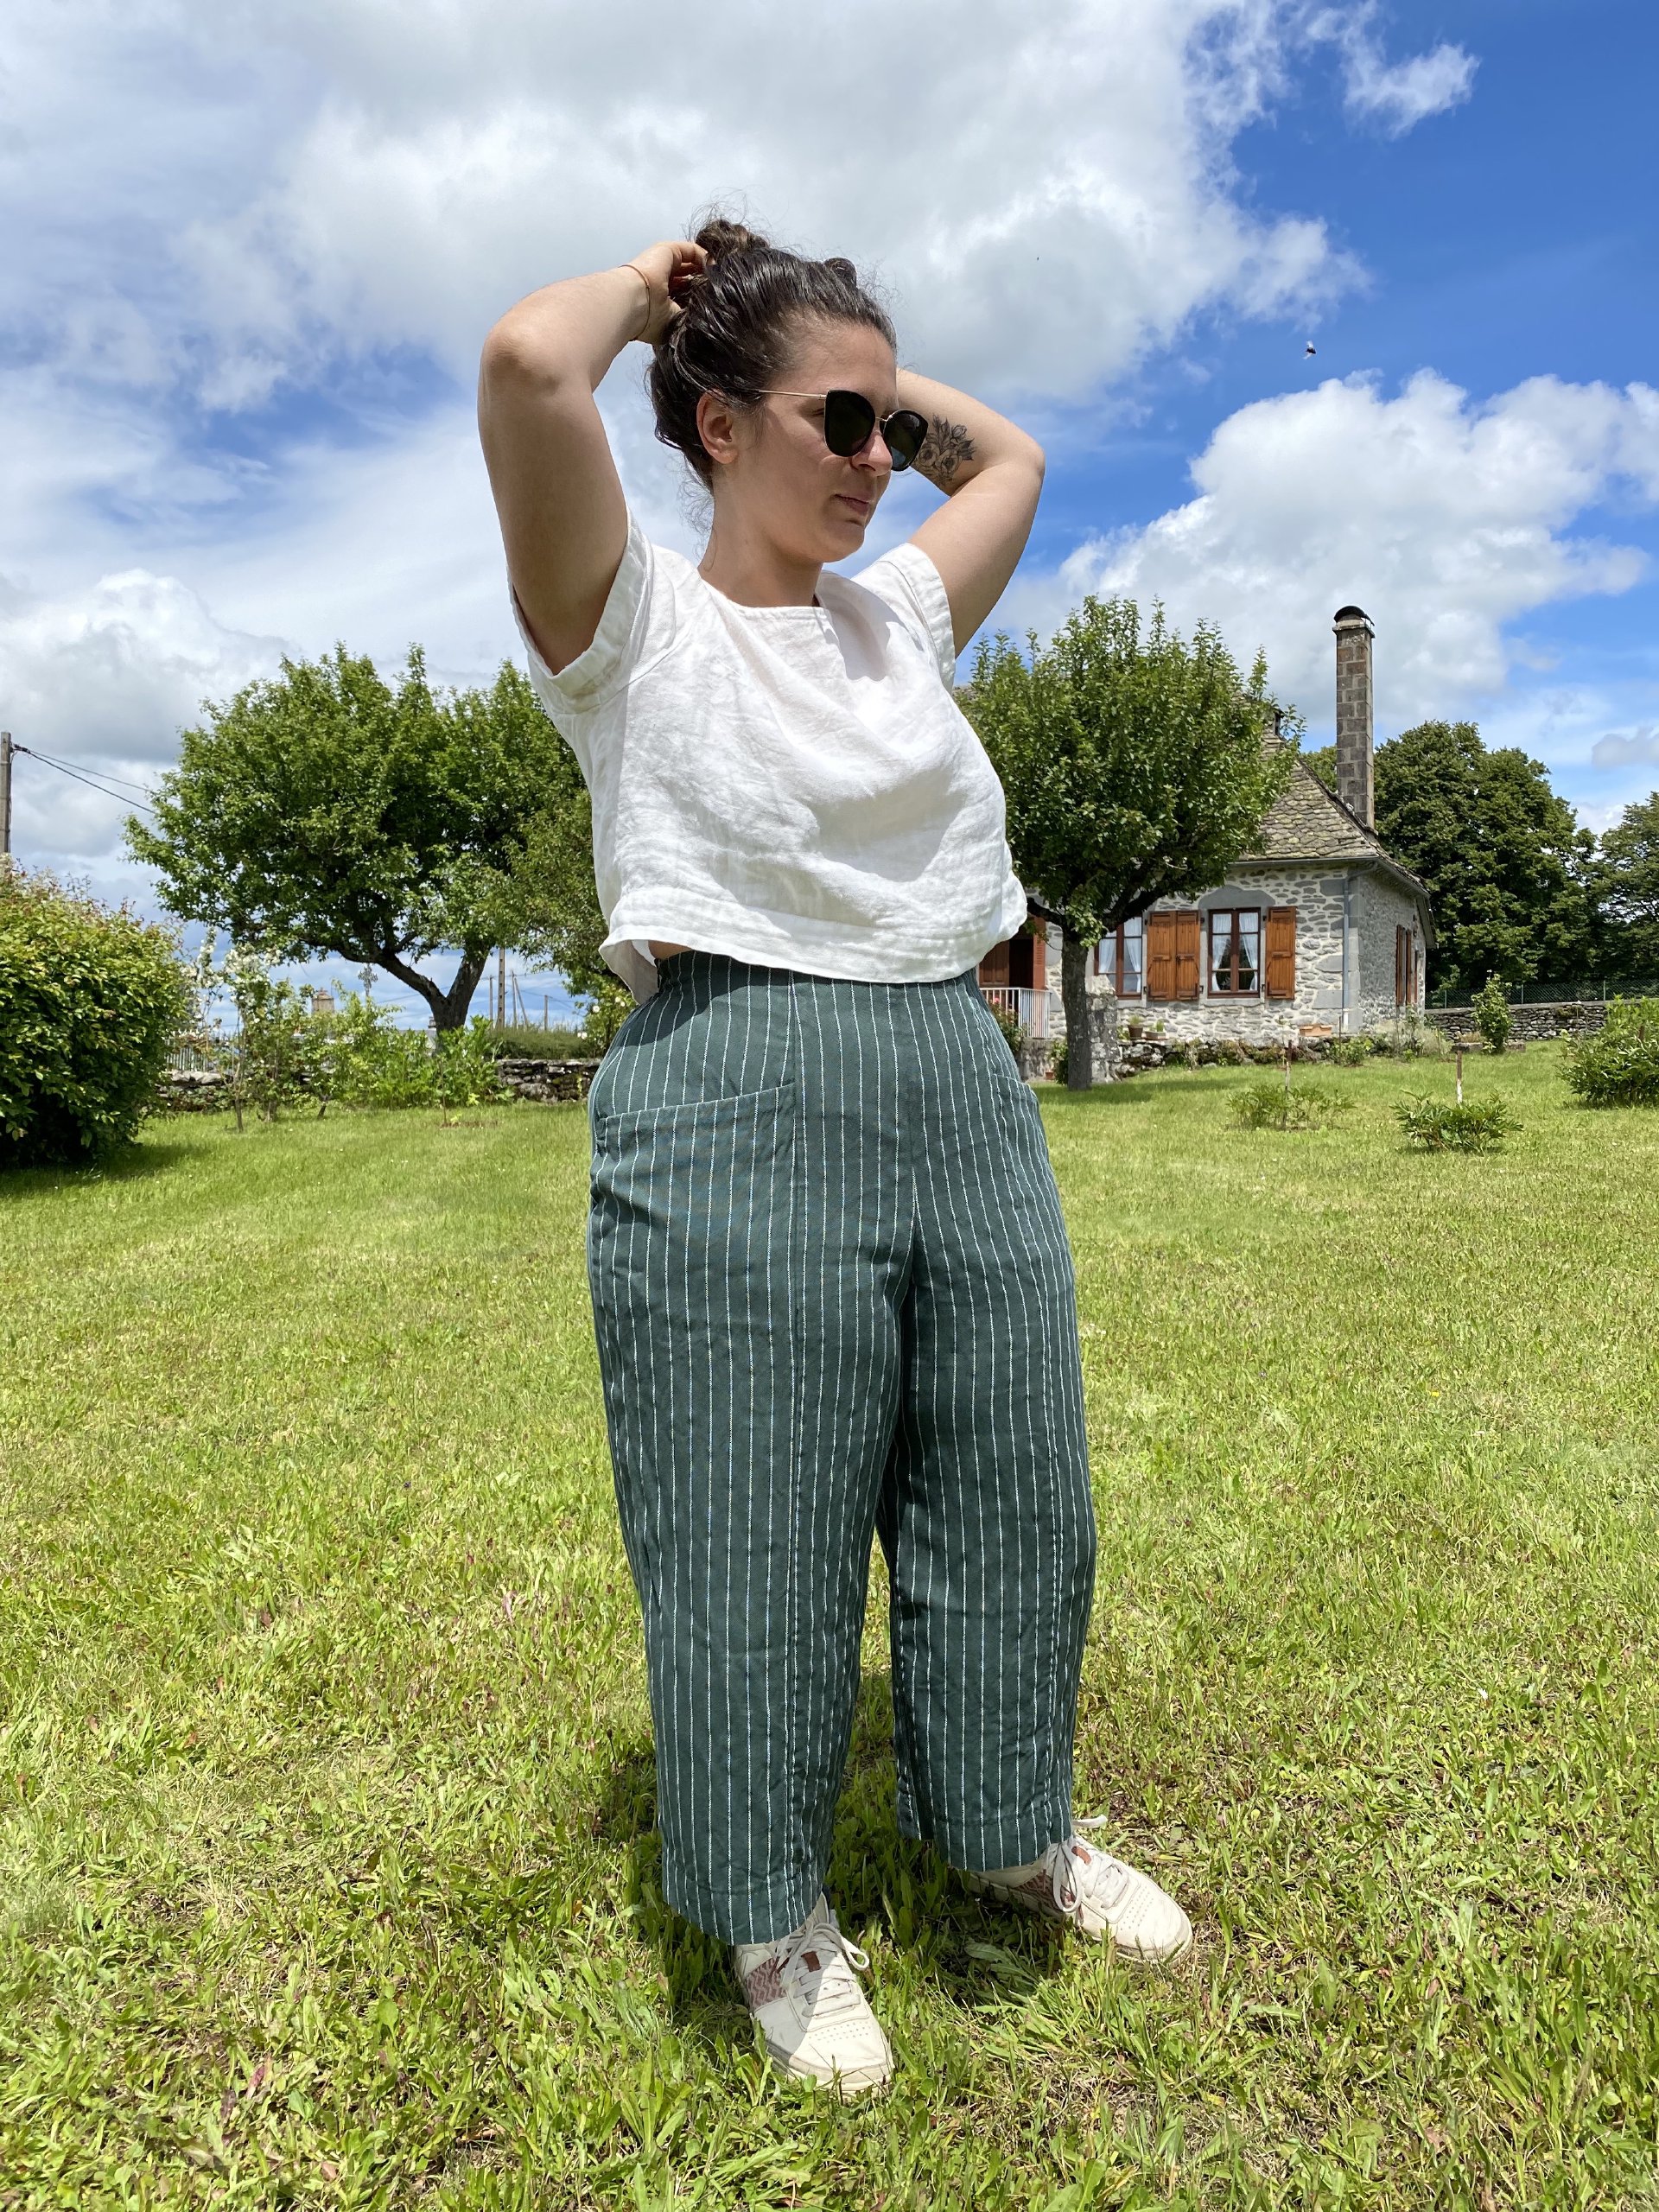
As I told you on my Cielo article, I fell for Pietra, from Closet Core’s Rome collection, as soon as I laid eyes on it.
I didn’t buy it right away, I let it sit in my mind (and I had other things on my to-make list). But after a few months, I still liked it a lot, so I gave in, and bought the paper version at Metermeter (I don’t like assembling PDF for pants… So many pieces, so little time…)
Pietra pants, from Closet Core Patterns
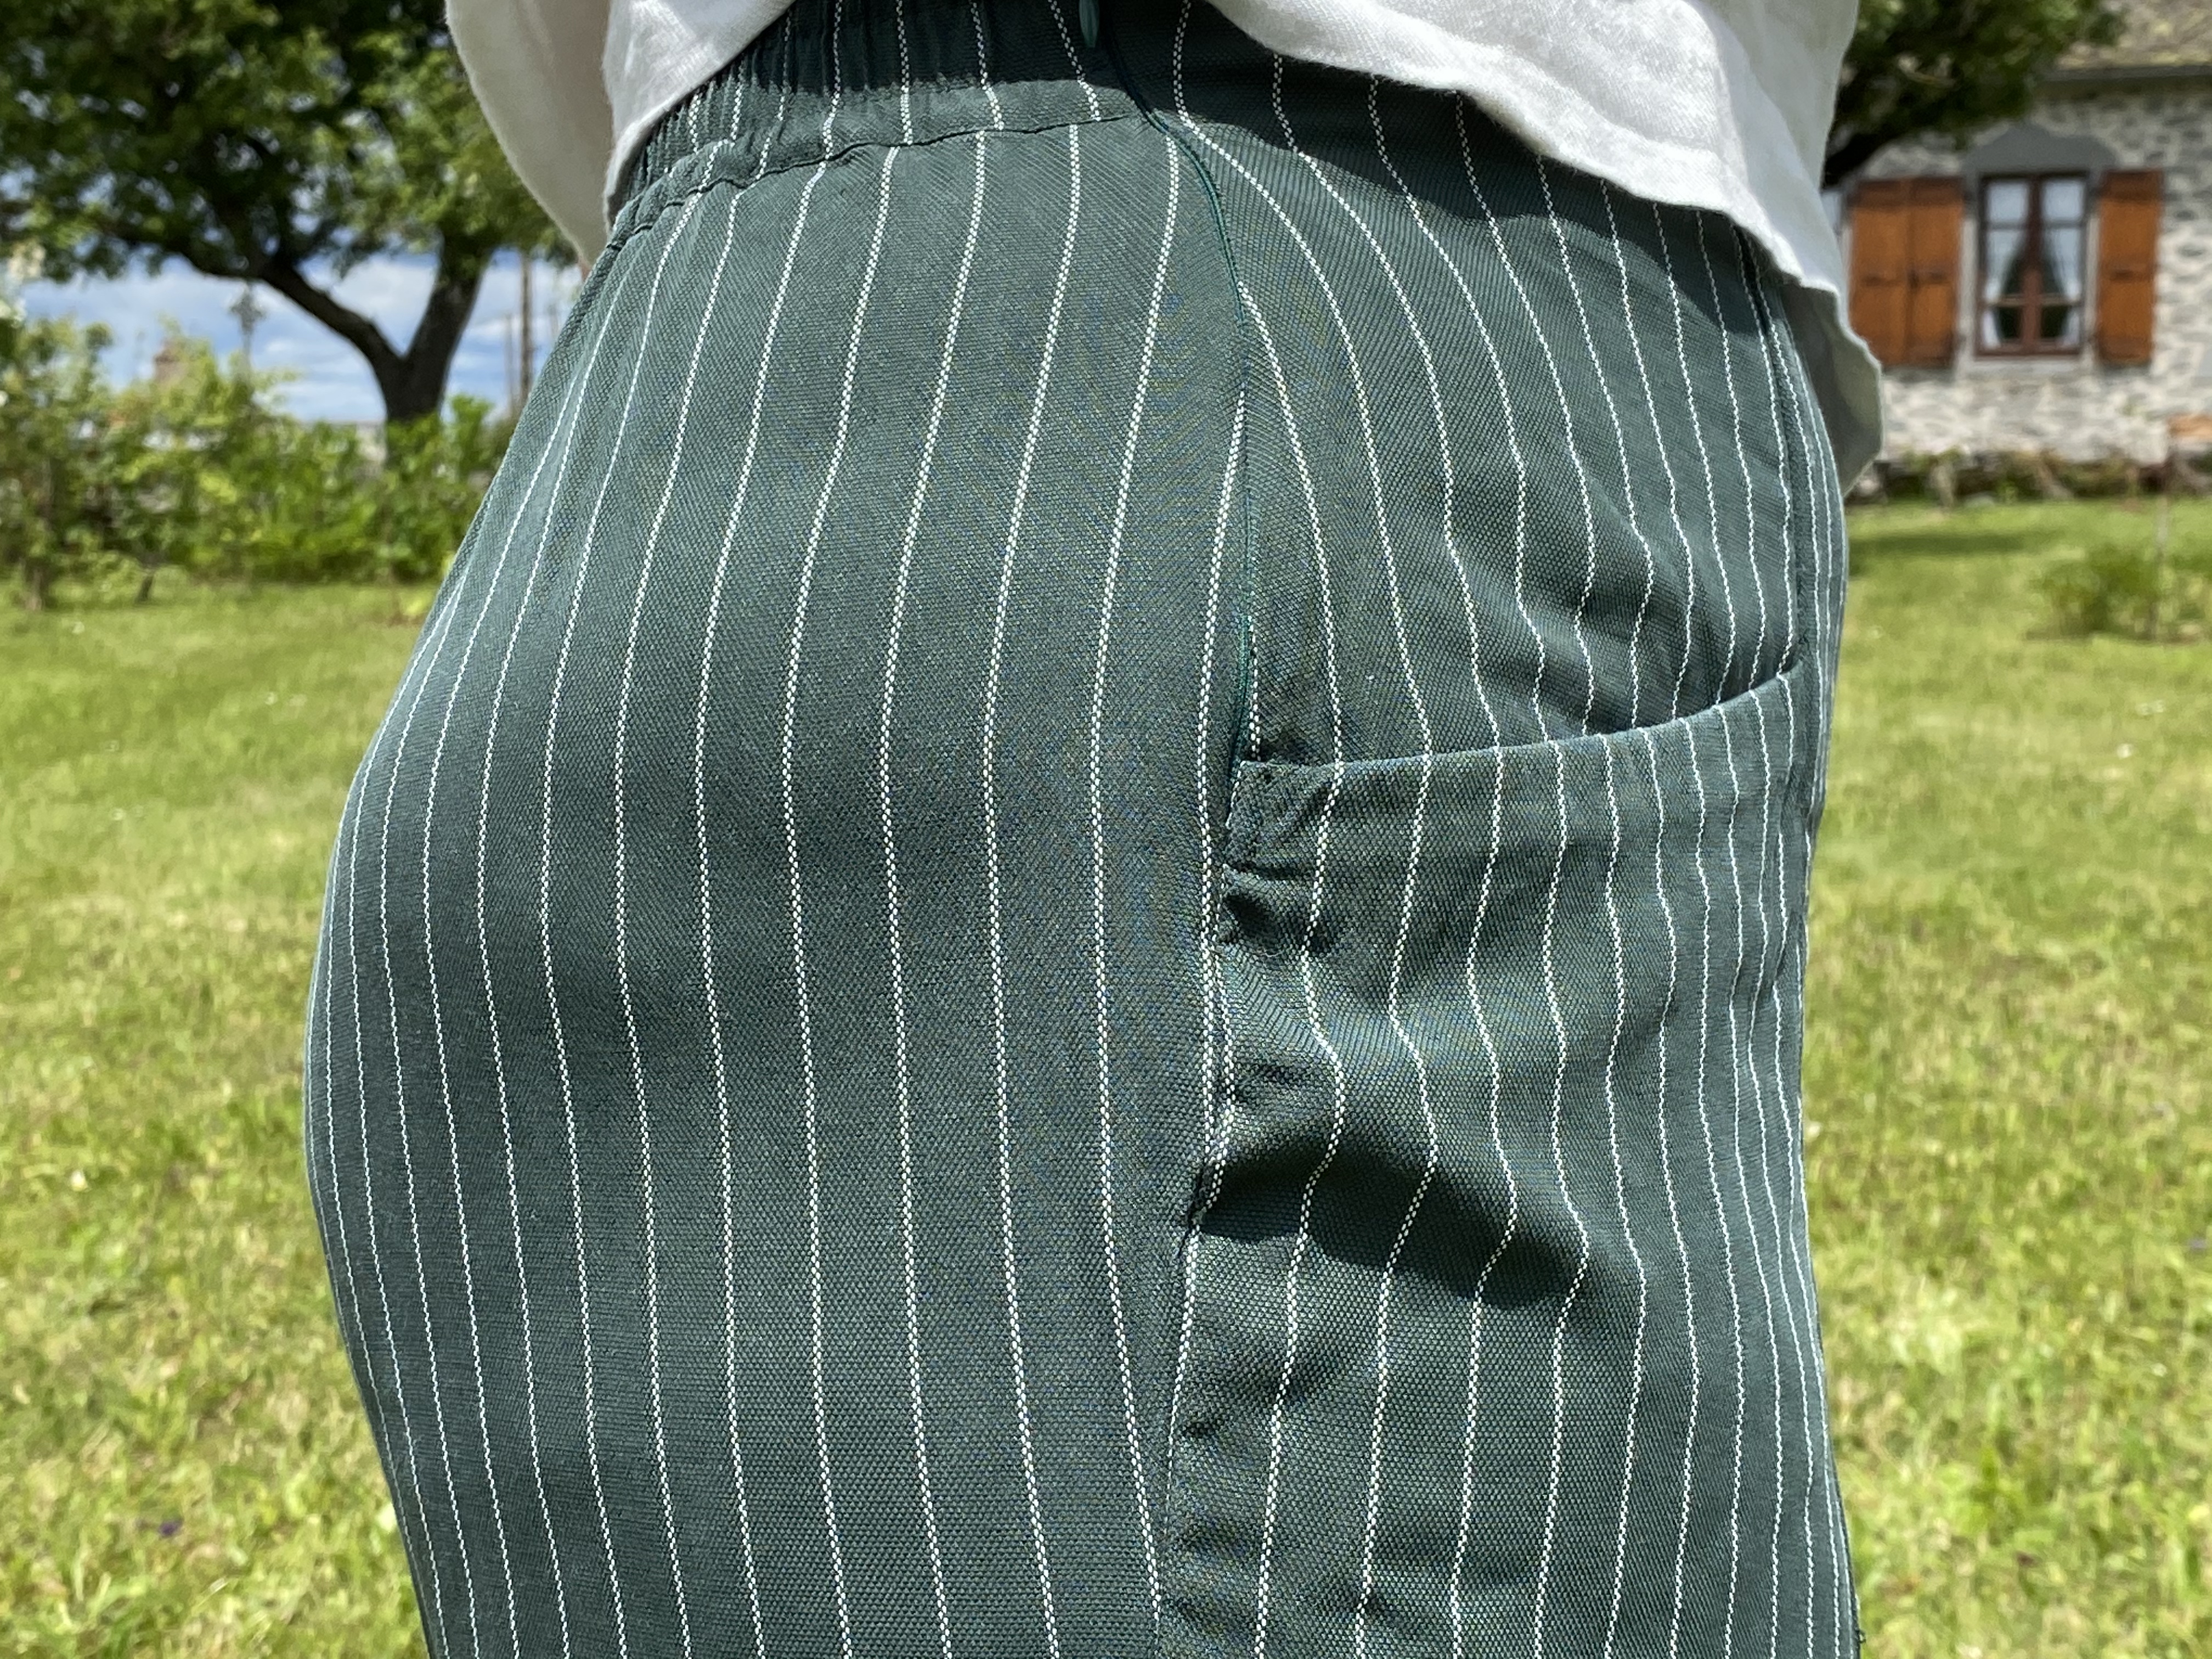
Pietra is a pants/shorts pattern, high-waisted, with a very graphic feel to it thanks to the angled pockets and an elasticated back for comfort. You can make a wide or or more tapered version, long or cropped or short length.
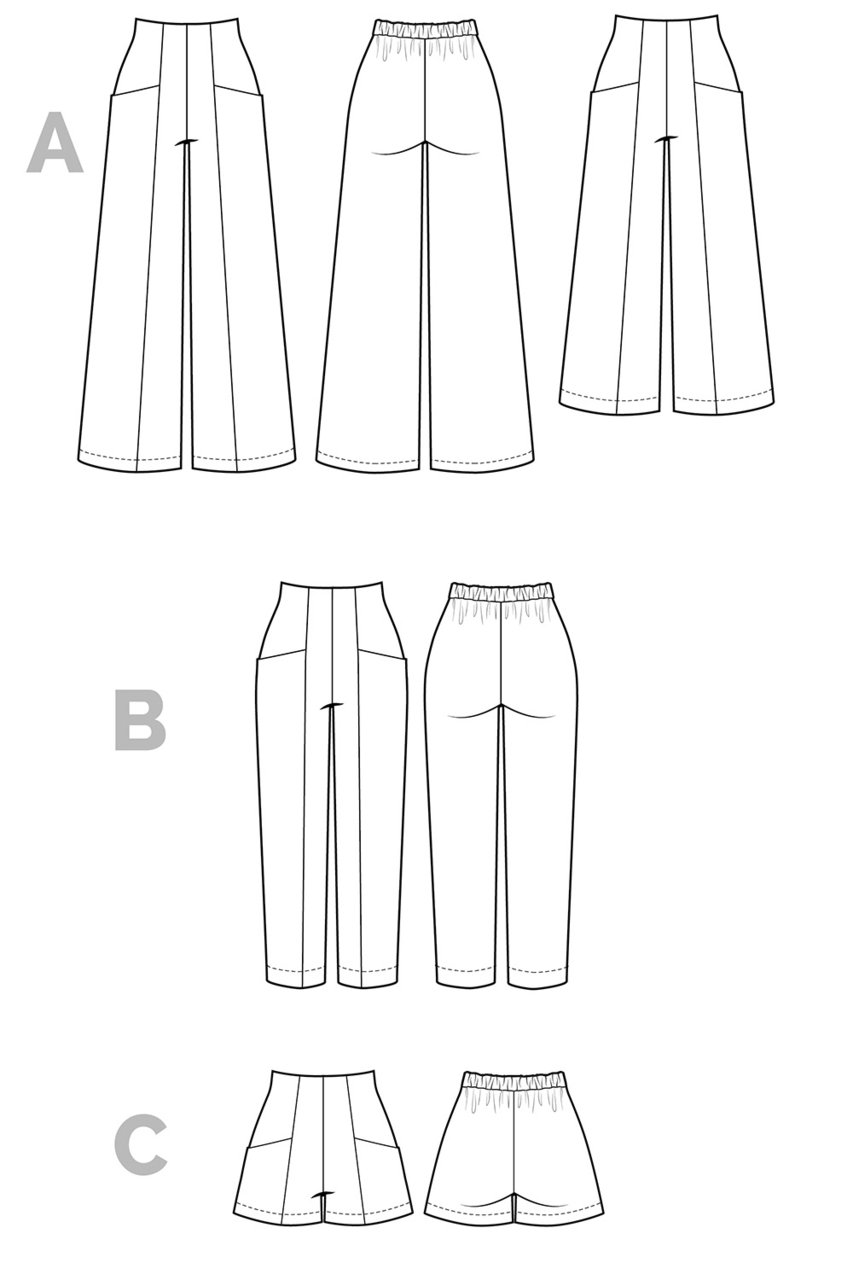
If you read my previous article, you know that I live for wide legged pants in the summer. What really struck me with this pattern are the pockets, and the flat feel of the front.
It’s really different in terms of assembling than Megan’s Flint pants: more pieces and more complex, especially when you need to blend multiple sizes (and when you assemble the pockets the wrong way round the first time)(like me).
Even though I liked these pants very very much, I struggled to get started. As you may know, I have quite a big waist to hip ratio, and elasticated pants are always a pain for me, and I knew that with Pietra, I would have to throw a zipper in the mix if I hoped to be able to put it on. For the record, my waist is 77cm and my hips are 113cm, so quite a difference here.
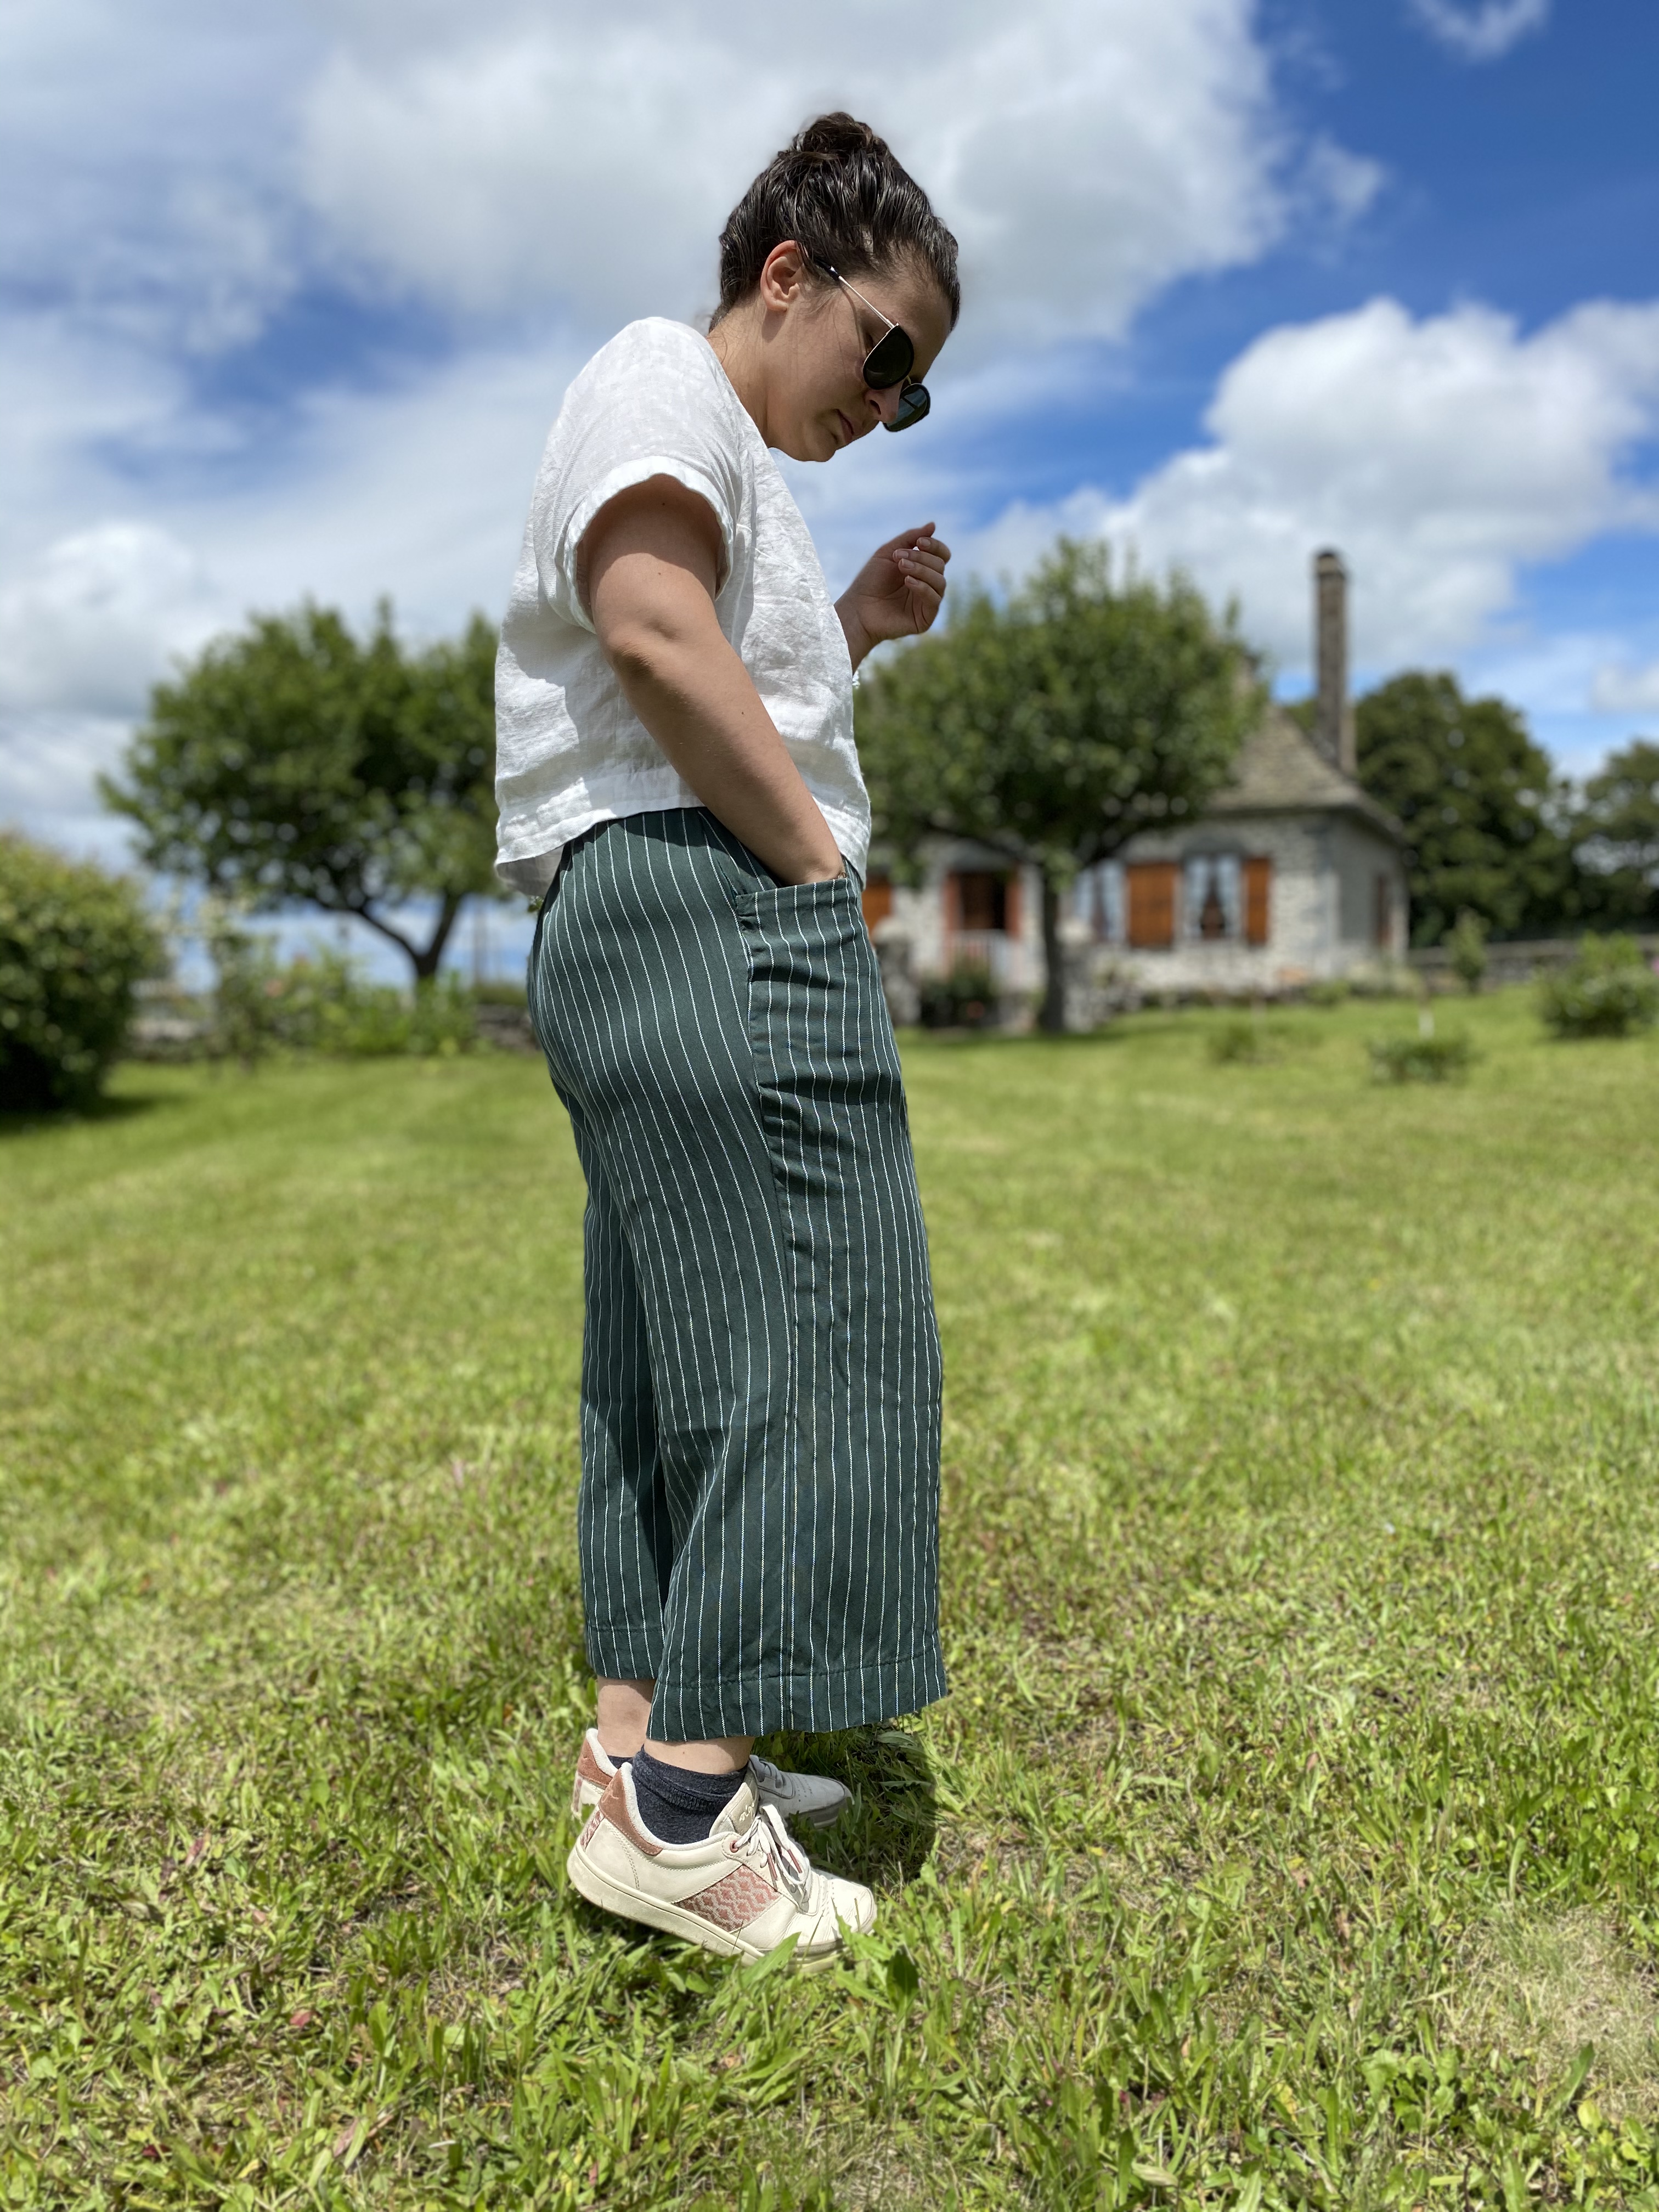
My version
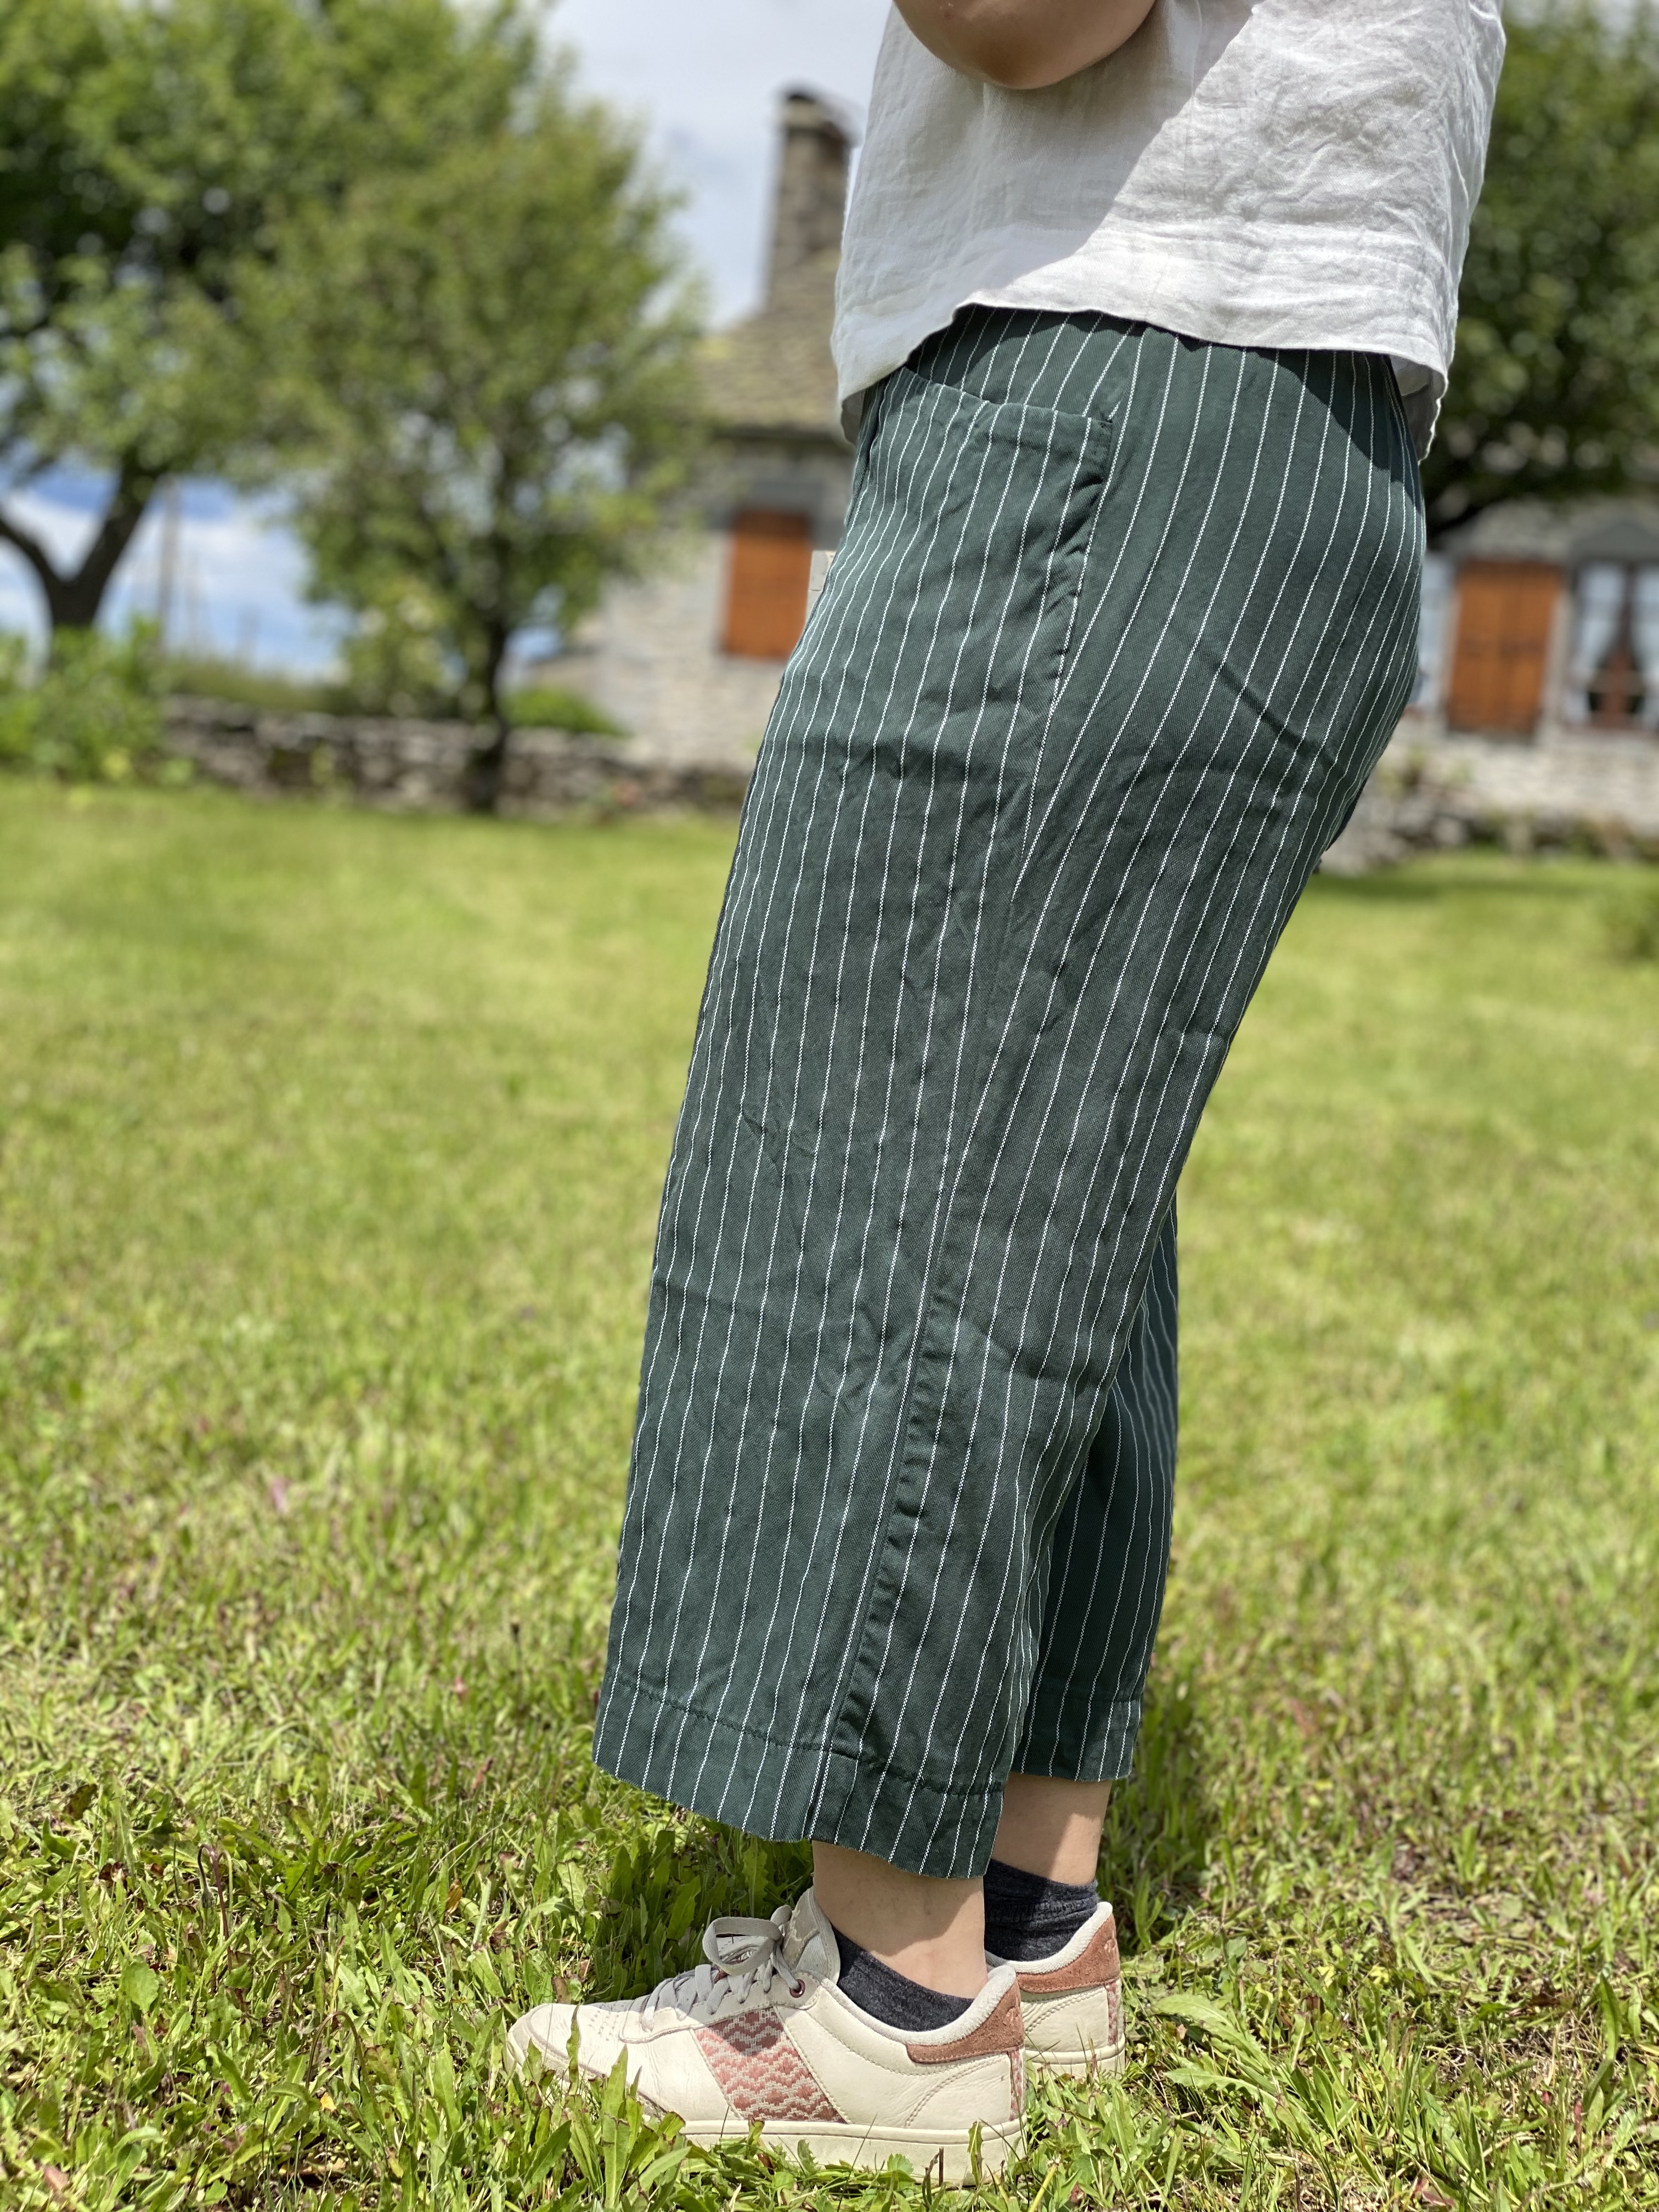
I chose the wide legged, cropped length version.
Fabric
For this make I chose a forest green tencel with white thin stripes, from Meet Milk. I looooved this fabric (also it tends to fade with wear). This fabric was perfect for Pietra: not too thin, but really flowy and drapey and gives a light fresh feel against the skin. The only downside is that it creases and needs to be ironed (I know I probably already said this, but I hate ironing, ugh). I also used elastic and a zipper from my stash.
Sizing
I didn’t escape muslin making here… And I’m really glad I did one. I chose size 12 for my waist and 18 for my hips, but it ended up being too big at the waist, so I sized down to size 10 for my final version. It’s perfect like this (and I still have a bit of wiggle room).
Actually making the thing
Blending sizes
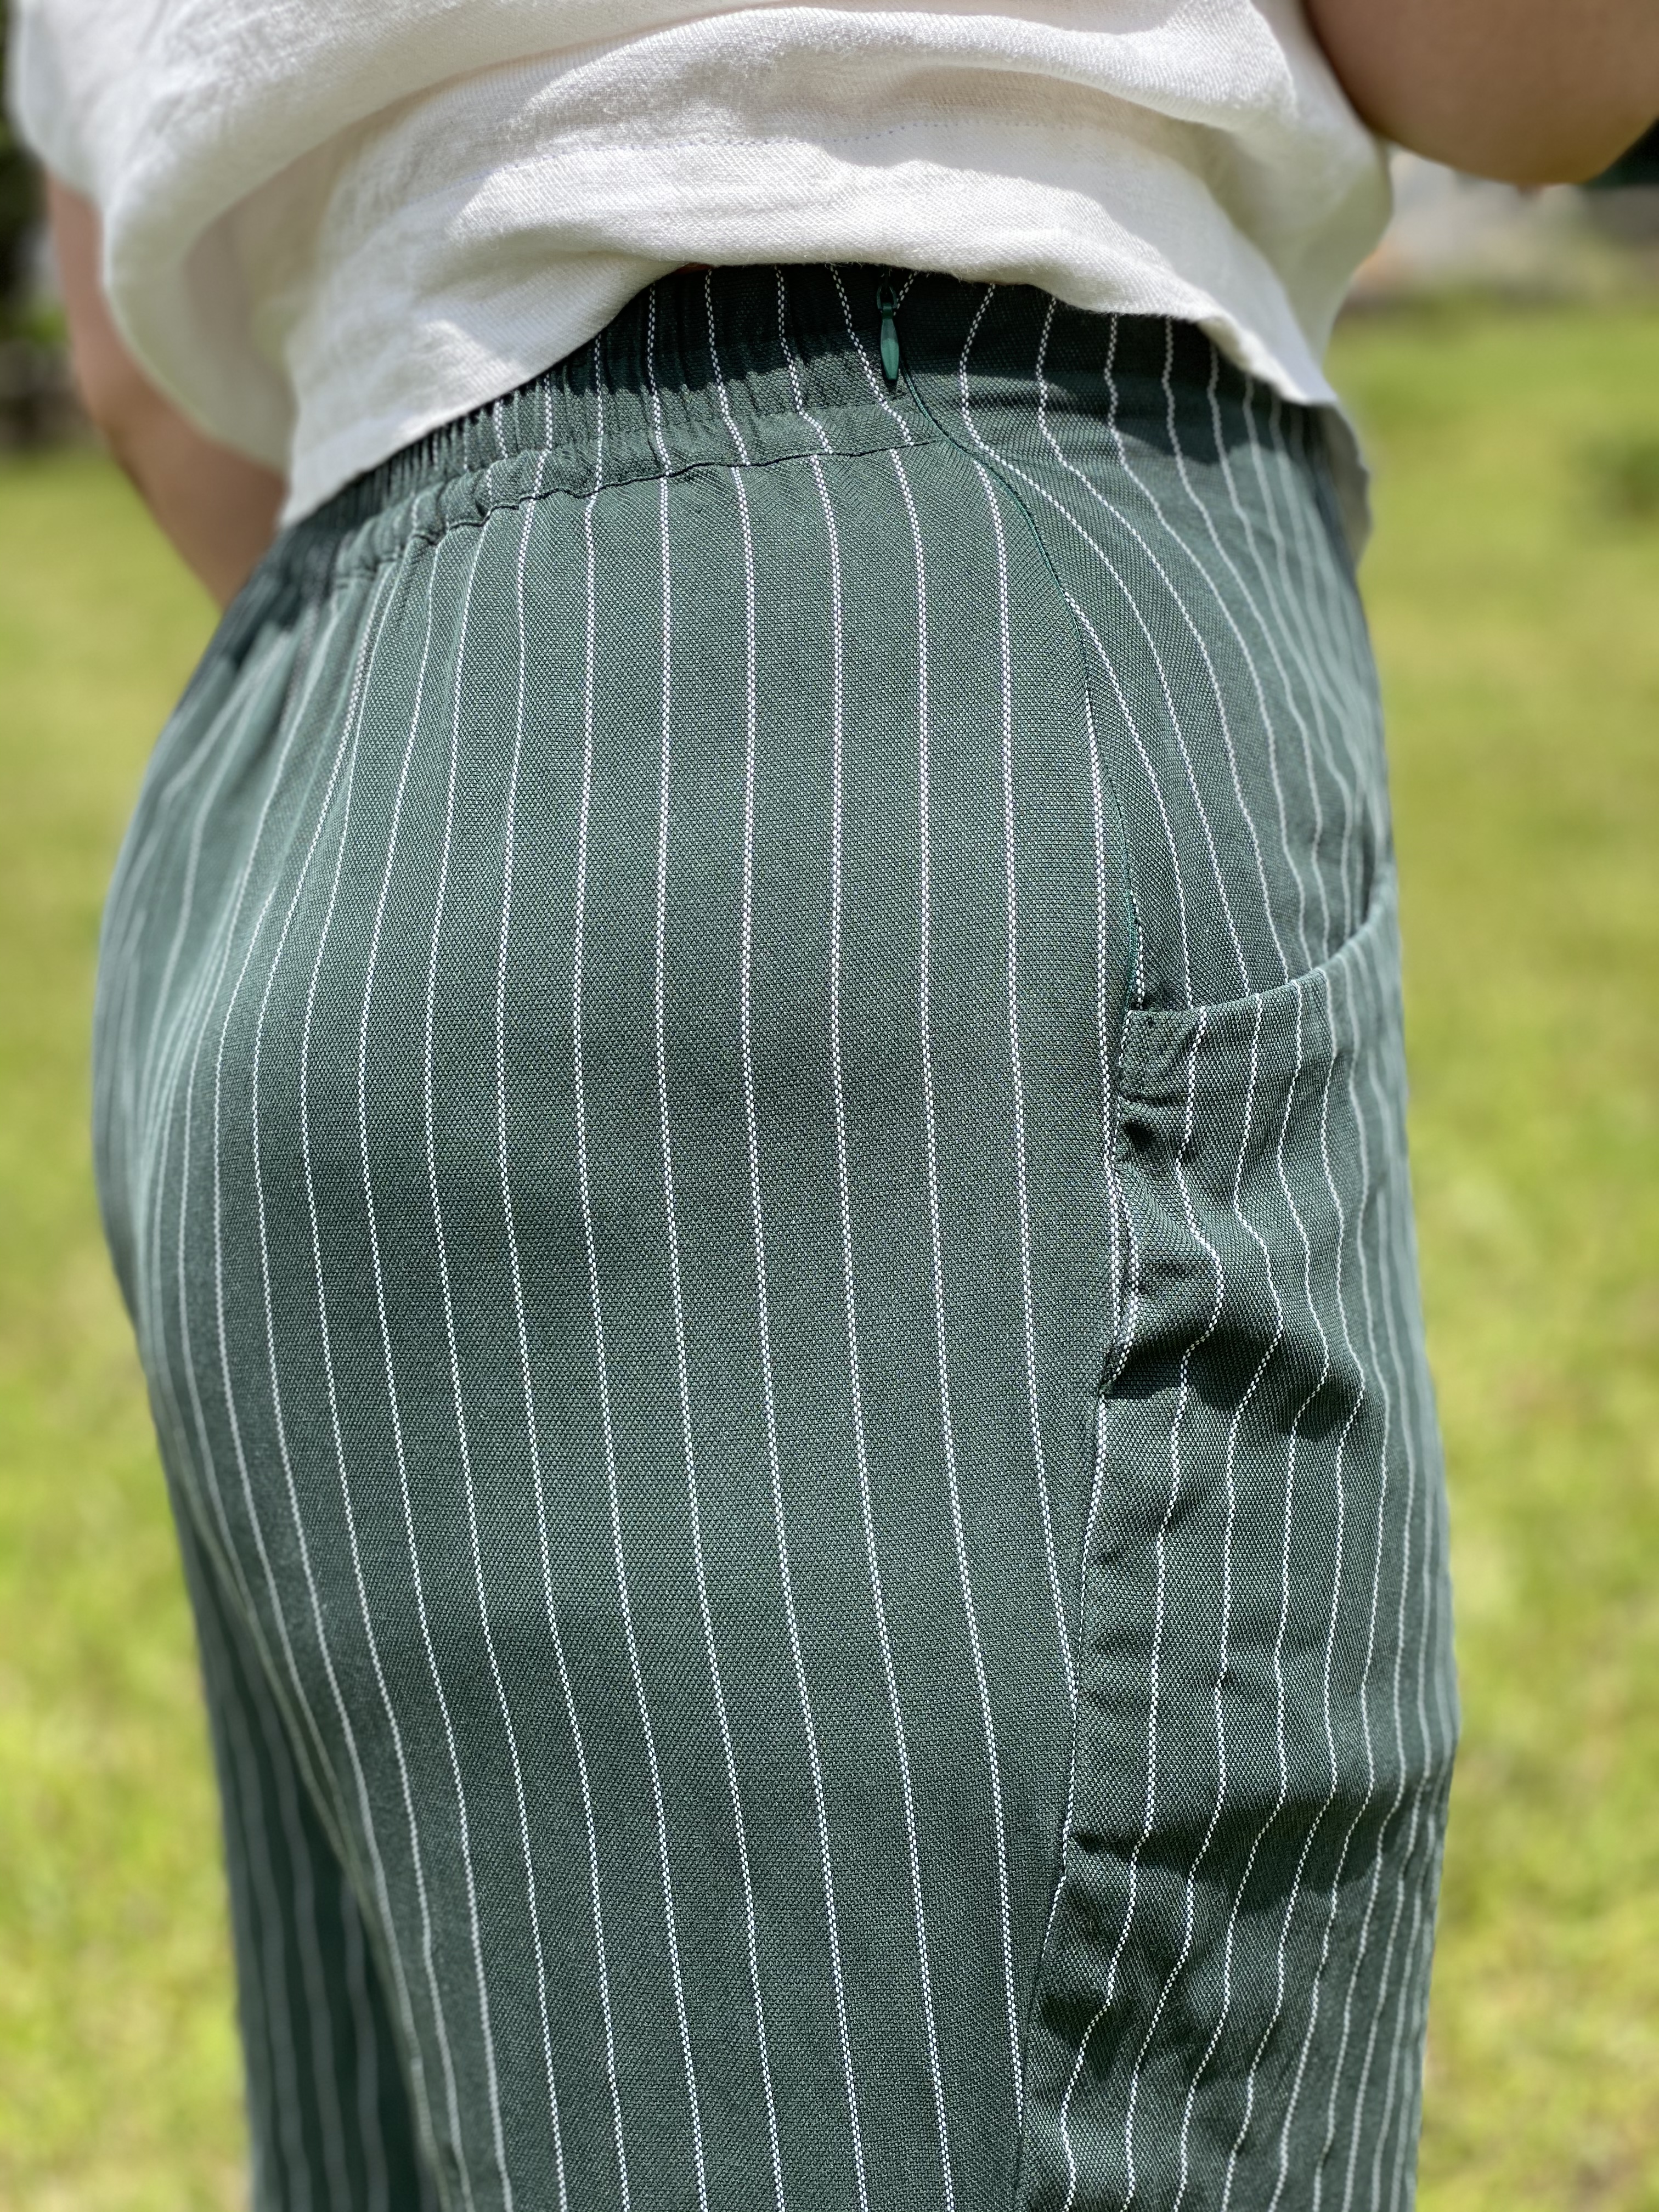
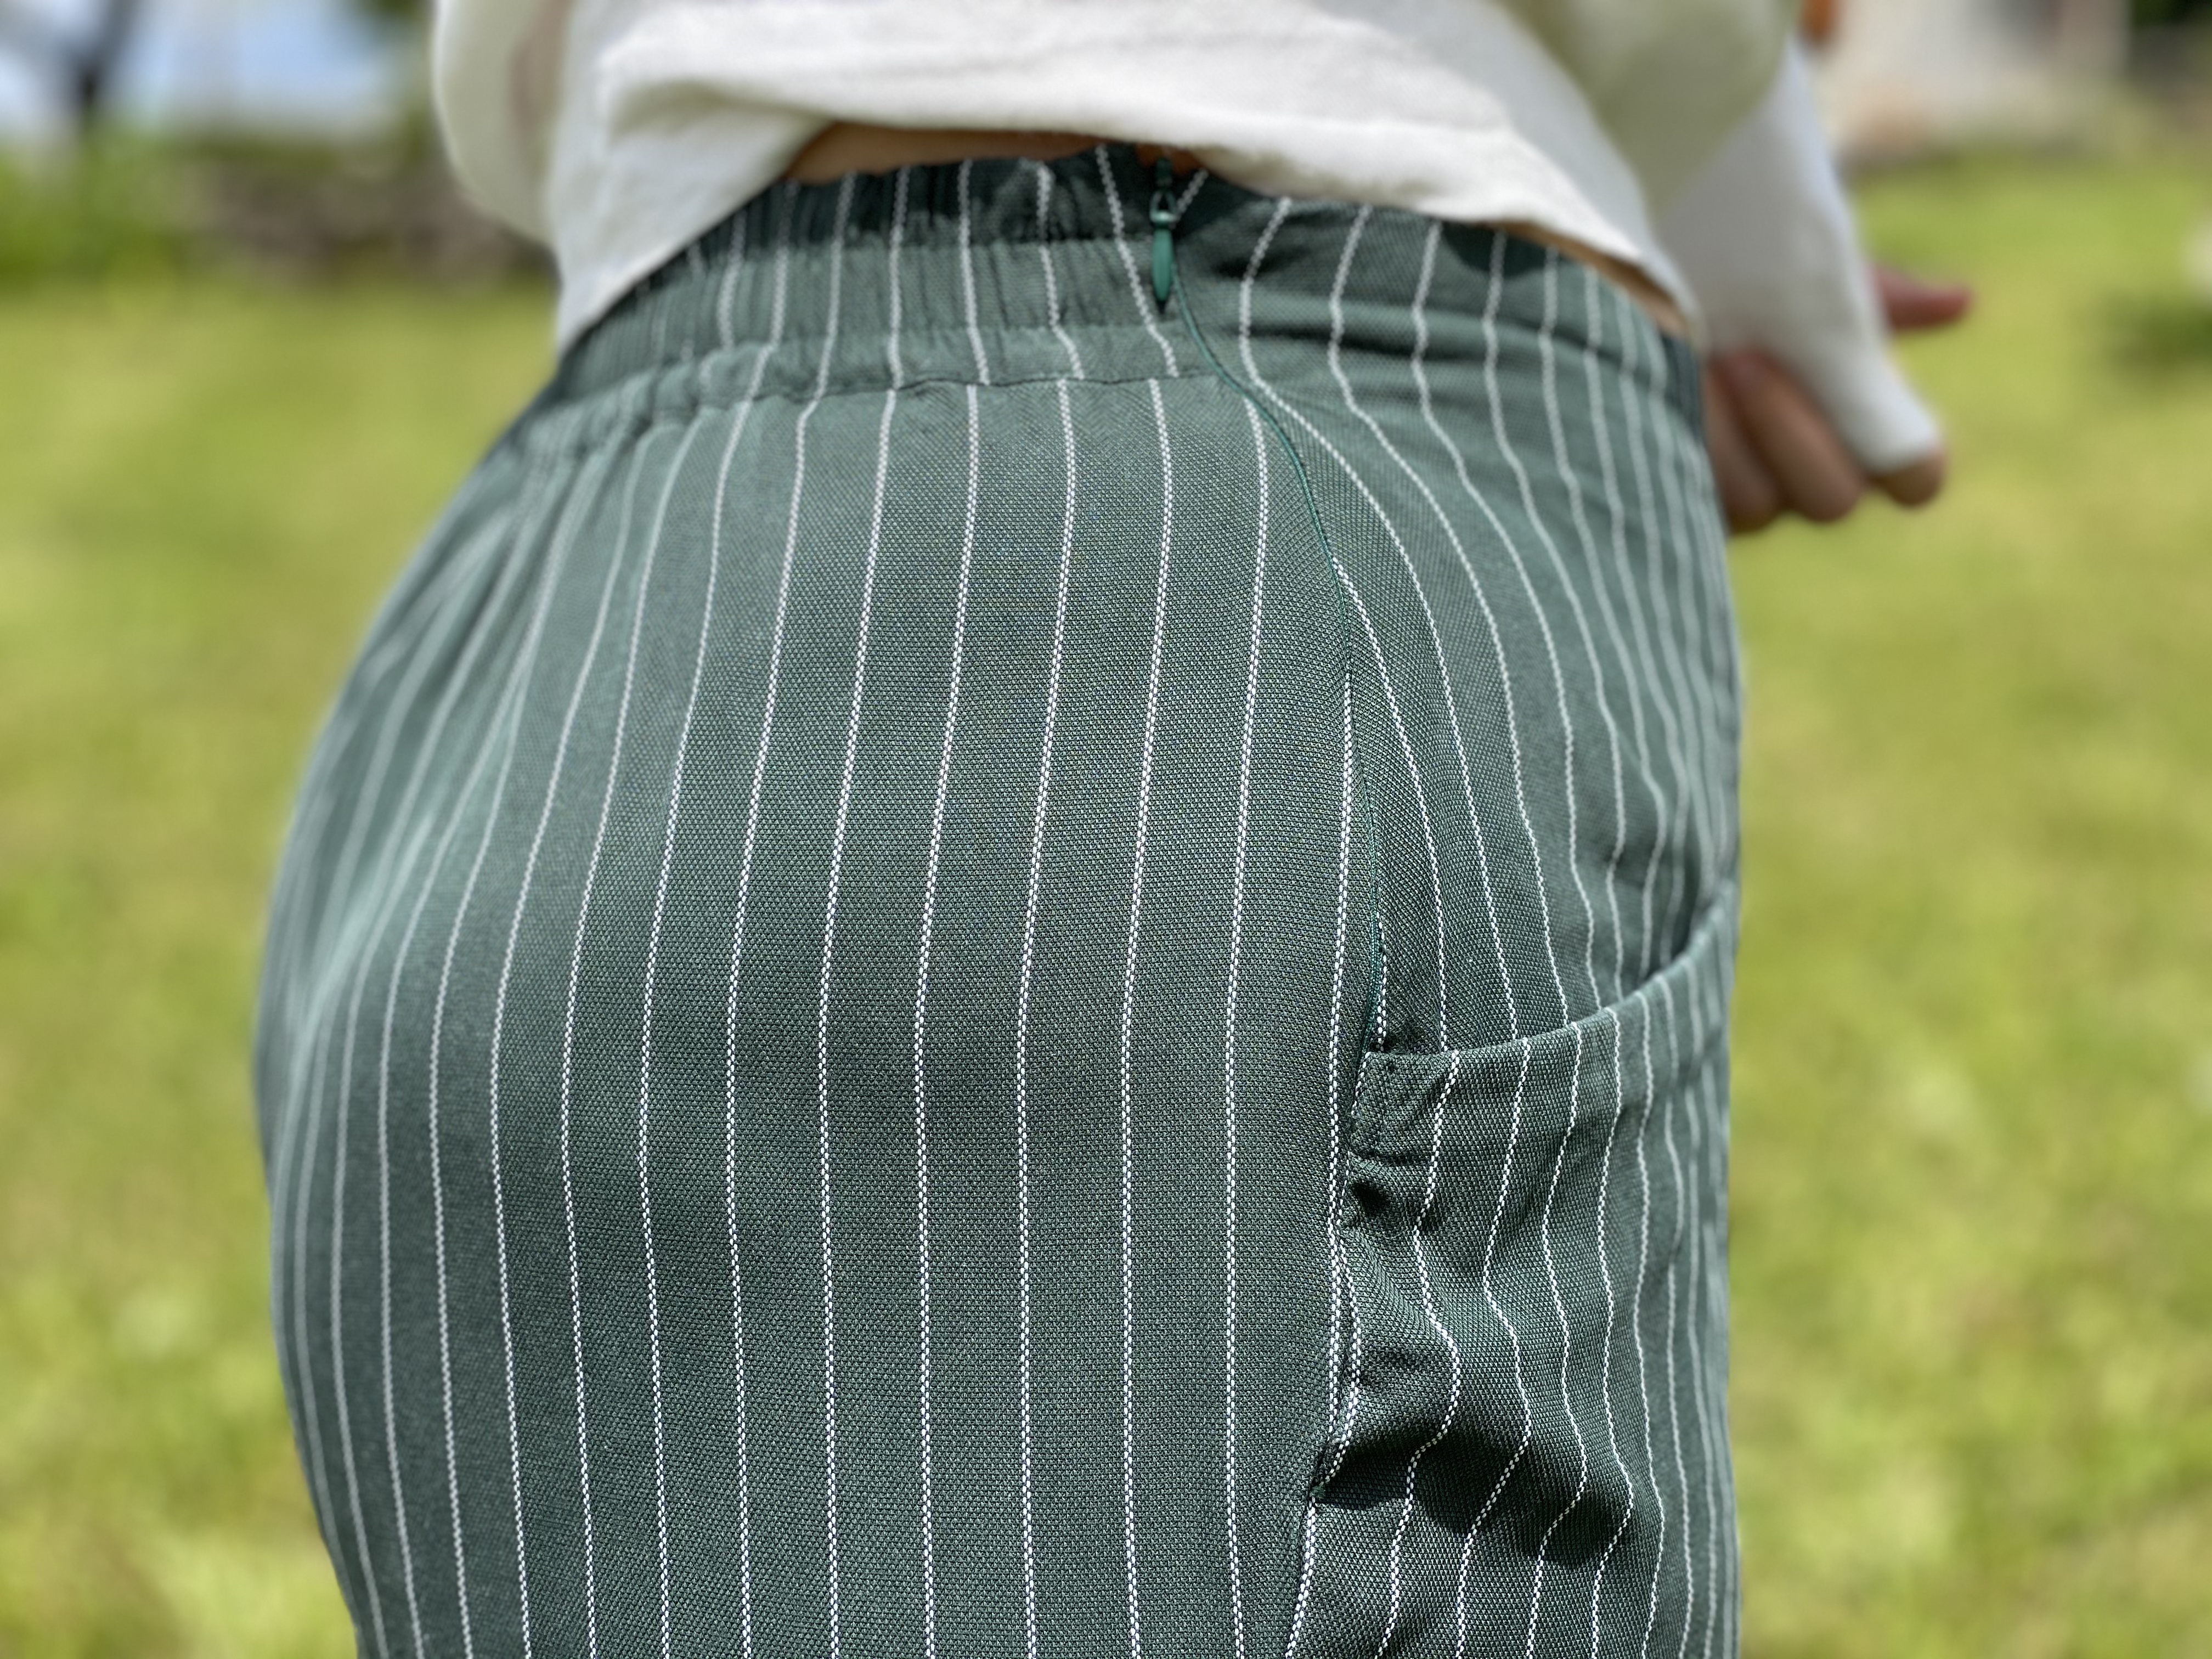
Closet Core advises in the instructions booklet to sew a zipper in if you have more than a 2 size difference between waist and hips (as it’s my case).
Luckily, there is a tutorial on Closet Core’s blog to give you the instructions to sew the zipper in.
It’s great and the explanations are clear, but it does not explain how you can grade between sizes and blend them in correctly. I could have thought about it, but Mia from Sew North made a great tutorial, so I lazily followed it.
The only adjustment I added to all this blending sizes stuff, is that I reduced the length of the back belt, because I only had 4cm elastic instead of 5cm.
As to the length, the cropped version ends up being the long version for me (I’m short, in case you were wondering), so I had to remove more than 10 cm to get an ‘above ankles’ length.
And now, to actually cutting the fabric
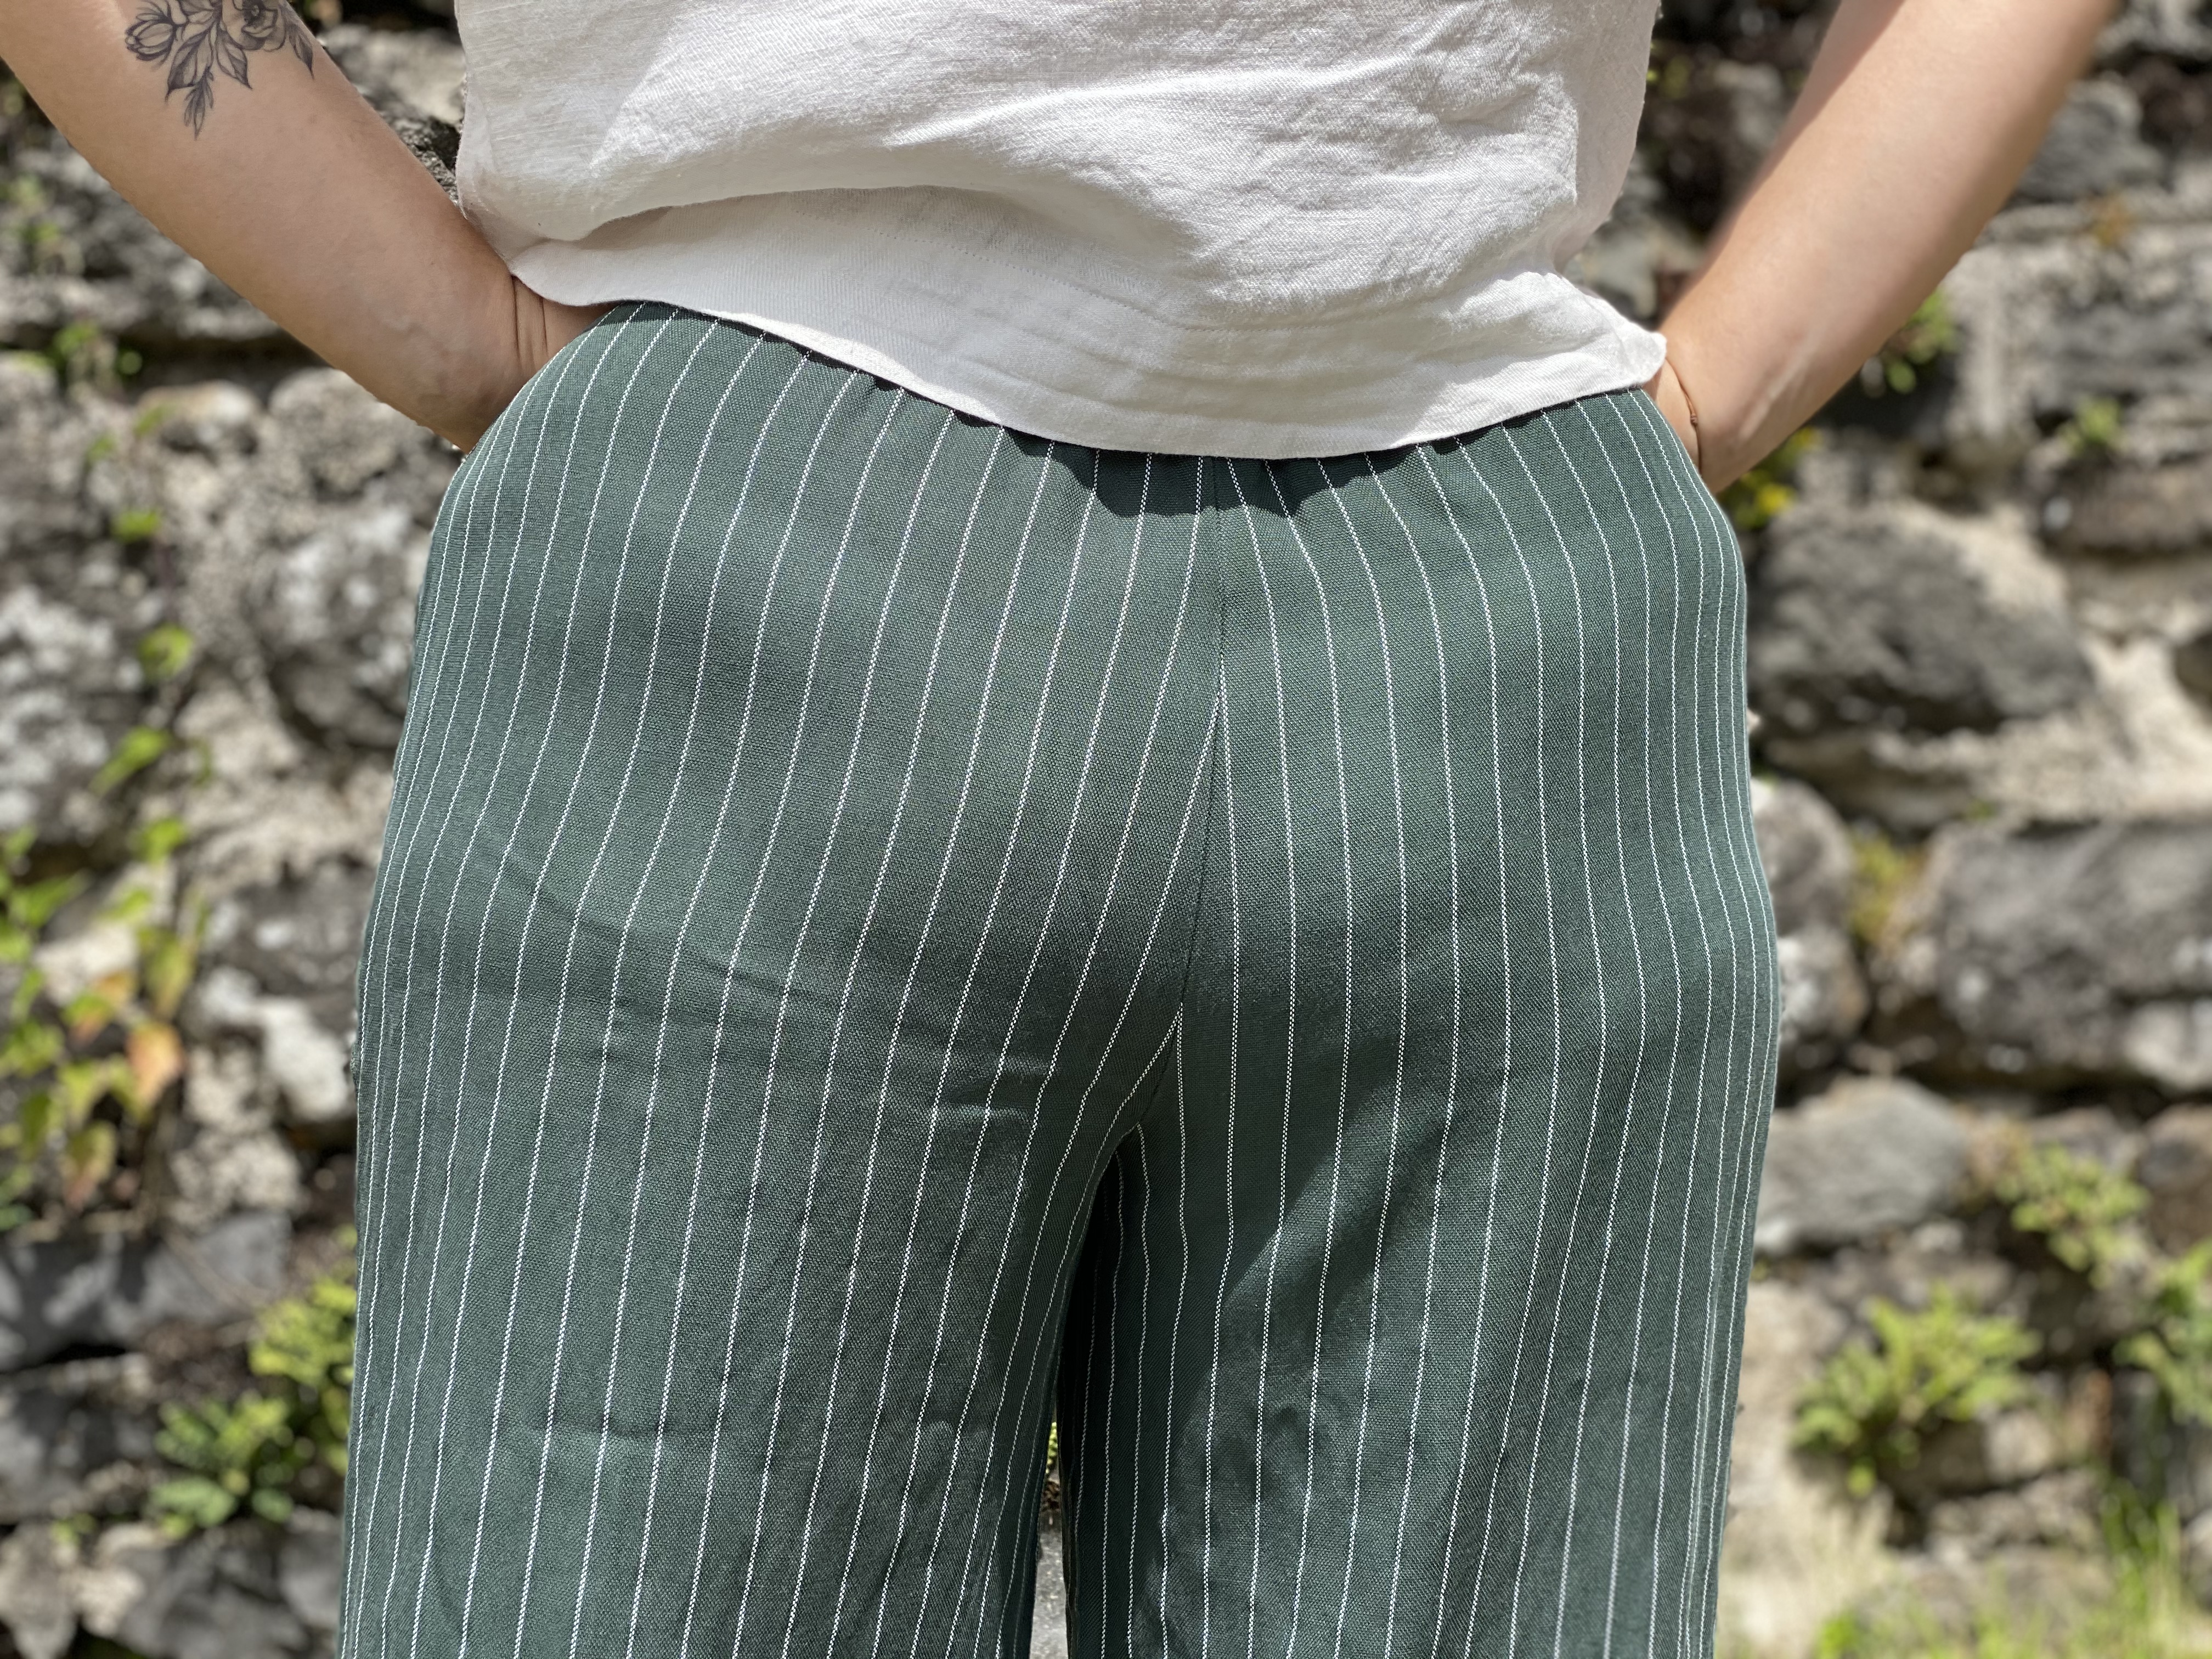
Cutting the fabric gave me such a headache… I hate garment without pattern matching but I don’t particularly like making the pattern matching thing happen, if you know what I mean…
I wanted the front part, above the pockets to be discreet and to match more or less the pockets + bottom part. I also wanted the stripes to match on the inner 2 front pieces. So I marked the stripes placements on my different paper pattern pieces to make sure it would fall at the right place.
Even if the result is not perfect, I like it as it is.
Verdict
I love these. It’s nice to wear, I’m not squeezed, I have wiggle room everywhere, it’s comfy and flattering (somebody said secret PJ?!). The only thing I’ll do for my next version is shorten a tiny bit the crotch length, which is a bit long for me.
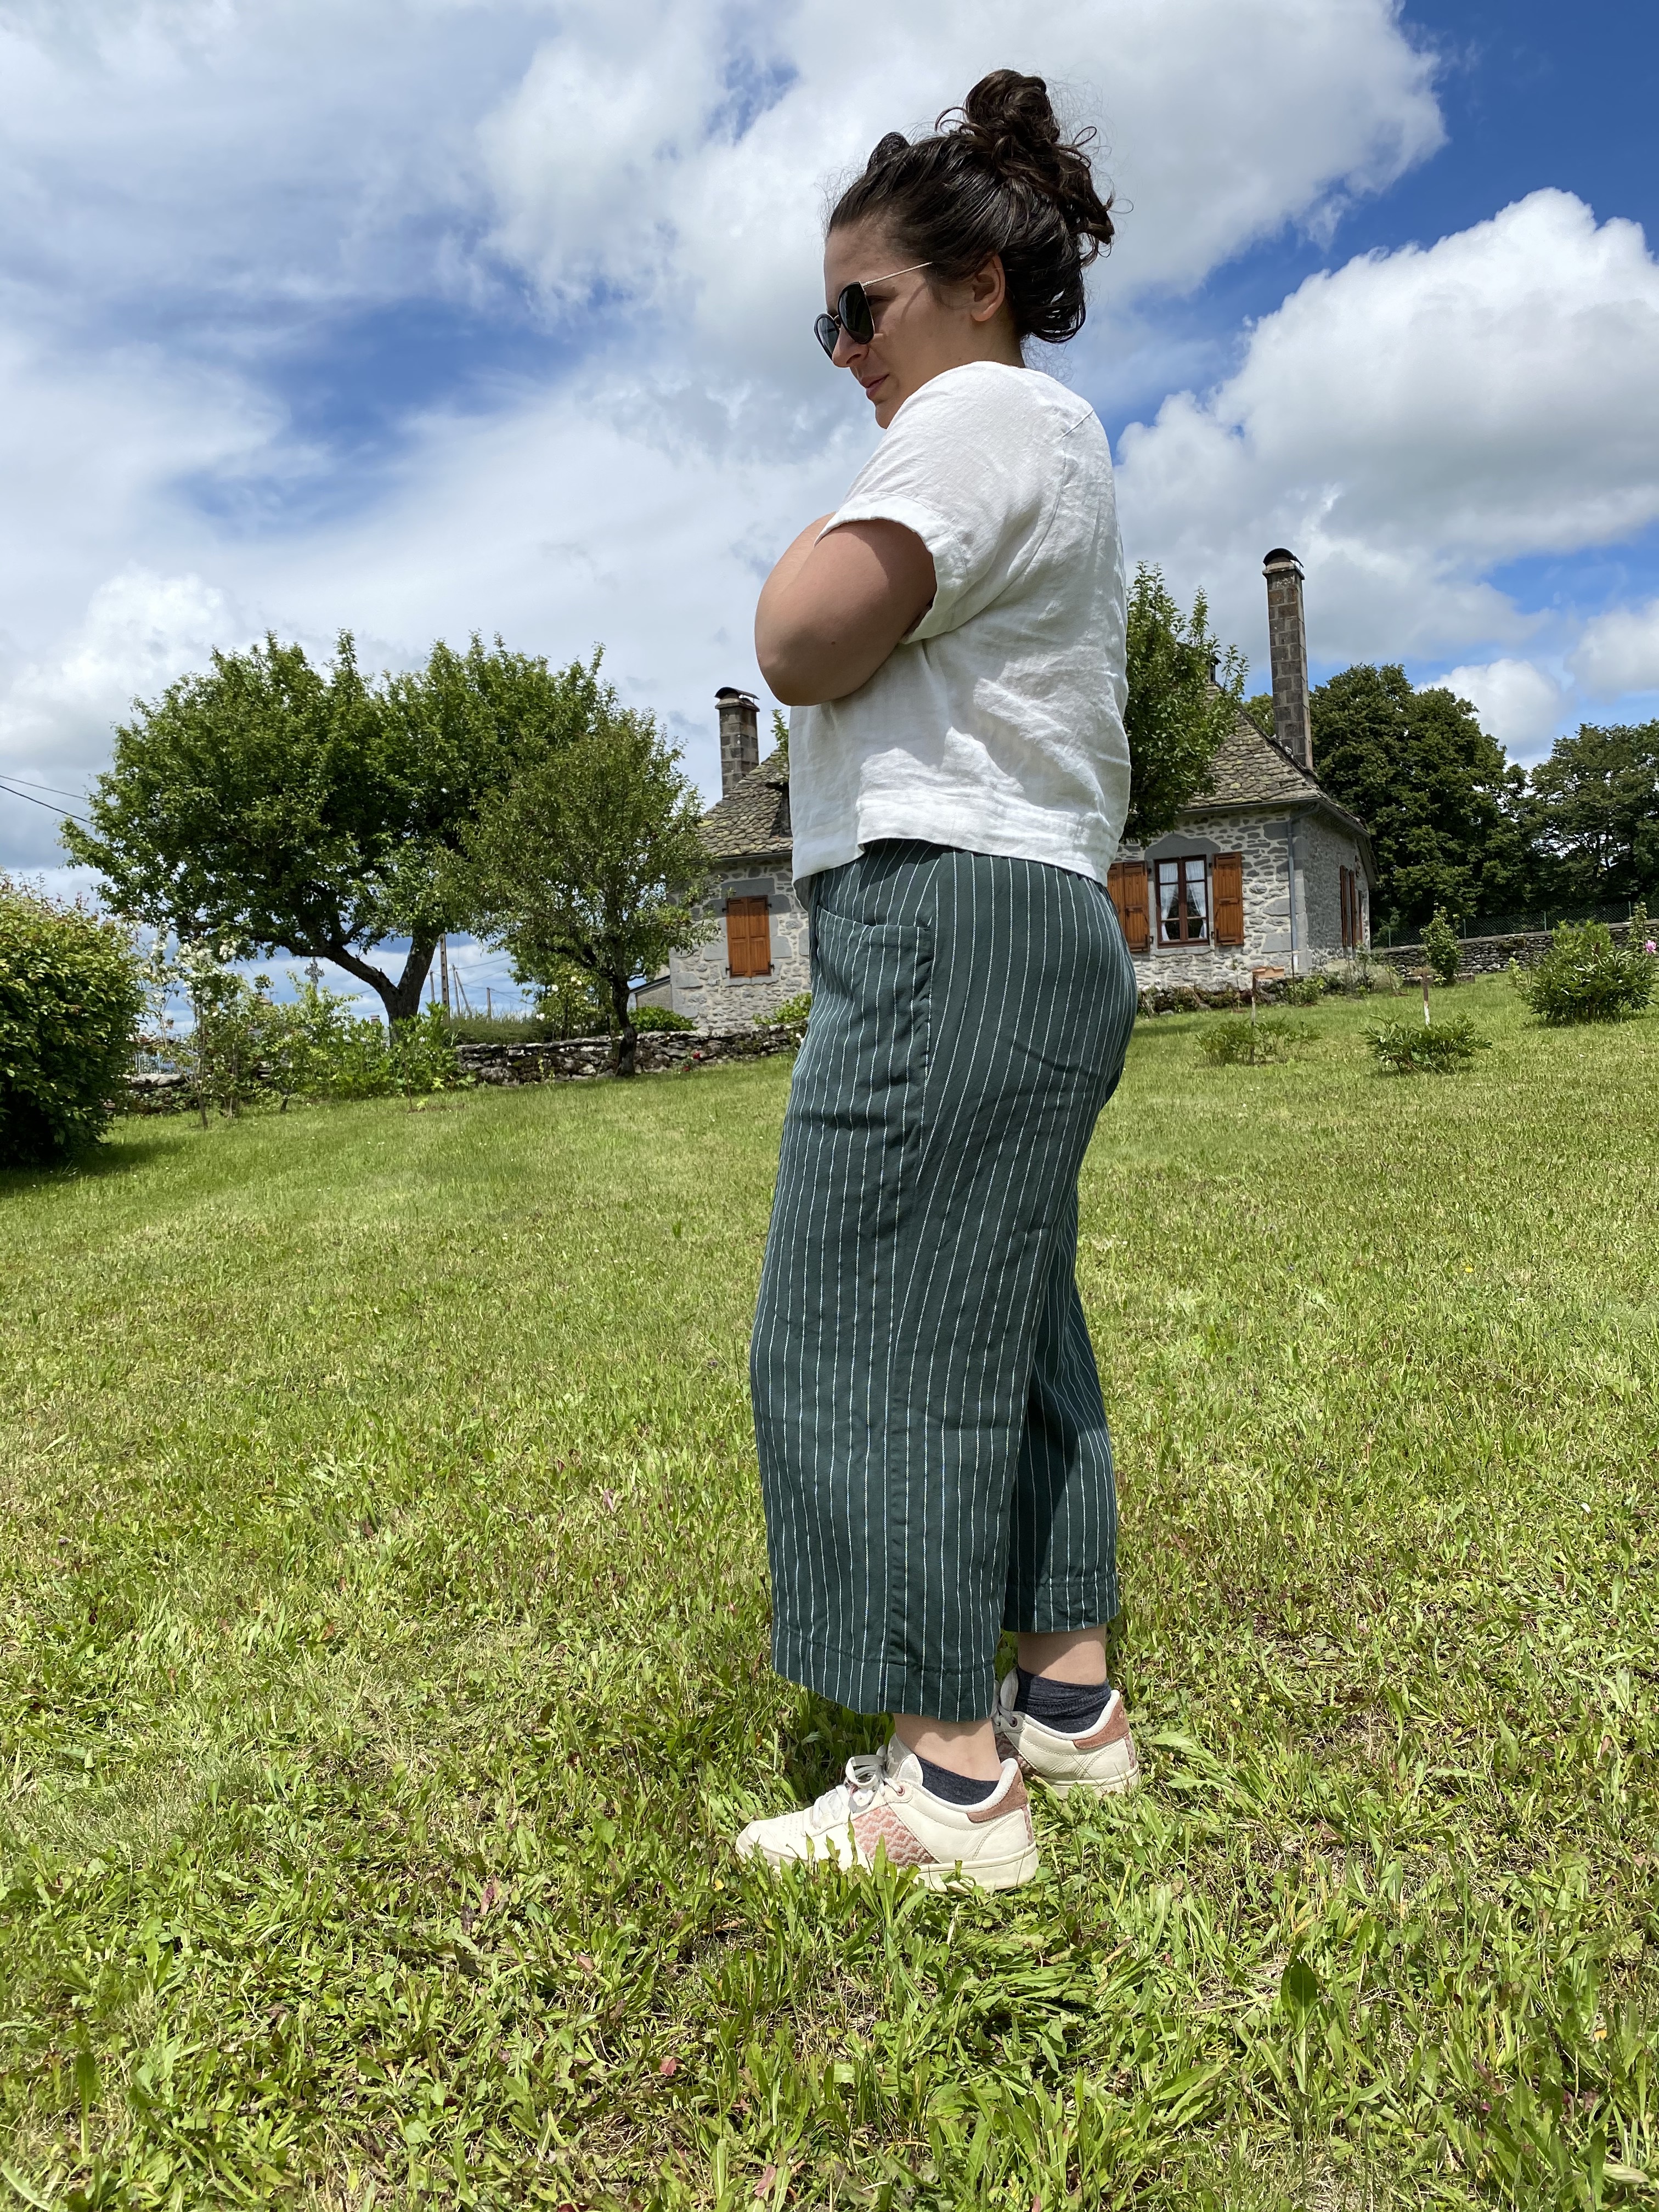
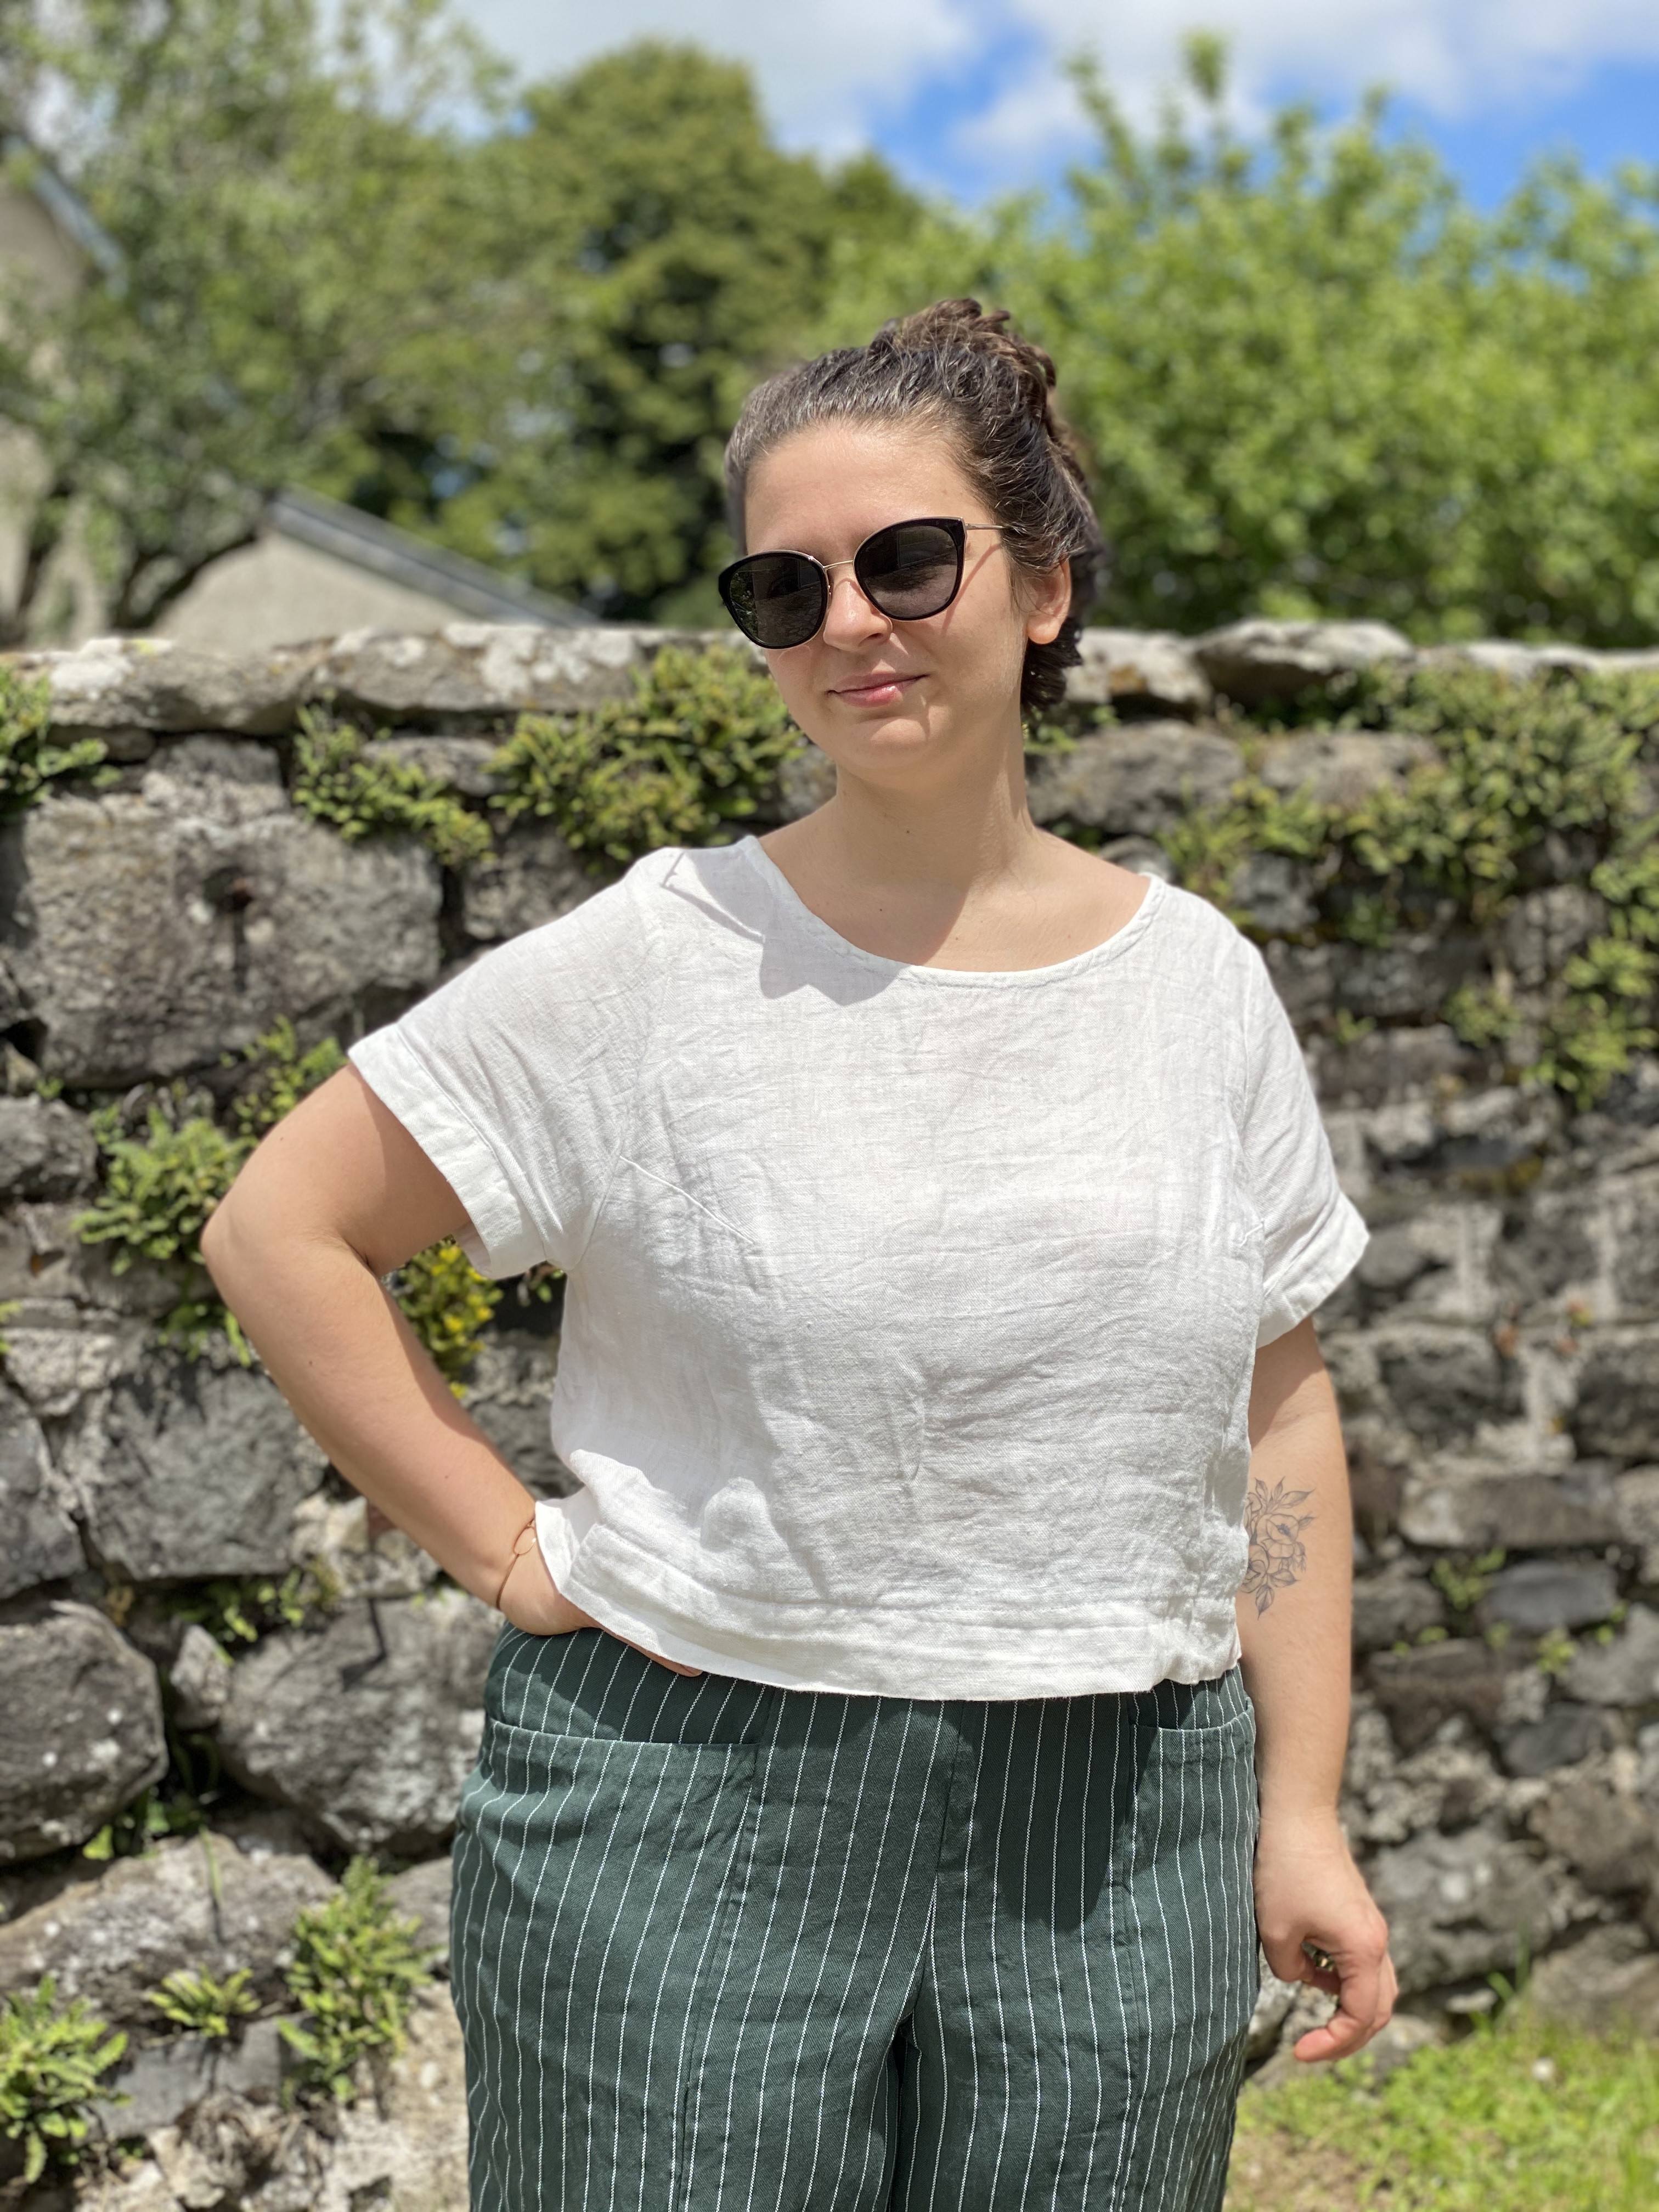
Me happy :)
I’m wearing it here with a Cielo top also from Closet Core Patterns.

