A looooong time ago (in a galaxy far, far away), the only ting I was wearing was tight slim jeans. And low waisted jeans… (*shivers*) I don’t want to talk further more about these dark ages, now that I discovered high-waisted pants. And there is nothing else that I would rather wear.
Where it began
On paper, high-waisted pants are a winner: it’s comfy, it’s got plenty of wiggle room, it shields you from the summer sun and keeps you cool. It’s everything you want to wear in the summer when you don’t wear skirts or dresses (hello, fellow humans with thick thighs, I too associate summer + skirts to skin irritation) but still want that roomy, flowy fabric to keep you cool.
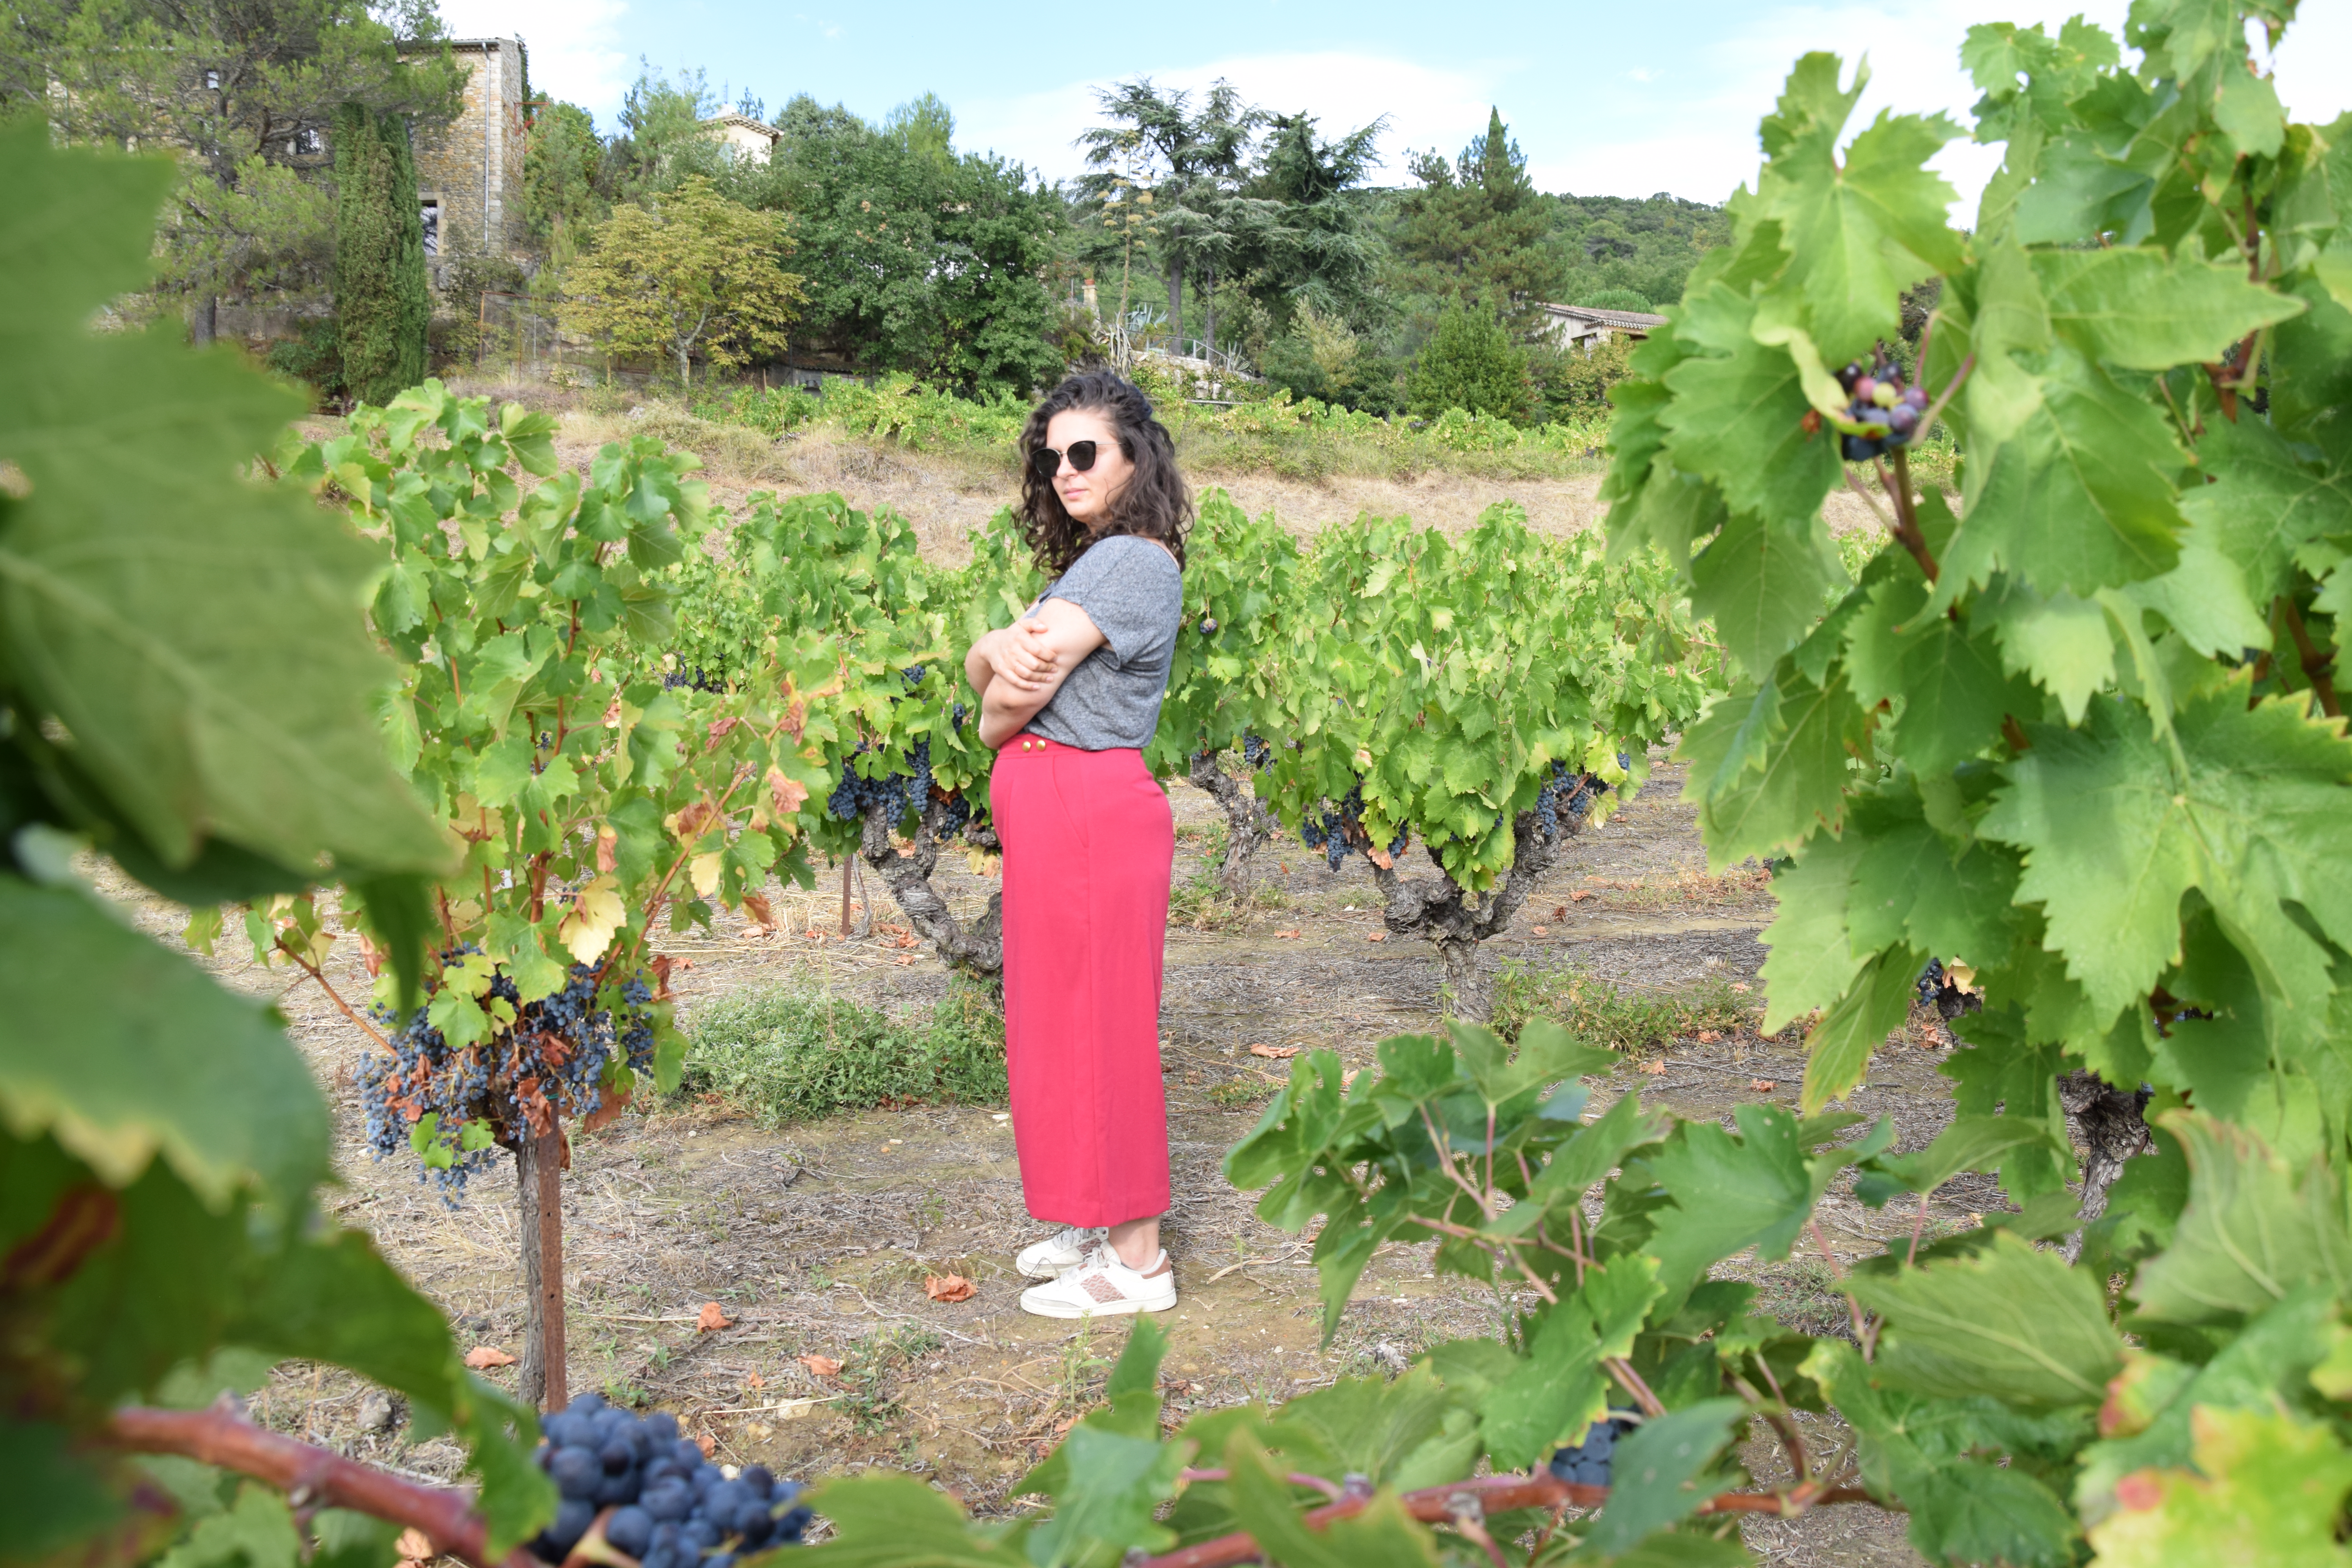
But, as usual, I always thought that high waisted pants didn’t suit me, for several reasons:
- I’m short,
- I’ve got large hips,
- I’ve got thick thighs.
So I always looked at wide legged pants with envy. And then I stumbled across this beauty on Heather’s awesome blog:
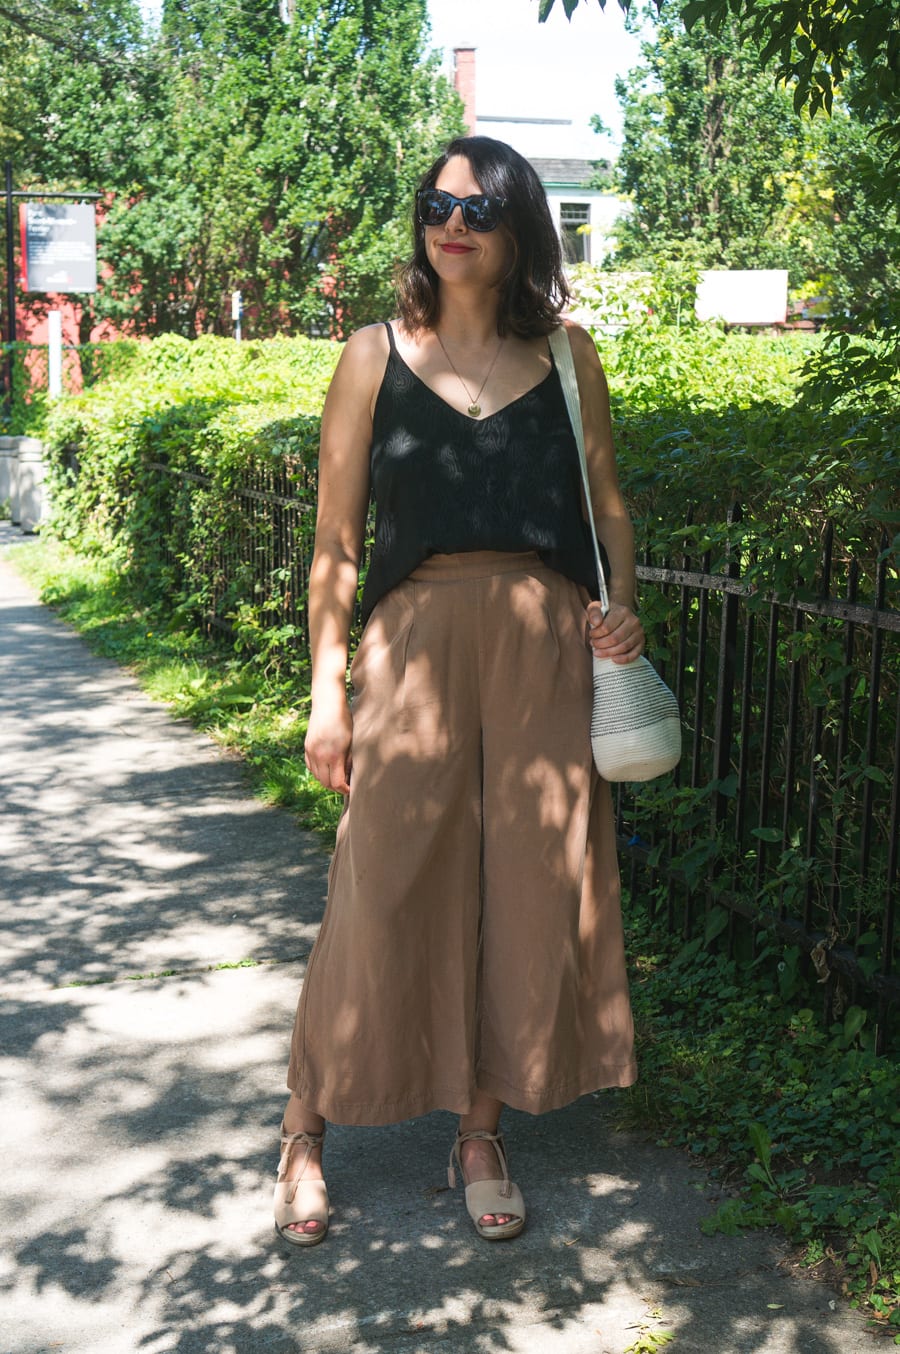
And there! The revelation! Heather and I do not have the same shape strictly speaking, but she’s not exactly skinny, and it spoke to me. Because these pants fit her perfectly, and I love the shape it creates. That’s when I realized that the wide legs + high waist + cropped length combination could totally work on me.
Flint pants, from Megan Nielsen
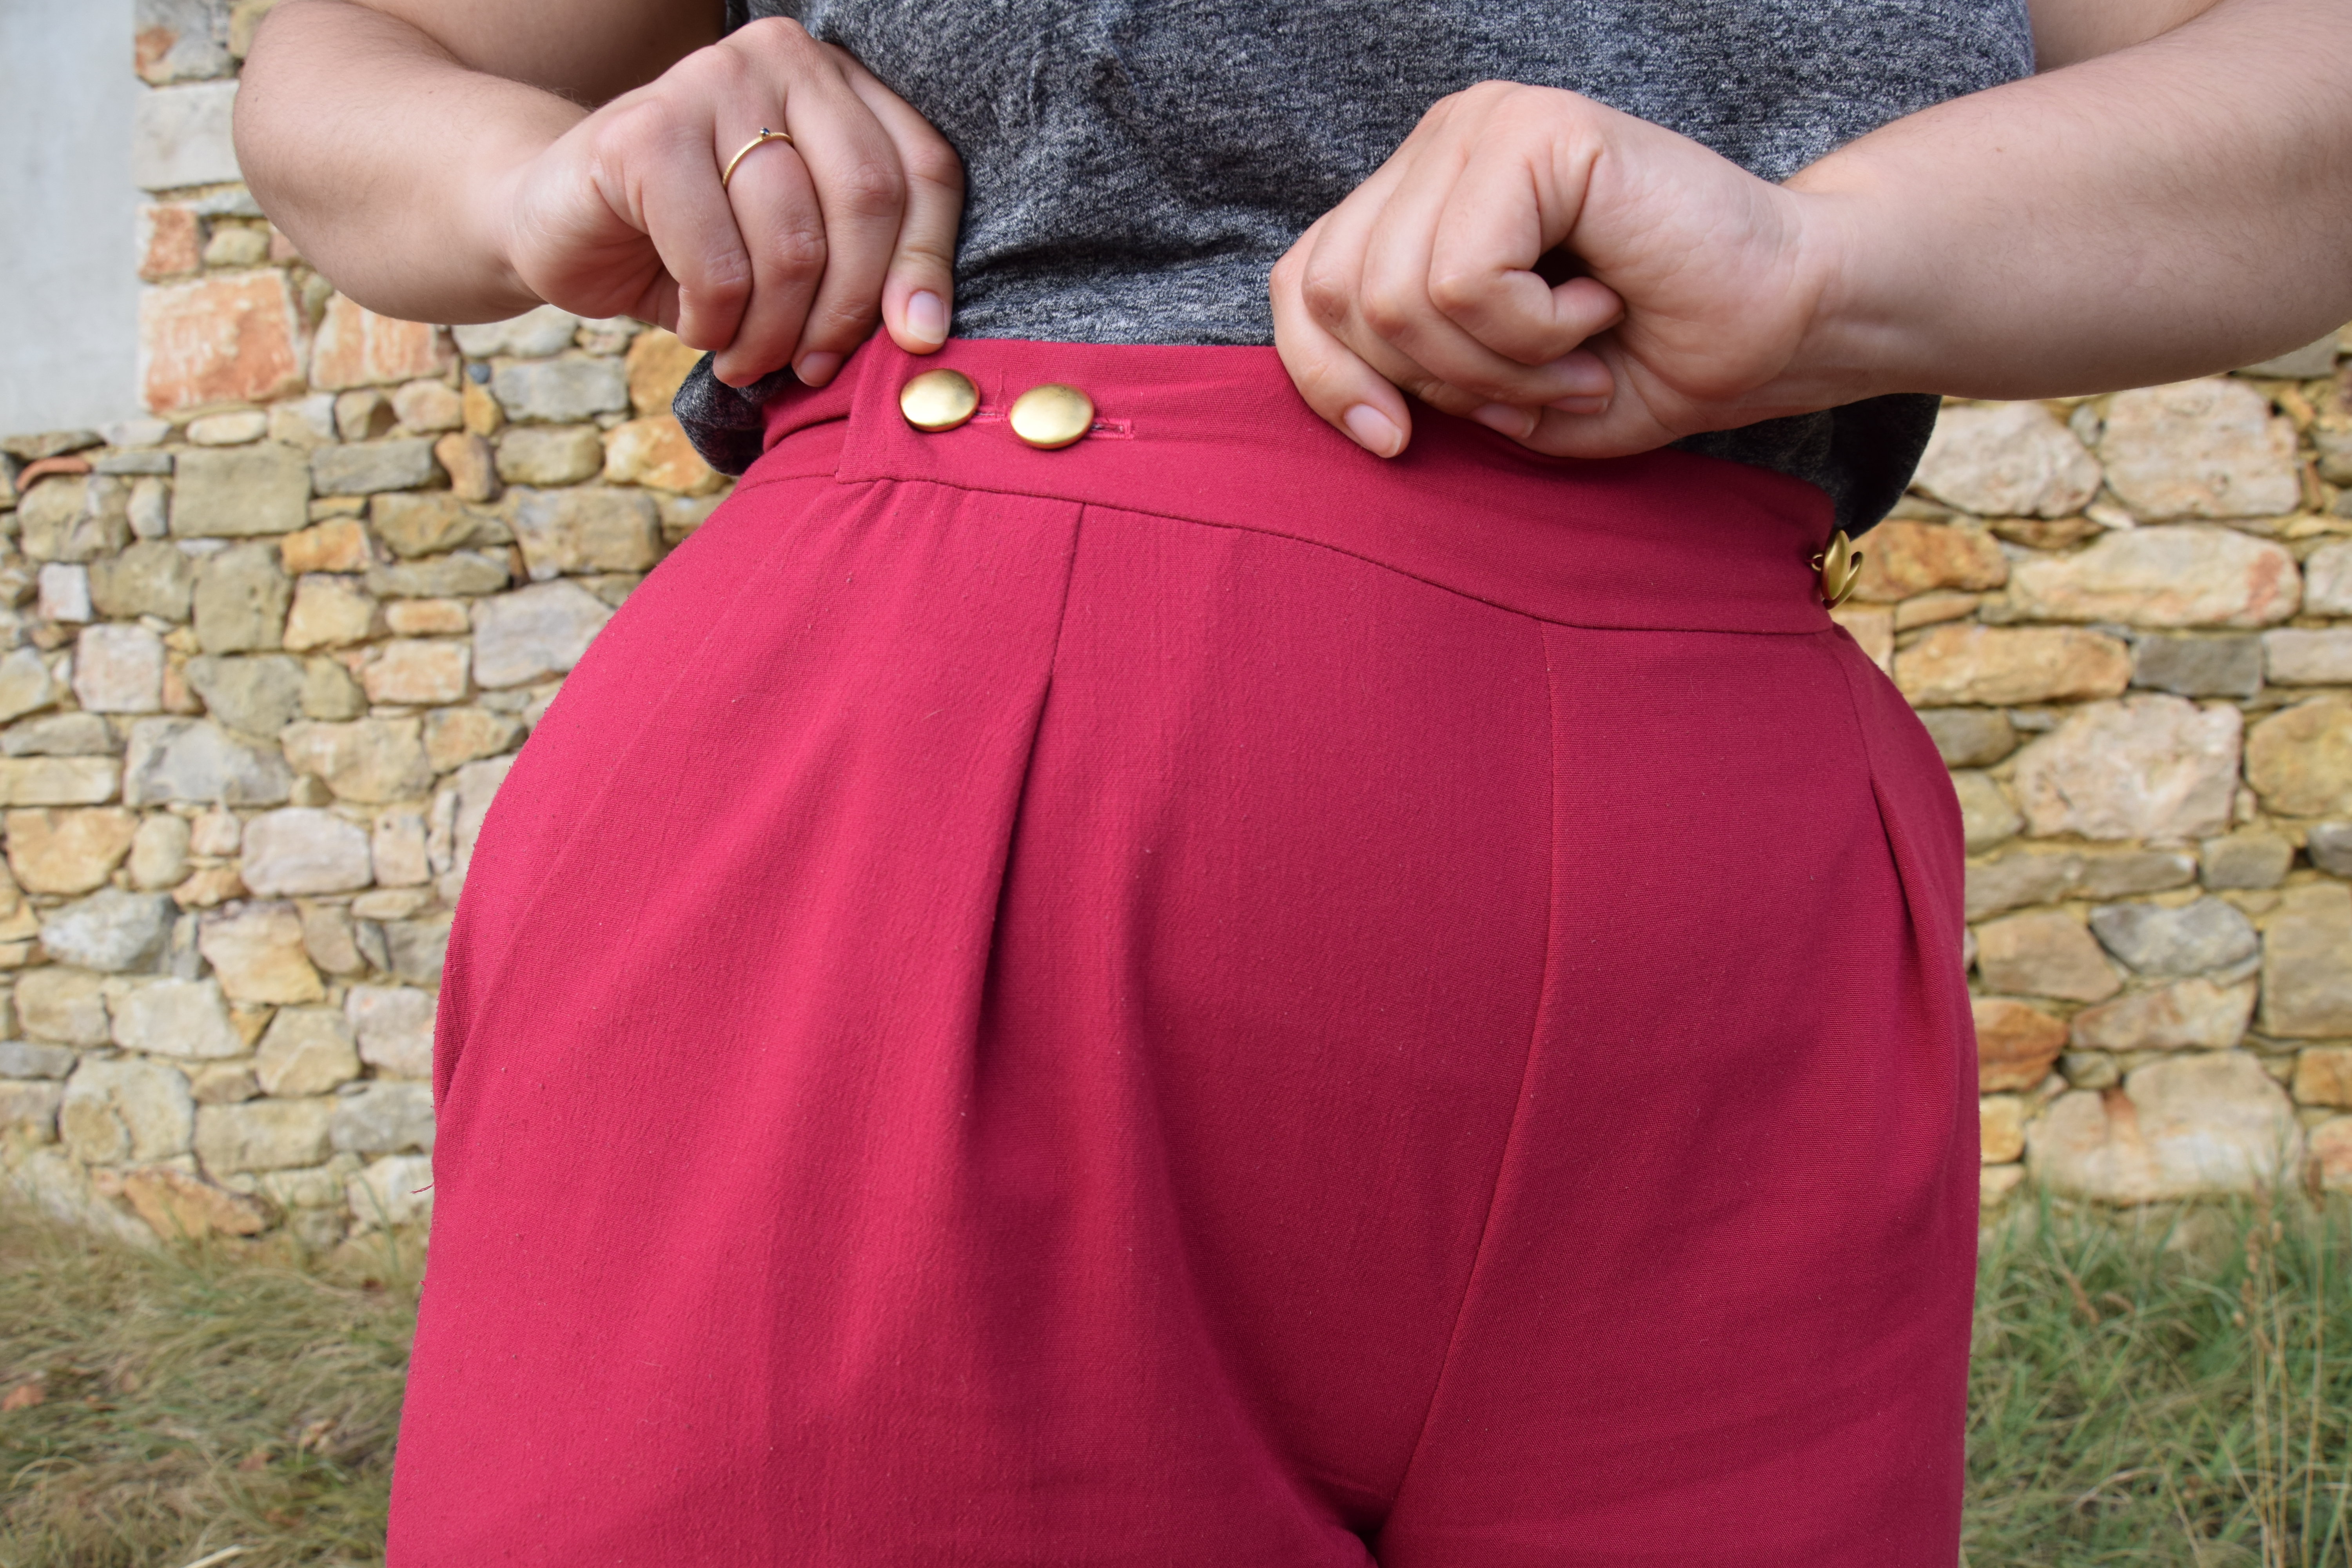
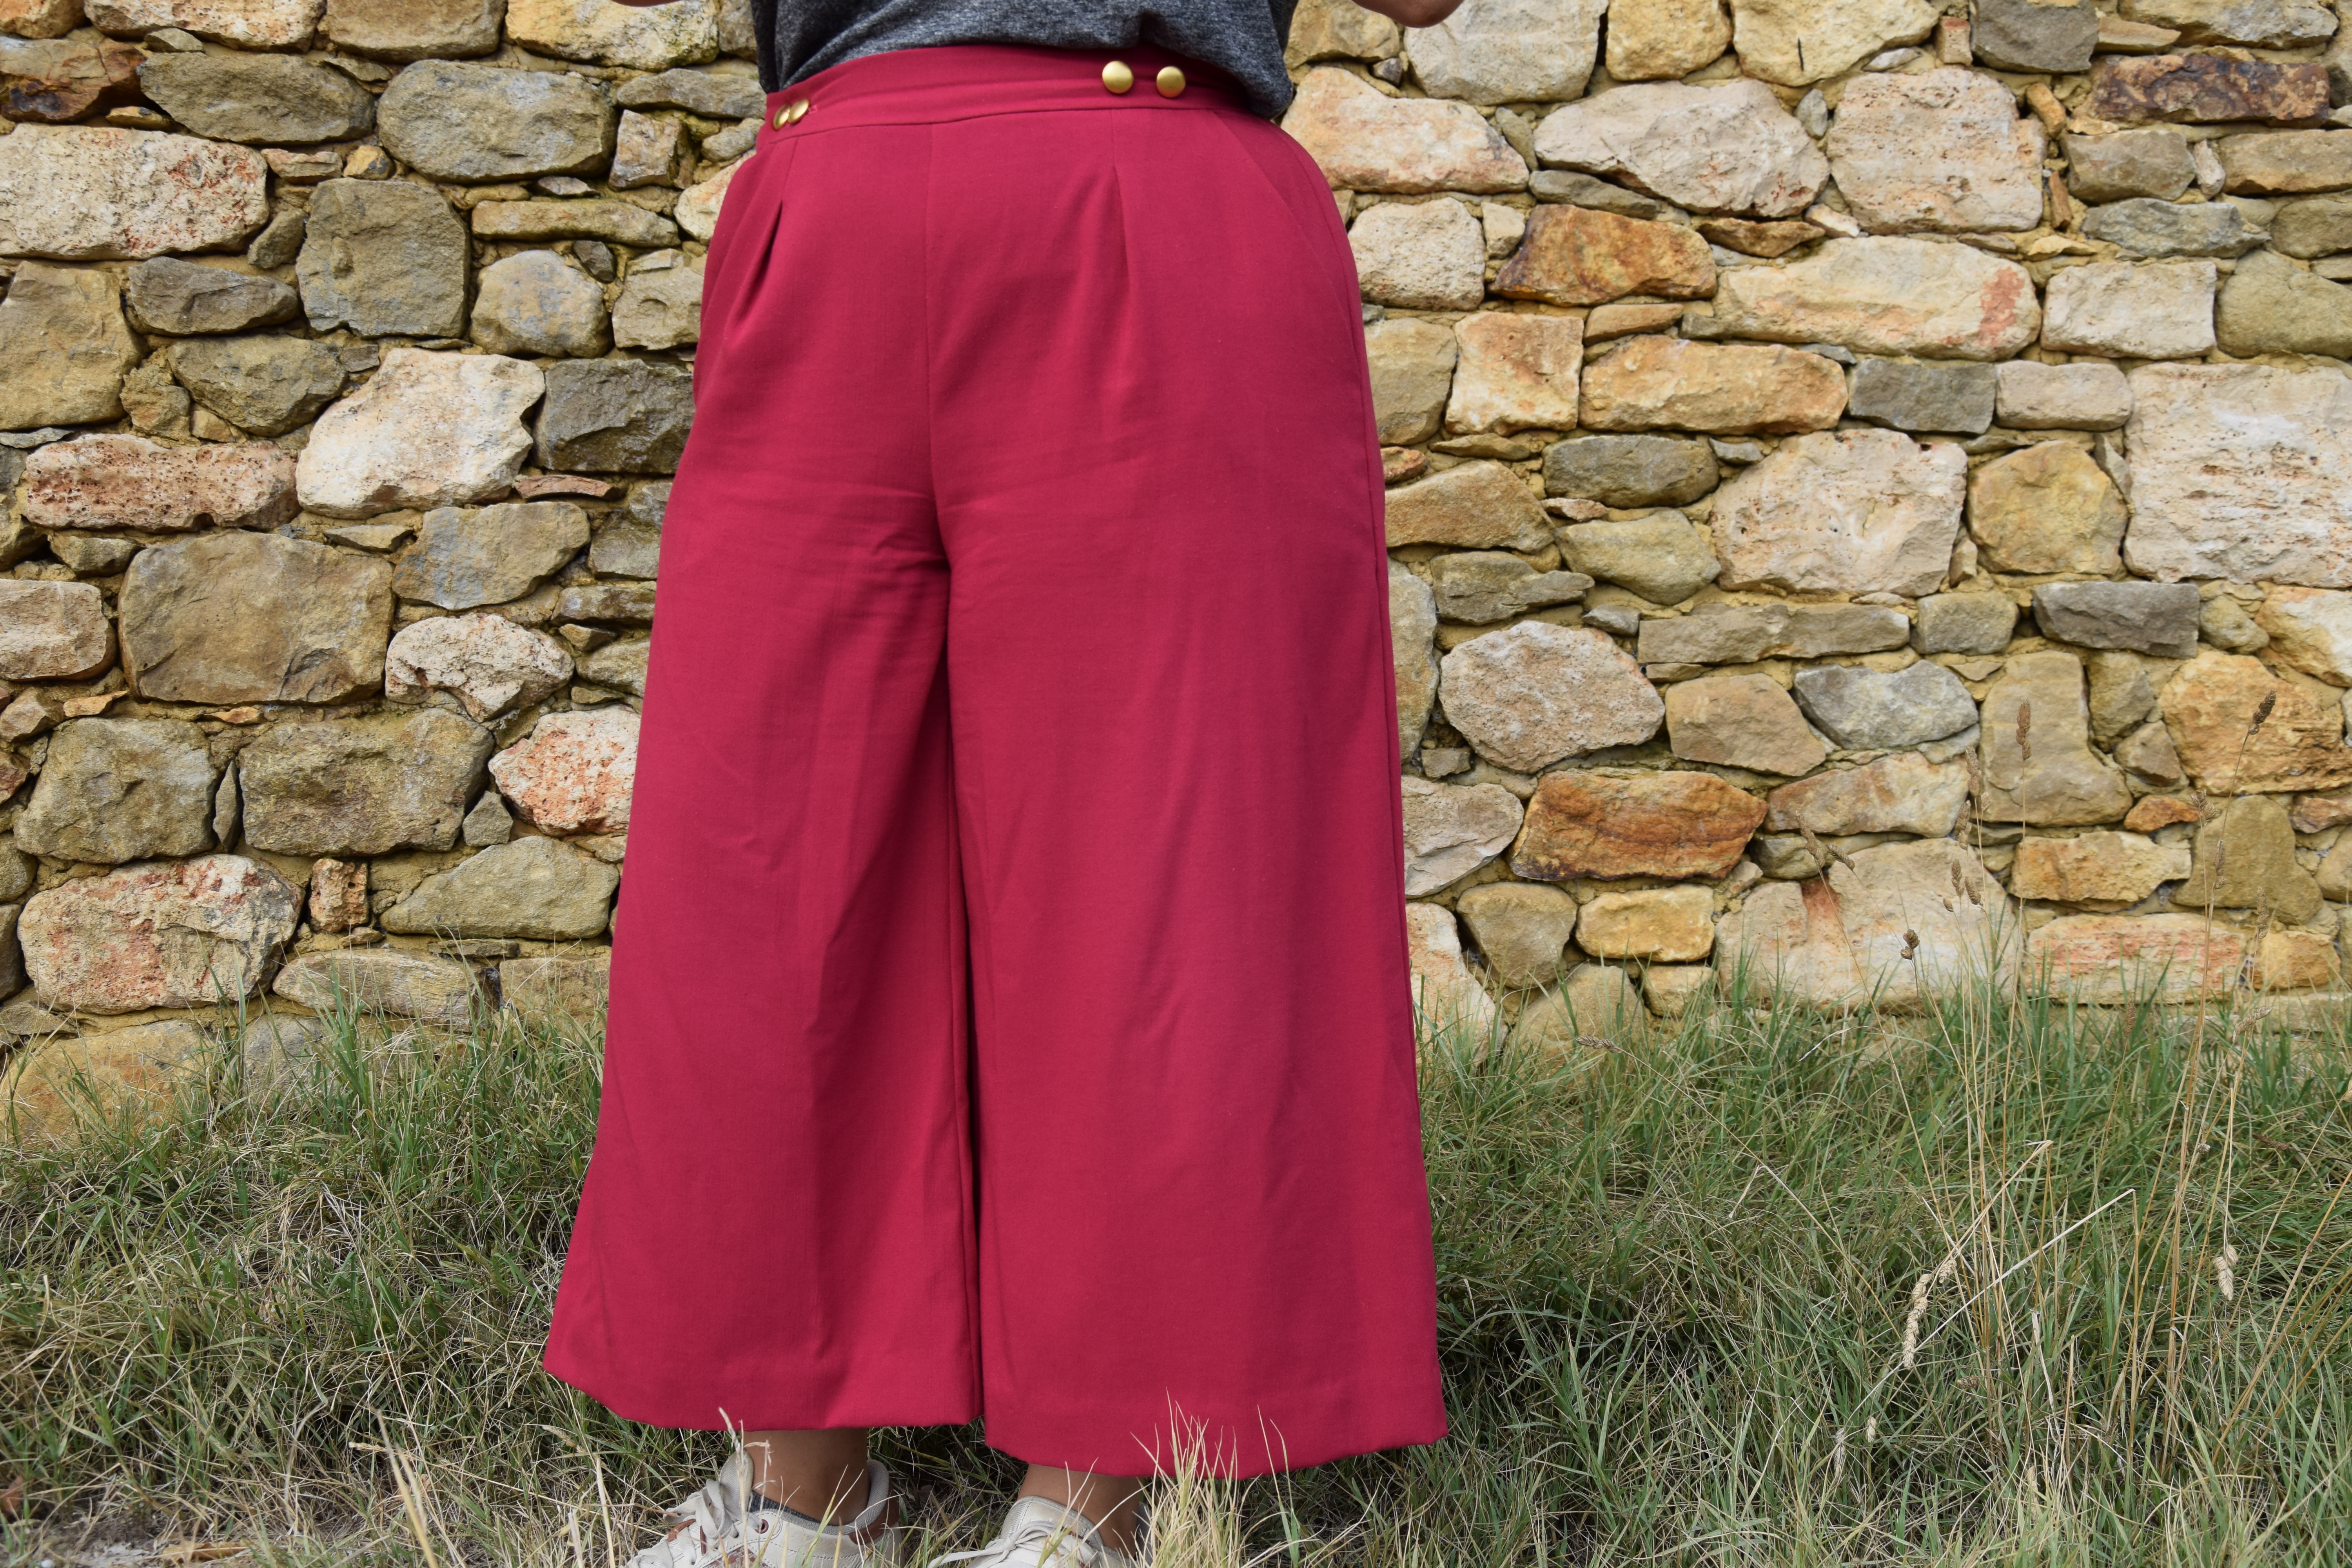
So what’s the perfect pattern, the one that checks all the boxes on the checklist? It’s the Flint pants from Megan Nielsen. Wide legged pants, cropped or short length, high waisted, with a clever hidden closure. It also has options for the belt: buttons or tie.
It is really easy and quick to sew : no zipper, no fly. Yeeees please! You can find a sew along on Megan’s blog. And cherry on the cake, it is available for a variety of sizes, until 147 cm of hips measurements.
It eats up quite a lot of fabric, almost 2.5m depending on the size you make. But you can always save a bit of fabric if like me you’re not as tall as the pattern drafting calls for.
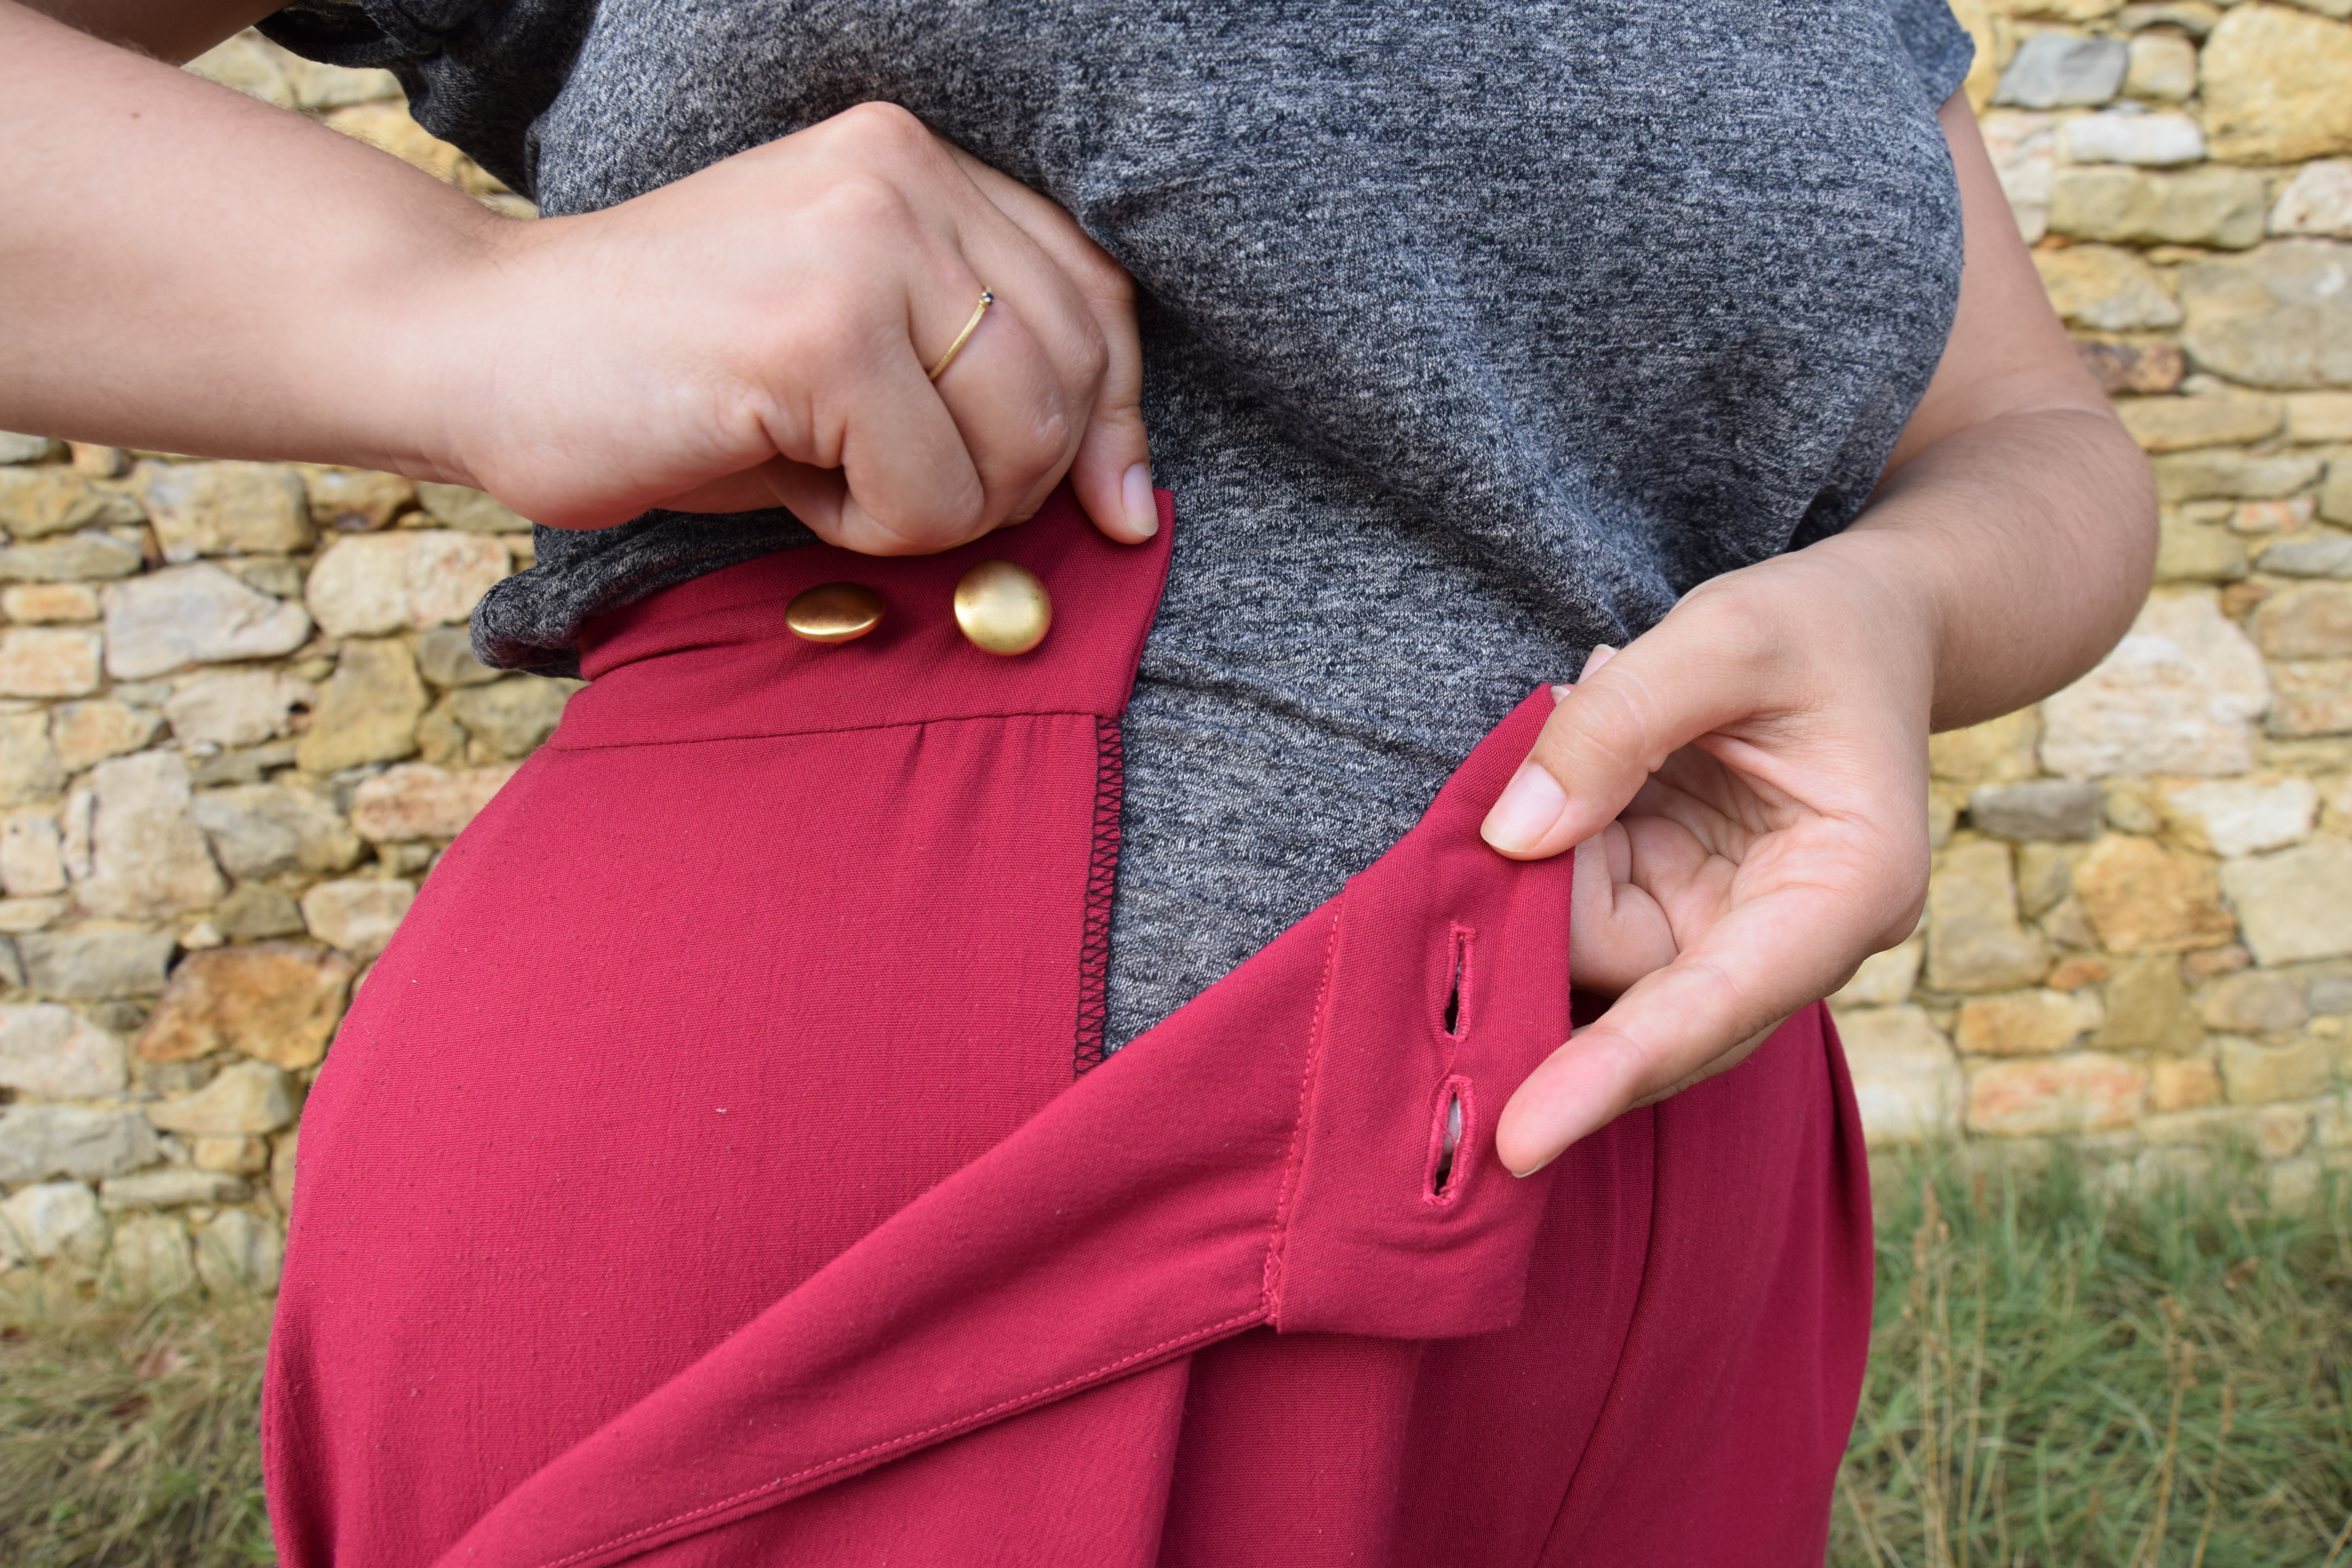
The thing that I struggled the most with are the adjustments, and getting the fit just right. I have to say that the pattern is really nicely drafted, and the adjustments I had to make were solely due to my morphology. But I’m used to this, especially with pants (thank you thin waist and large hips, not helping here).
The only thing I noted was that the instructions tell you to trim excess fabric for the crotch, but you don’t want to do this. There are enough tensions in this area, trimming and notching will only fragilize the seam. But other than that, all good!
My final version
Fabric and notions
For my final version, I used a gorgeous fabric from Stragier, a mix of 50% viscose and 50% polyester. I was curious (today I wouldn’t buy it, because I tend to avoid viscose and polyester altogether for ecological reasons), so I bought it. It does not look cheap at all, it does not crease, it ages well, and it drapes beautifully. It’s heavy enough and really easy to sew. And it doesn’t have the bad side of polyester (you know when you feel like you’re slowly cooking in your garment).
The buttons were salvaged from an old jacket.
Sizing
I blended between multiple sizes (as I always do):
- M for the waist
- XL for the hips.
Adjustments
Because the pattern calls for 2.5m of fabrics, I reaaaally wanted to be sure it fitted me without wasting my precious fabric. So I made a muslin: I made the short version out of an old handmade dress I wasn’t wearing (due to poor choices of fabric AND pattern). And I did good, because I immediately saw that I was going to need to adjust it…
The front fitted quite well, but the side seams were pulled towards the back (meaning there wasn’t enough fabric around the back), which also made the pockets look really distorted. Next, the crotch seam was too small (symptom: fabric being pulled into the tush). For the rest of the garment: the length was a bit short, the waist was spot on (no back gaping, which is an issue I’m used to having).
I made the appropriate modifications and I made a second muslin, wearable this time, in a light and airy cotton to validate the adjustments
Spoiler alert: while looking on Internet-the-almighty how I could resolve my fit issue, I found this blog. I have to say it is a very good cheat sheet to know how to resolve pants fitting issues and how to spot them.
The crotch
This fit issue was not so difficult to spot and to resolve. I scooped about 1cm on the back crotch curve, and it was done.
Full seat adjustment
That’s where we dive into the real stuff. It’s not a complicated adjustment to make per se, but if you’ve never done it or heard of it, I find it can be quite hard to spot. I remember feeling overwhelmed by the fit issues I was spotting. I knew the back pieces were not large enough but I didn’t know how I could correct it. But I found this tutorial and I discovered that the fit issue that I had matched the one that required a Full Seat Adjustment. So I gave it a try and followed the tutorial to adapt my back piece:
- I increased the width on the back piece (the blue line on Clover’s blog)
- I increased a tiny bit the crotch length and the thighs width (red line)
- I tried to keep the the yellow lines spacing to a minimum, because I didn’t want to increase the length of the piece
- mechanically, I increased the width of the darts (green line).
To sum it up, I ended adding 1.5cm to each back piece (I could have gone up to 2cm, but thankfully the seam allowances are big enough to accommodate that).
I finally made the second muslin… and it was just perfect. So I cut into my precious pink fabric, and ended up with my final version. The last modification I made is adding 2 completely decorative buttons on the belt, for the sake of symmetry.
Verdict
I love these pants. I really do. I get tons of compliments each time I wear them. And it’s such a gratifying sew: it looks great, and it’s quick and easy to sew. What else could you ask for?
I so love this pattern that I made another version, in a nice wool suiting for winter. It looks so great with tights and a pair of ankle boots or sneakers…

