
A few weeks ago, Milena from Eclipse lingerie studio launched a book about lingerie sewing. It’s very complete and contains everything you need to sew yourself a full lingerie wardrobe, from a simple triangle bralette to high-waisted panties, including a sports bra and an underwired bra. And on top of it all (as if it wasn’t already enough), the pictures are great, far from the “traditional” lingerie pictures, but with real people’s bodies (and it feels good). To be honest, I didn’t hesitate very long to decide which model I was going to start with… The underwire bra of course! And I figured this would be the perfect opportunity to document my fitting process a bit and share my journey and iterations with you.
The underwired bra pattern, from Mon Atelier Lingerie
The underwired bra from the book Mon Atelier Lingerie is a pretty classic bra. It features a 3-piece cup: one top cup piece, an inner bottom cup piece and an outer bottom cup piece. The cup has 2 seams, one horizontal and one vertical, which allows to have both a good support and a nice shape. The frame has a rather unusual cut (usually the cut between the bridge and the outer frame is placed in the middle, under the cup, which is not the case here) but I find it very nice. It is a bra that I would put in the ’everyday’ category because it is quite covering, but not too much either, but personally I find it very comfortable.
It comes in 2 versions: basic and with a lace overlay. All the instructions are given in the book as to the amount of elastic, the materials to choose and the fitting instructions. I think this is a good pattern to start sewing underwired bras.
It is only available in Milena’s book here, and I think it’s only available in French…
It’s muslin tiiiime
Sizing
Well obviously, trying out a new pattern means muslin. Or should I say muslins. I started by taking a look at the measurement chart but as it happens (FYI it’s a french measurement system), I don’t fit into it:
- my underbust measurement matches the back measurement 100. OK so far so good.
- my breast height is higher than the biggest size in the chart (11 cm the biggest size against 14 cm on my measurements). Well, that means I’ll have to make some alterations to make the cup bigger. Moving on.
- The underwire size chart shows that the largest size is 115. Since almost all my underwires come from non-French stores, I compared the ones that fit me with the underwire chart. Bingo, they match the 115. For the sake of comparison, the wires that fit me are either the 46 size from Emerald Erin or the 44 size from BWear.
OK, so to recap: I have the back size, the underwire size, but the cup will probably be too small for me. This is a recurring problem with me, I often need deeper cups than the sizing charts call for. So I went with the size 100E: the size that matches back size and my underwire size.
That’s where I could actually ask myself: can’t this problem be solved by simply taking a bigger cup size? 100F in my case?
In theory yes, I could, but it’s not that simple.
If the back size is good, and the underwire size fits you, going up a size will not solve the problem: OK maybe the cups will be good, but you will also have to go up a size in the underwire, and you might end up with an uncomfortable bra. And I’ve found my underwire size that works for me, so I don’t want to change it.
In these cases you have several ways to go:
- you can cut the same back and the same band, and cut the cups one size bigger, and shave the cup height at the junction with the band, so that your cups can fit perfectly the band and match your underwire size (you can find diagrams that illustrate this method here),
- you can use the “slash/spread” method to enlarge the cup. Be careful with this method though, it’s not suitable for large adjustments, which may deform the piece. But hey, the muslin is also made to validate the modifications!
In the case of the bra in the book, I already have the largest possible cup size, E, so it’s impossible to do method 1. So I went with method 2.
My first attempt
I decided to start with a first muslin using size 100E, as is, without changing anything from the pattern. For this I used fabrics from a [BWear] kit (https://www.bwear.se/): in duoplex (which is a stable fabric, but with some mechanical give in the bias, perfect for a bra muslin), the back in powernet, the straps in ribbon, no elastic, no frame cover. My muslin is very basic, the idea is to go as fast as possible by eliminating unnecessary steps. For example, I don’t use an underwire cover, I make an extra seam in the seam allowance of the cups: it creates a little tunnel in which I can insert the wires. And that’s good enough!
So I sewed my muslin, and the verdict was what I expected: the cups are too small. Okay, so let’s at least check that the band is the right size.
At this point, I cut into my cups. A large opening in the cup without cutting them all the way to the top (to keep a pivot point). In fact, it’s a bit like an FBA in garment sewing: you cut, you try it on, and you measure the width of the opening between the 2 sides of the cup. This is the amount you need to add to the cup pieces. This step allowed me to identify that I needed to add 1.2 cm to each cup.
My second attempt
For this second attempt, I identified that I needed to add 1.2 cm width to each cup. I did this in several steps. Before starting to alter everything, I drew all my seam allowances on the pieces. I also decided to add these 1.2 cm spread over 3 axis: the more you spread, the less you deform the piece (at least, in my experience). And then 1.2 is well divided by 3.
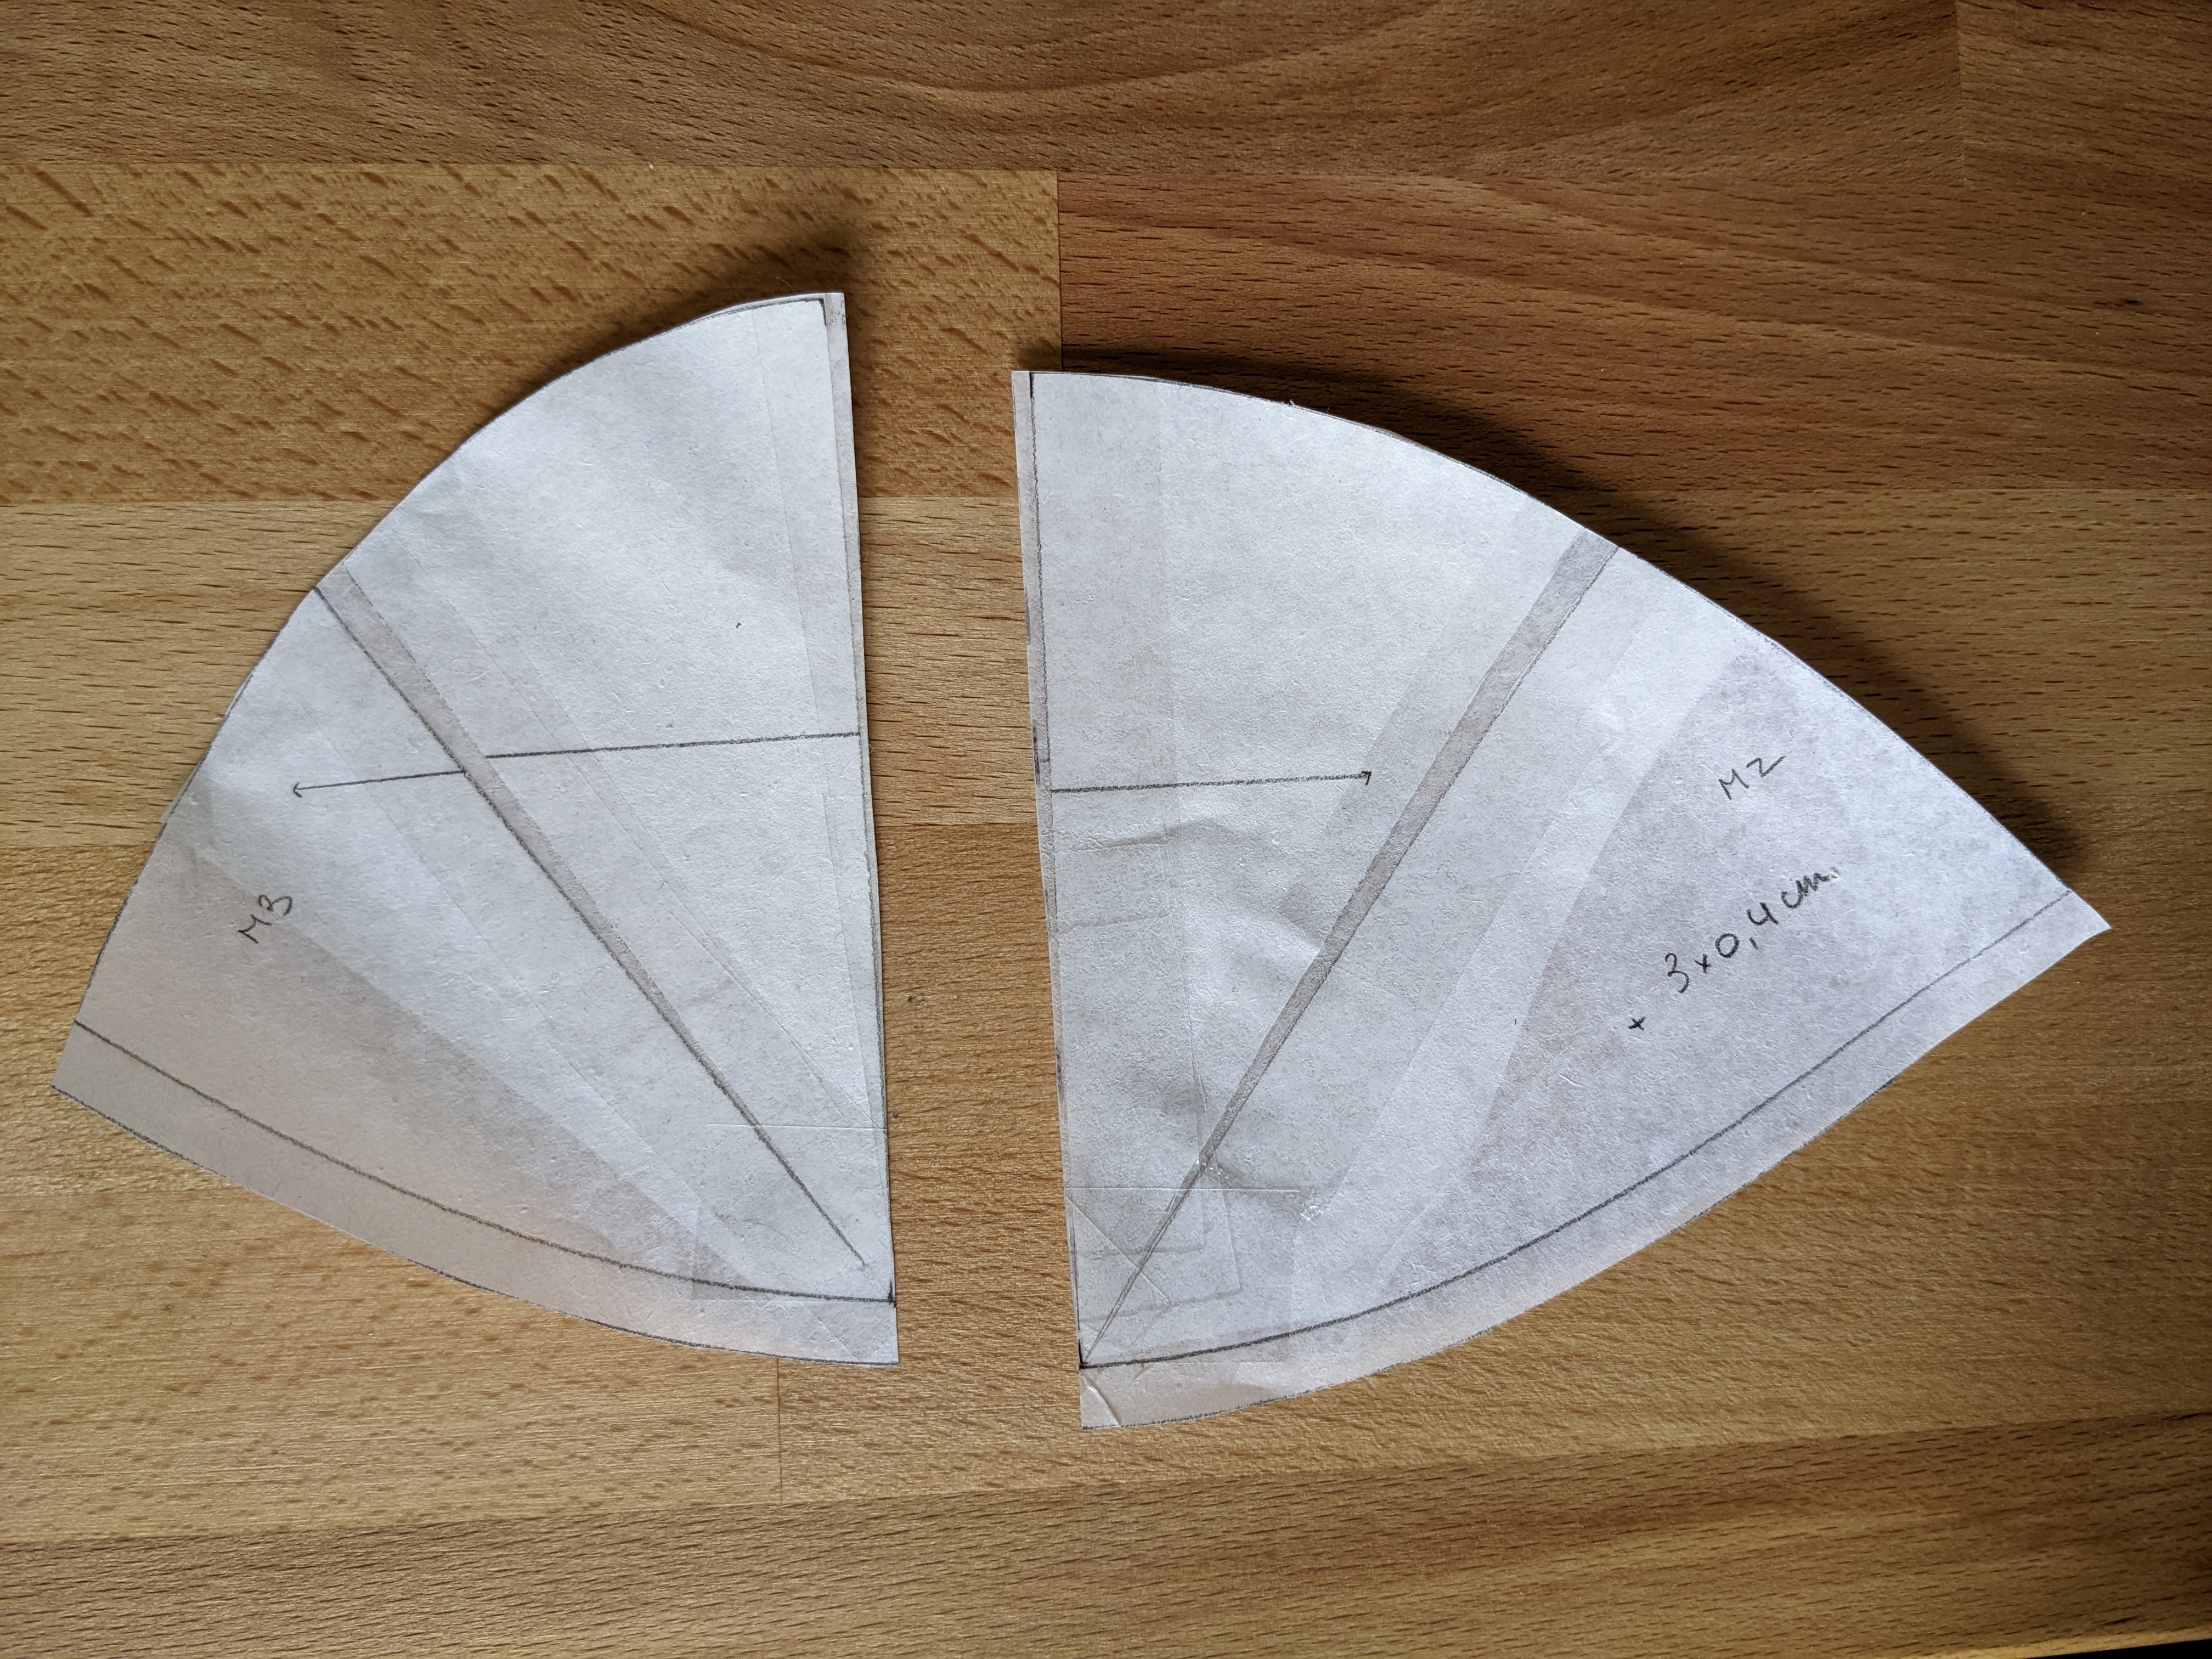
First, the bottom of the cup: I superposed the 2 bottom pieces to create a single piece, I find it’s easier to adjust like that.
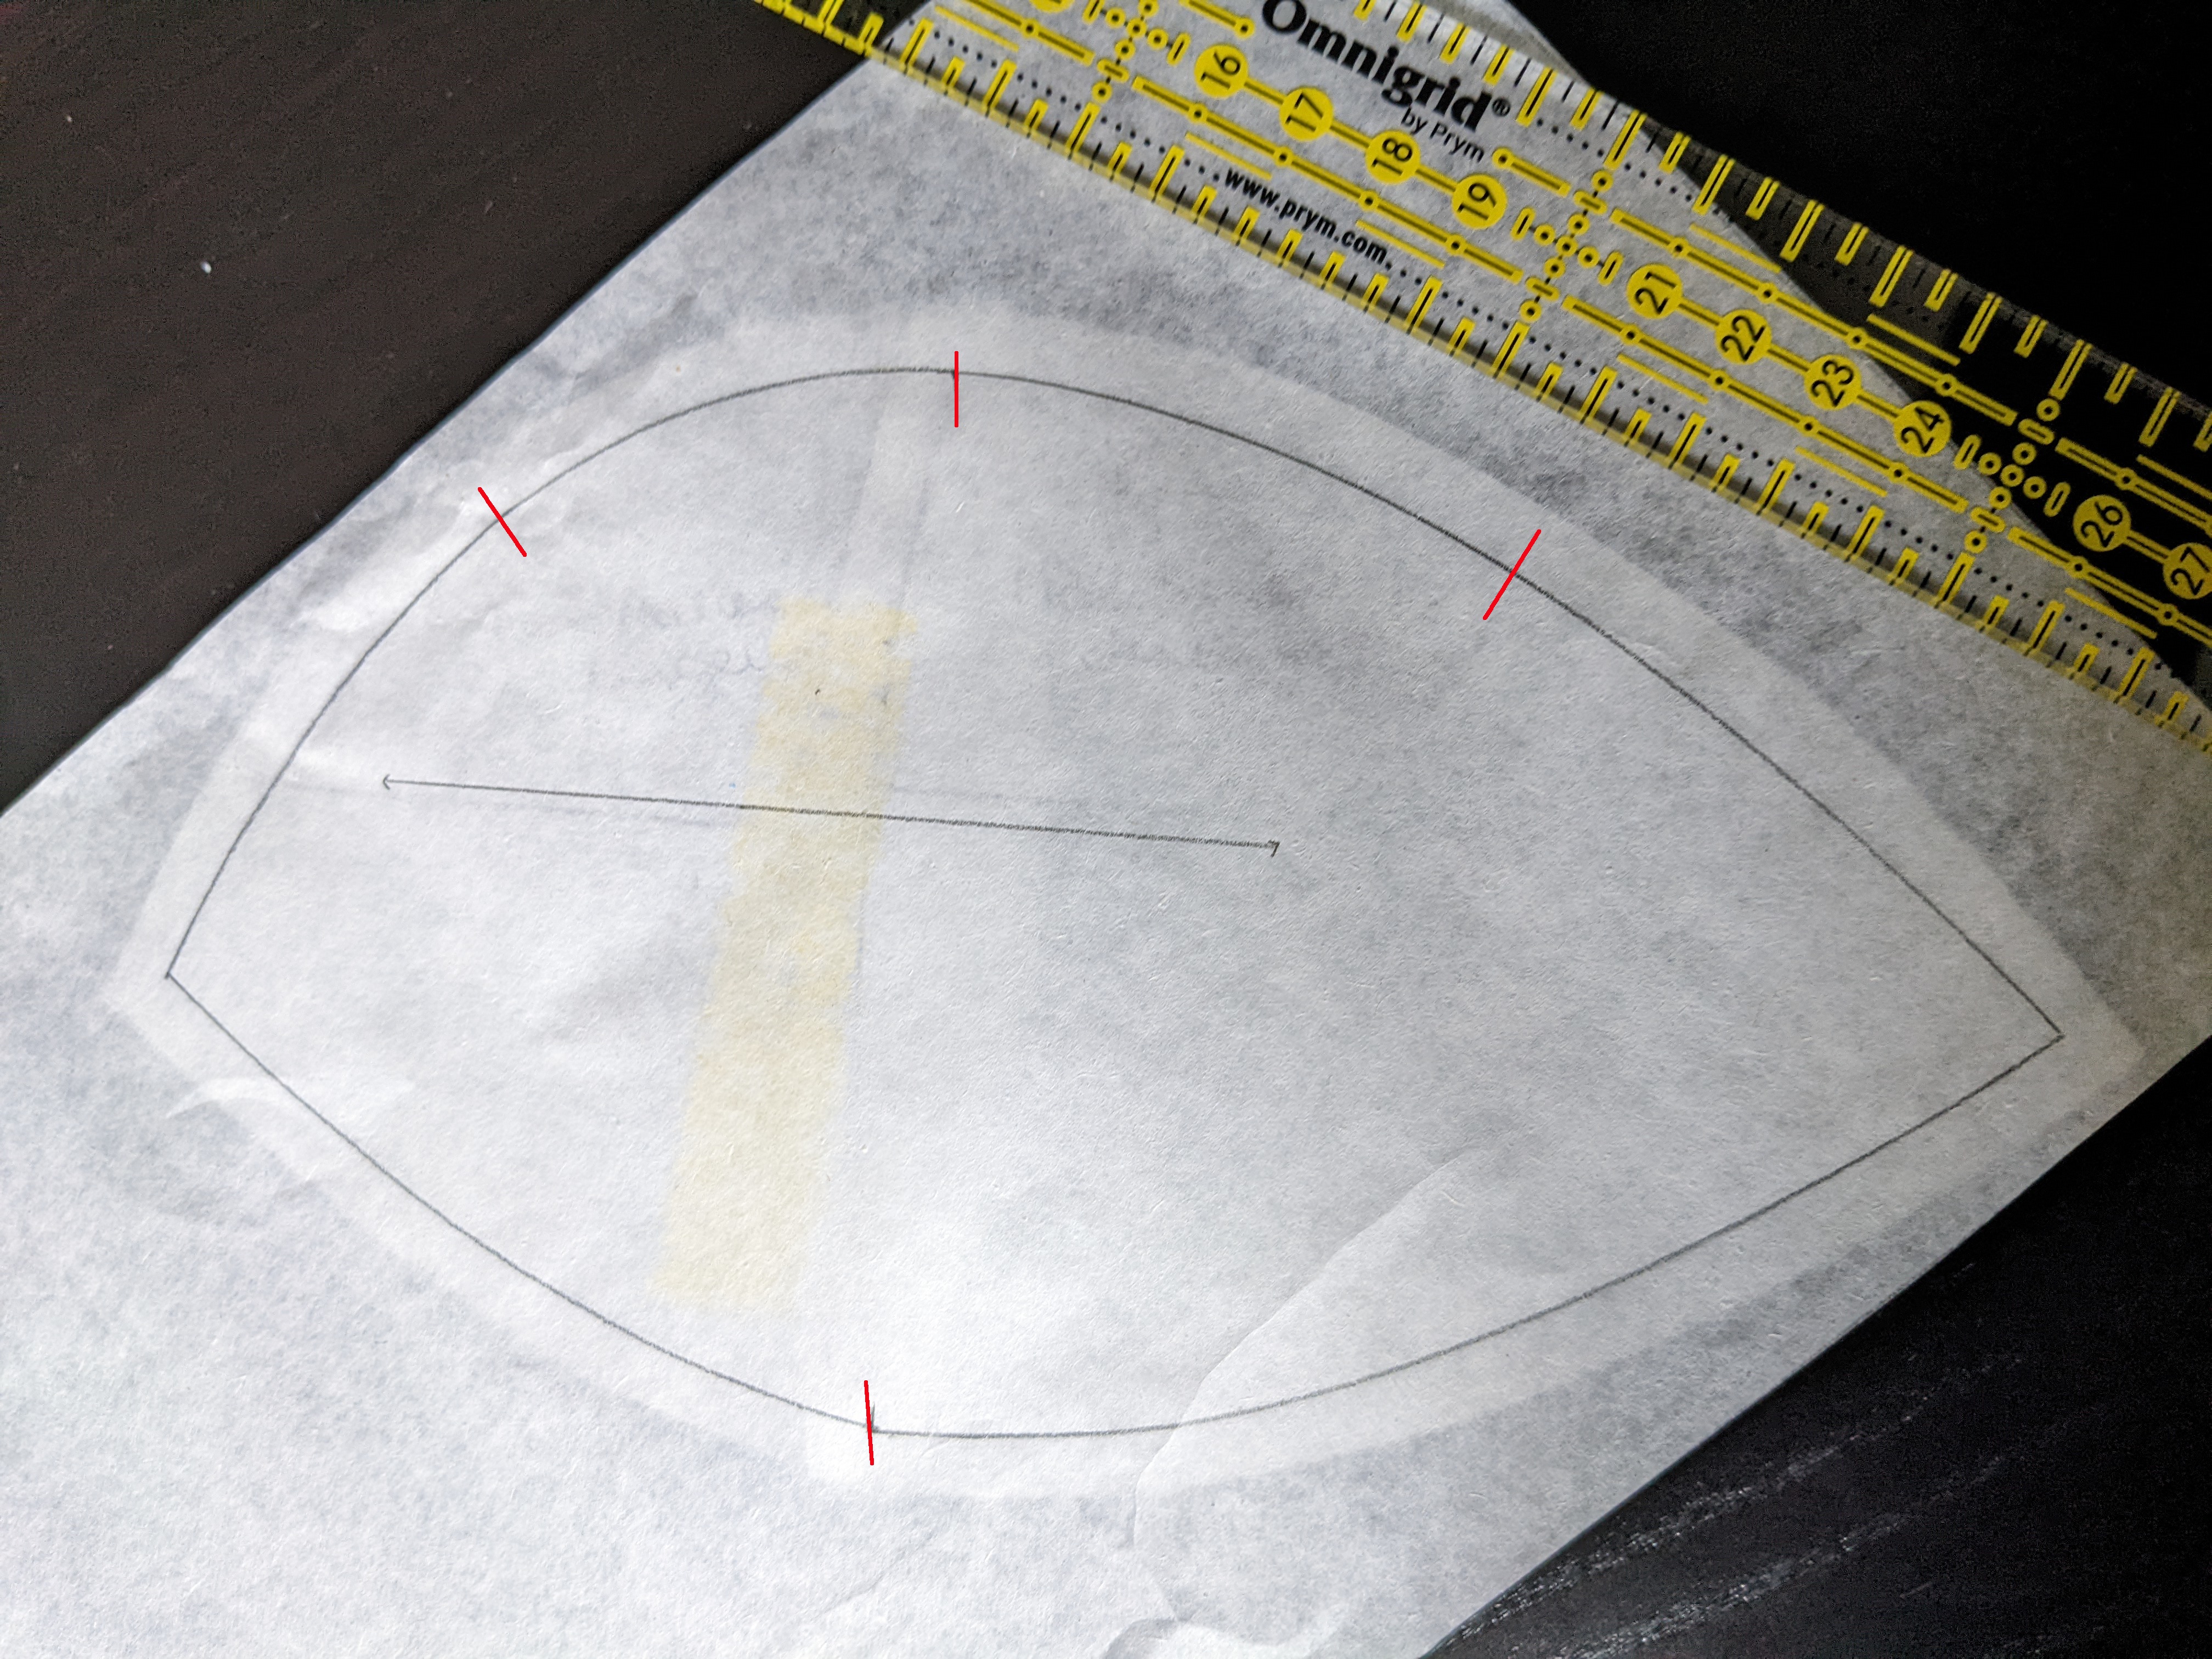
I made a notch in the middle along the top seam of the new piece. I then added 2 more notches about 1/4 and 3/4 of the way down the seam and drew 3 axis all starting from the middle of the bottom seam, and going through the 3 markers: 1/4, 1/2 and 3/4.
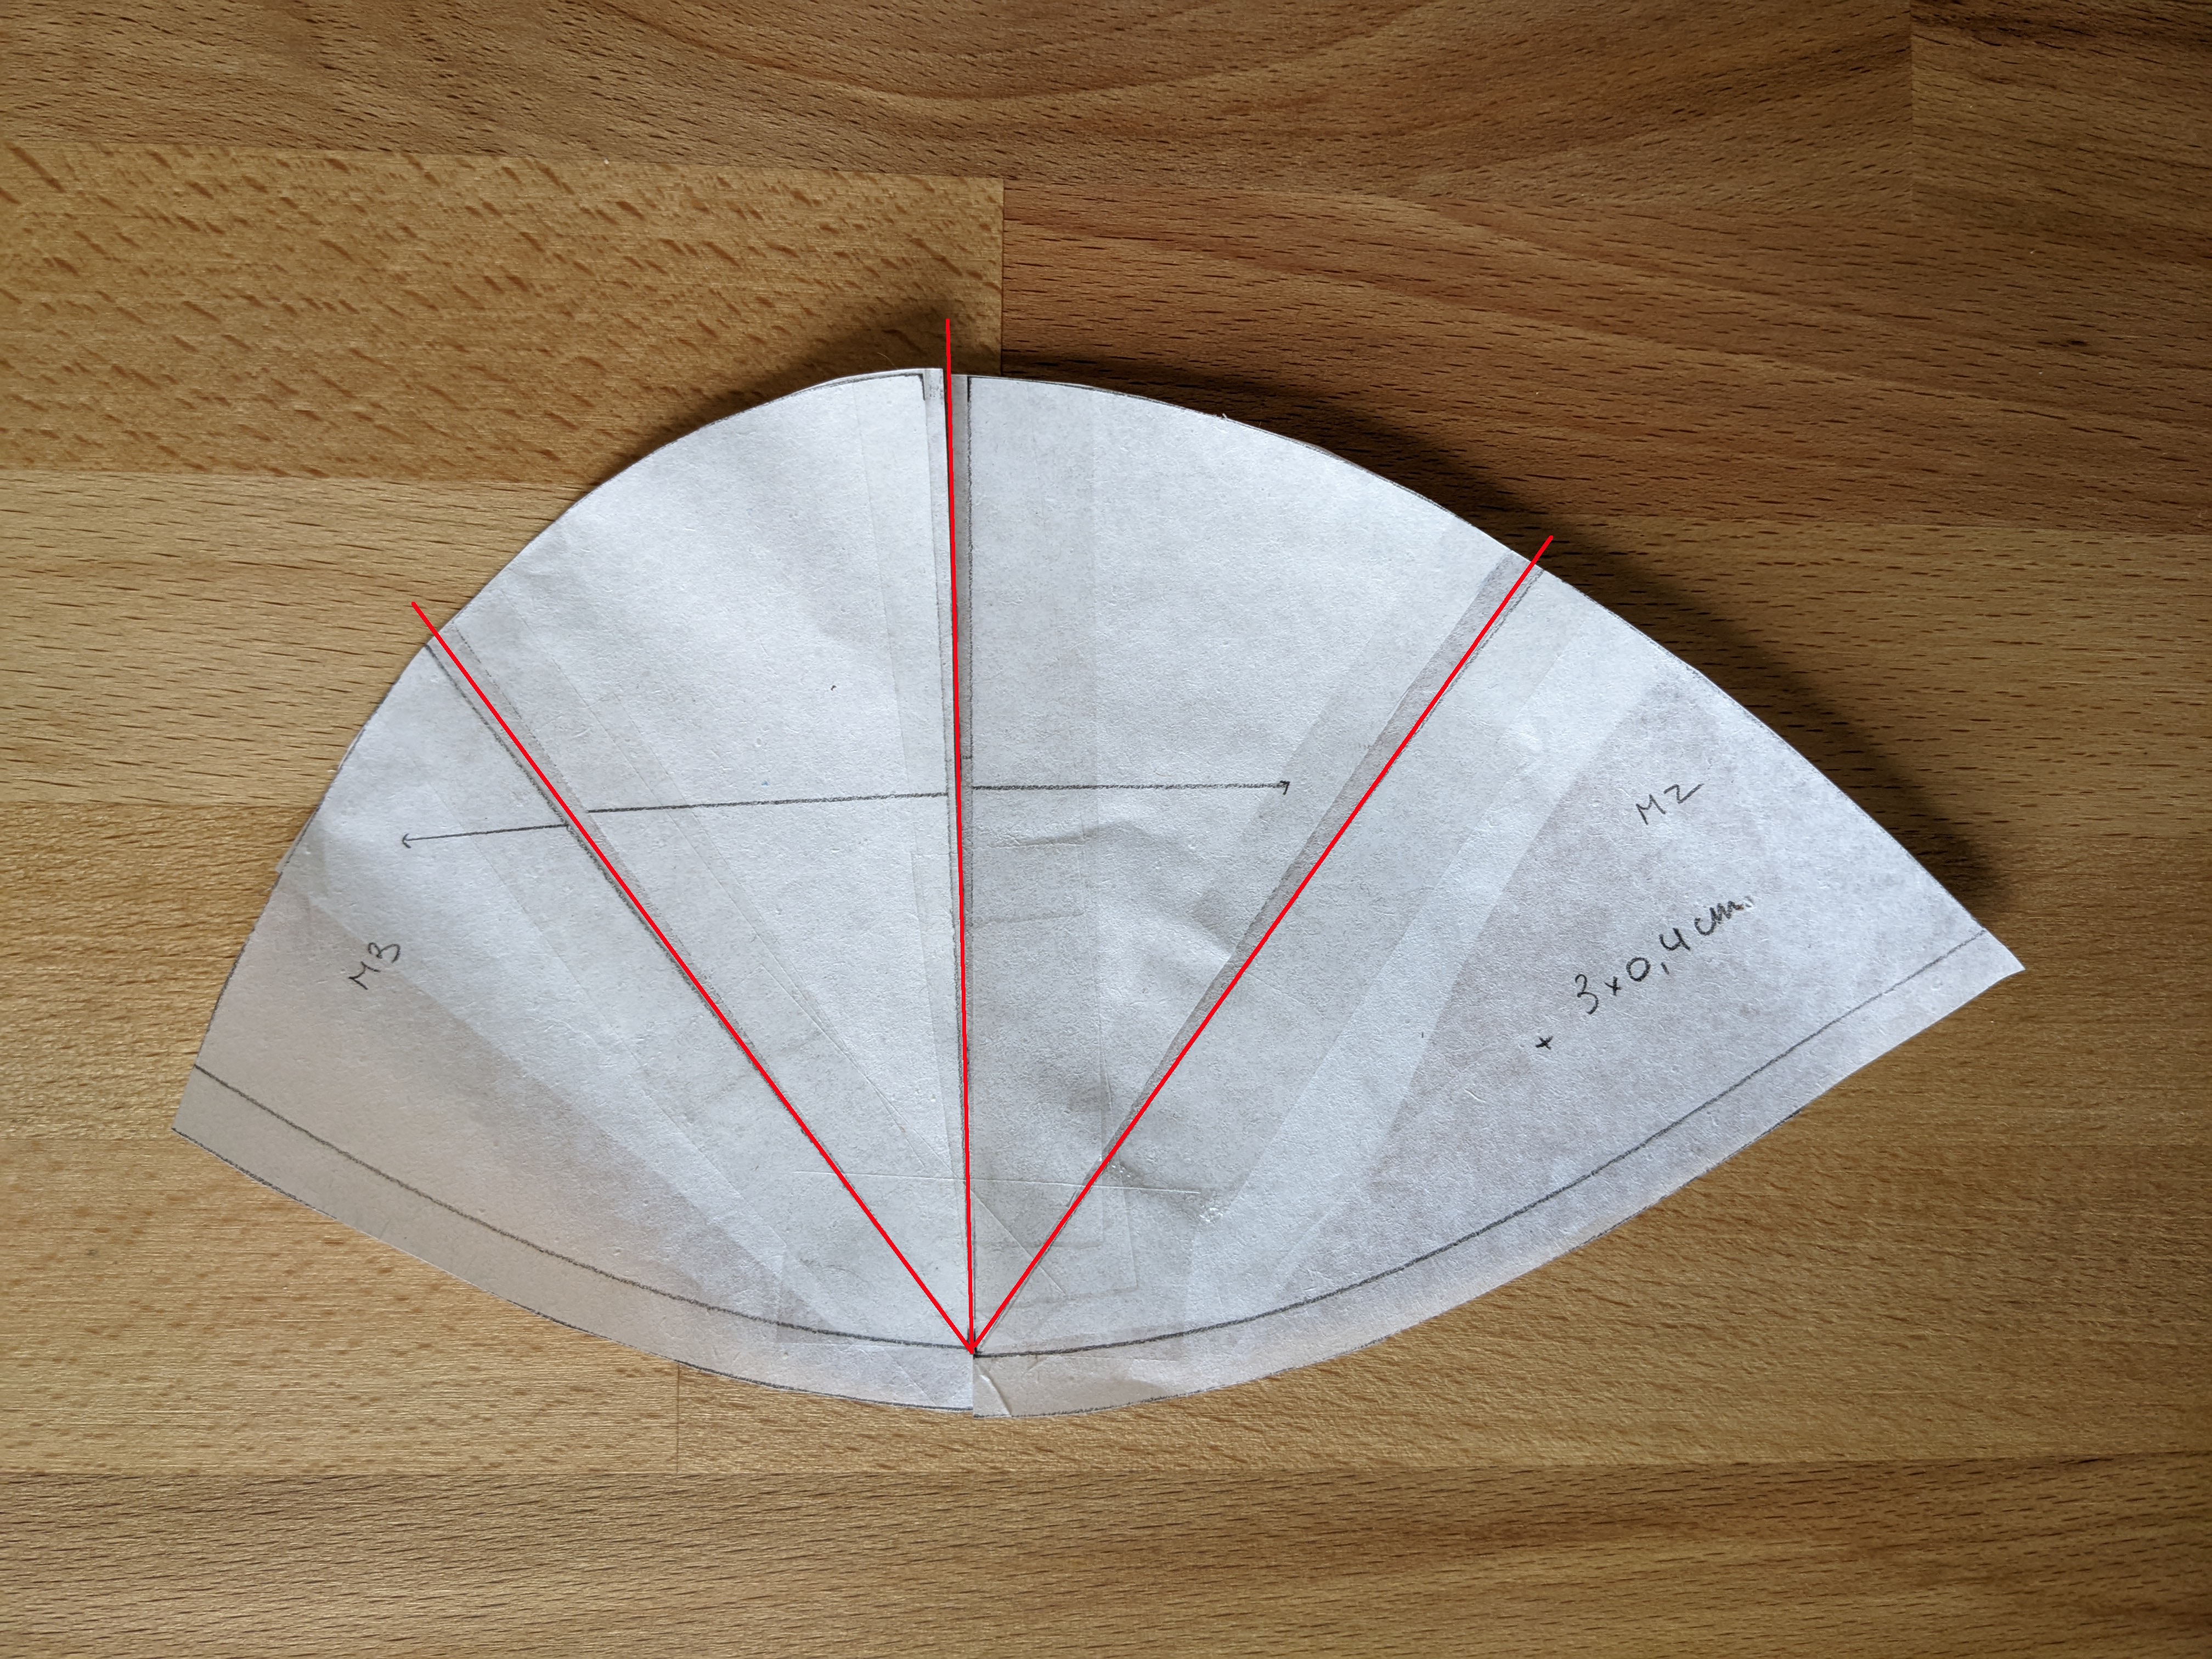
I cut along these 3 axis until I reached the middle of the bottom cup (I didn’t cut the bottom seam allowance to keep a pivot point)(and I want to keep my underwire size so we don’t want to add length there). And here I put my cut piece on another piece of paper, and taped so that each axis is 0.4cm apart at the top of the cup.
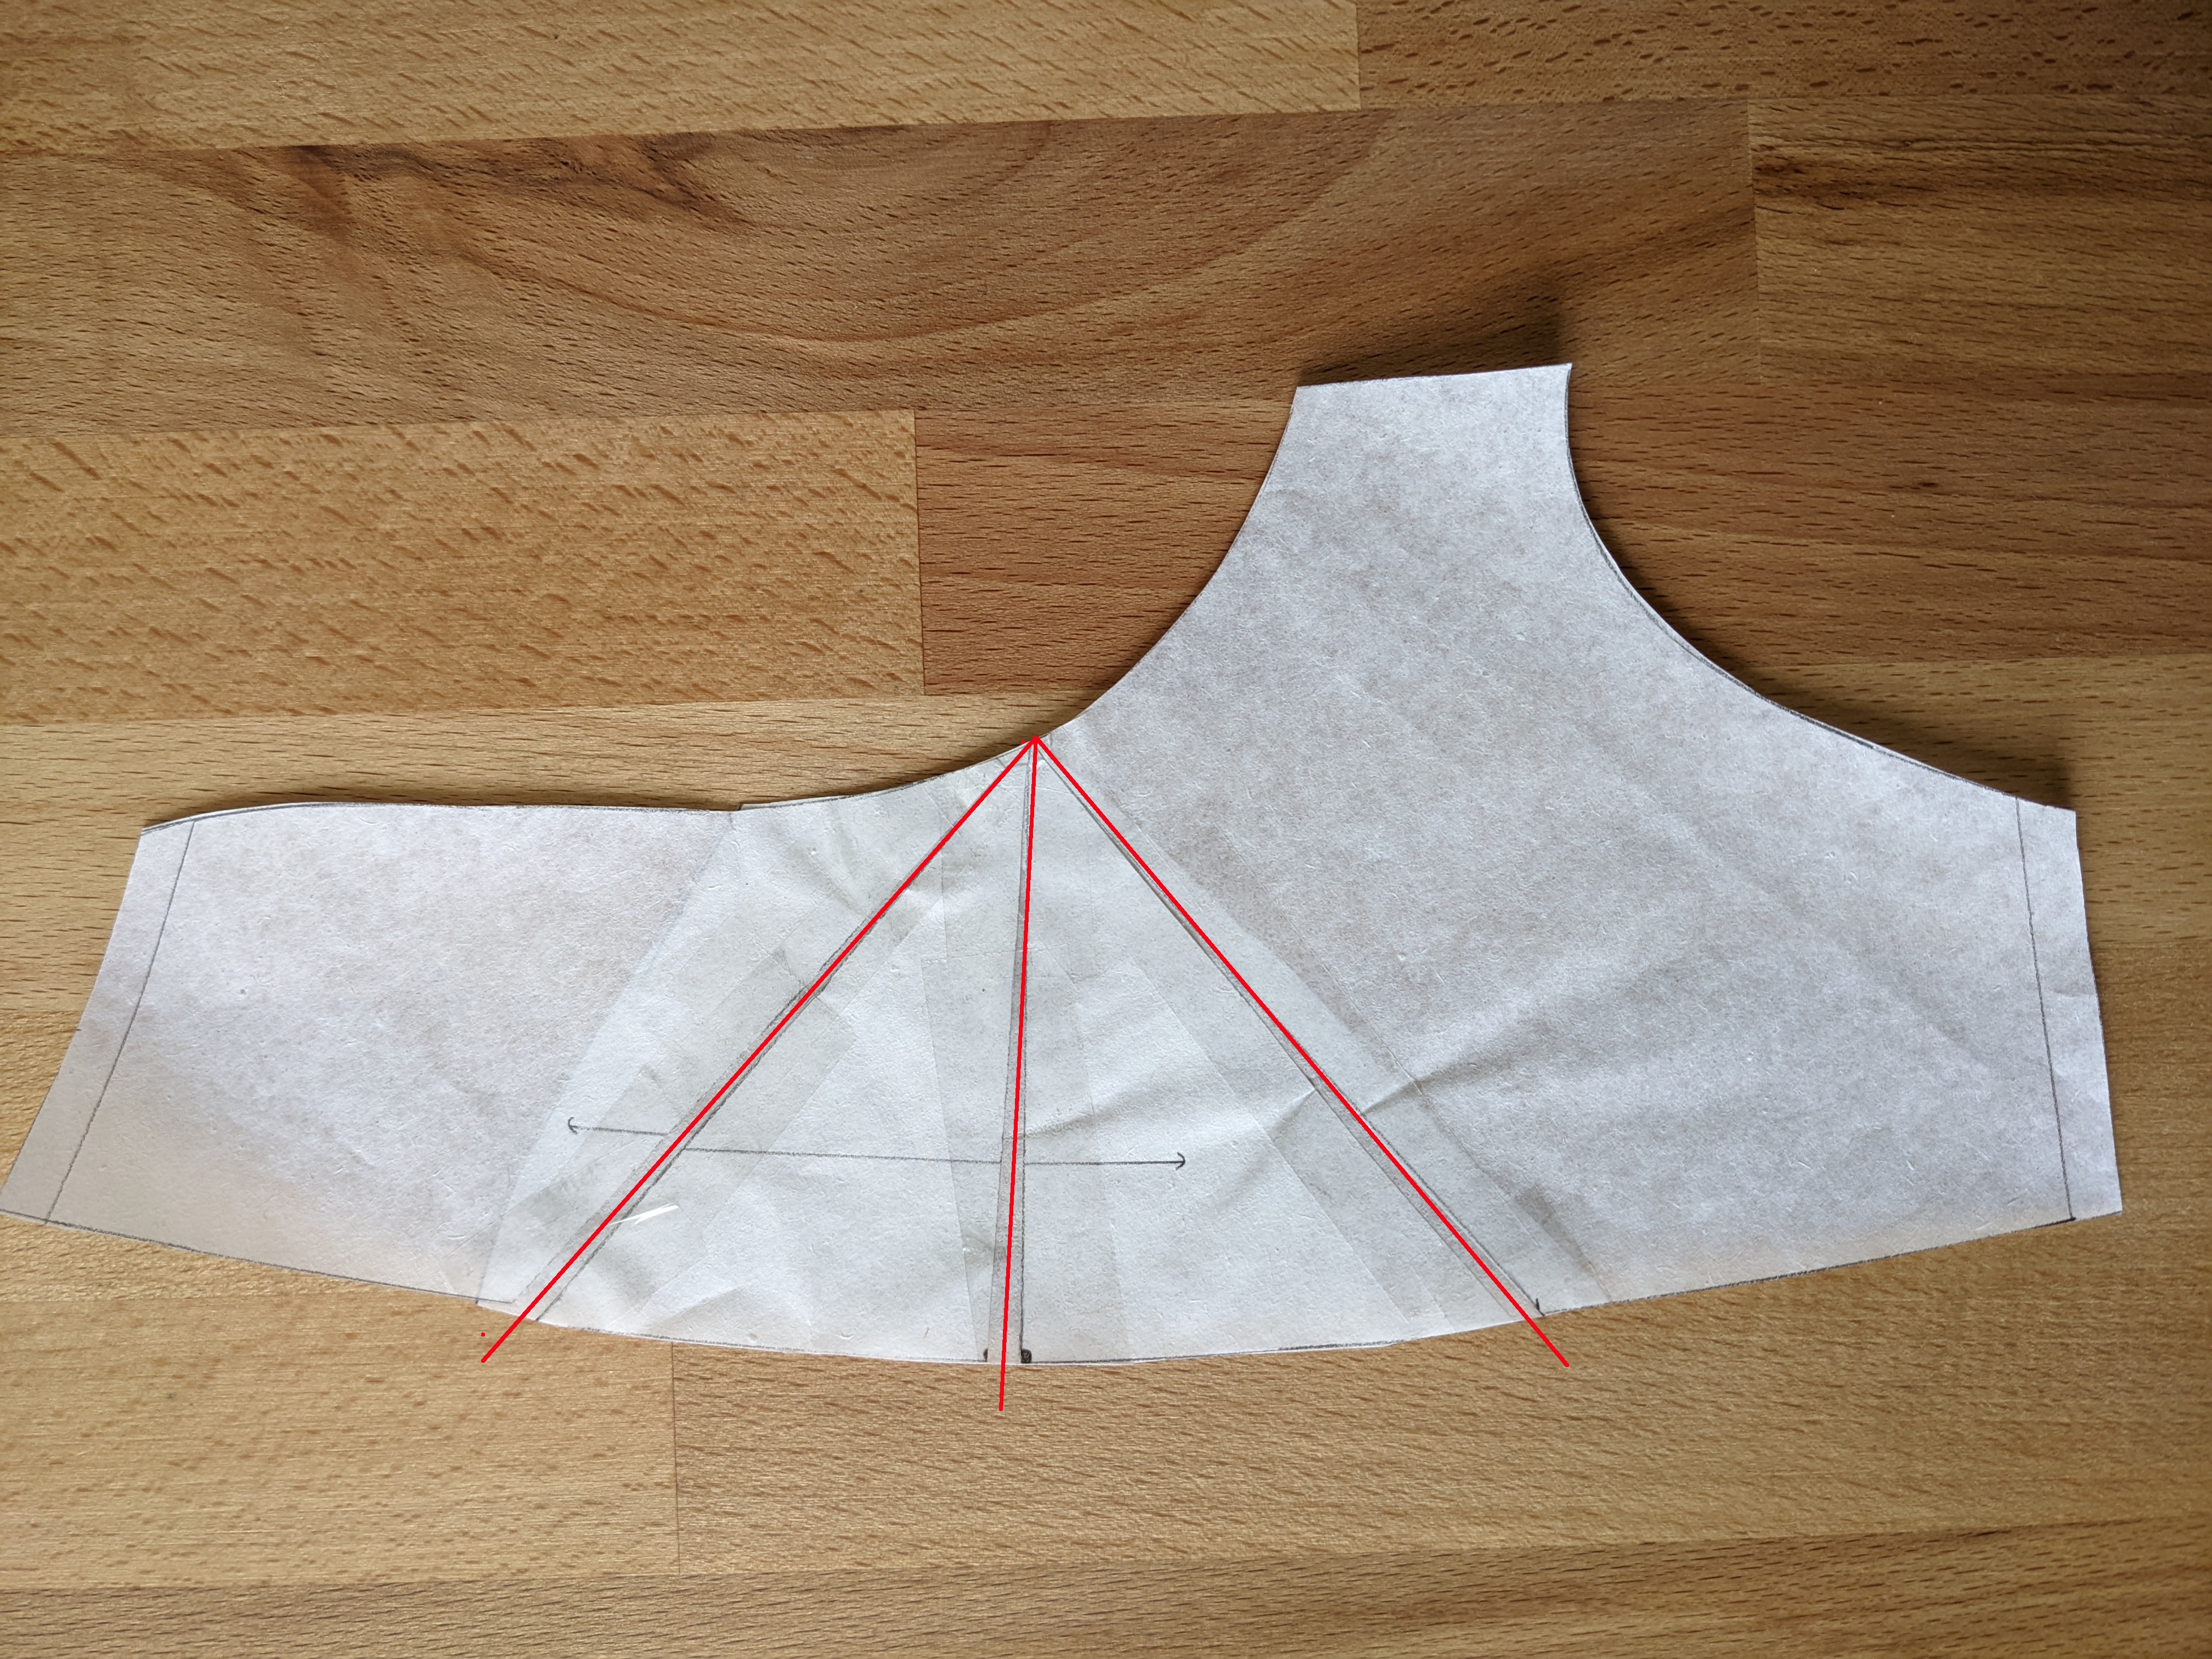
Then, to the top of the cup: same thing, I marked 3 notches on the seam bottom seam line of the top cup piece (trying to make sure they match the notches on the bottom cup piece), and I marked the middle of the top of the cup. I have to say that I kind of eyeballed the notches placement: it doesn’t need to be exact, just roughly evenly distributed. And again: I cut along these 3 axis, and taped the cut piece to another piece of paper, spreading the edges so that the gap was 0.4cm. And I re-drew the new top cup piece.
For my second muslin, I simply cut 2 new cups, removed the old ones from the cradle and sewed the new ones onto it.
I tried it out and bingo! We were good. So I was able to move on to my first (hopefully) wearable version. (Yaaaay!)
My first wearable version
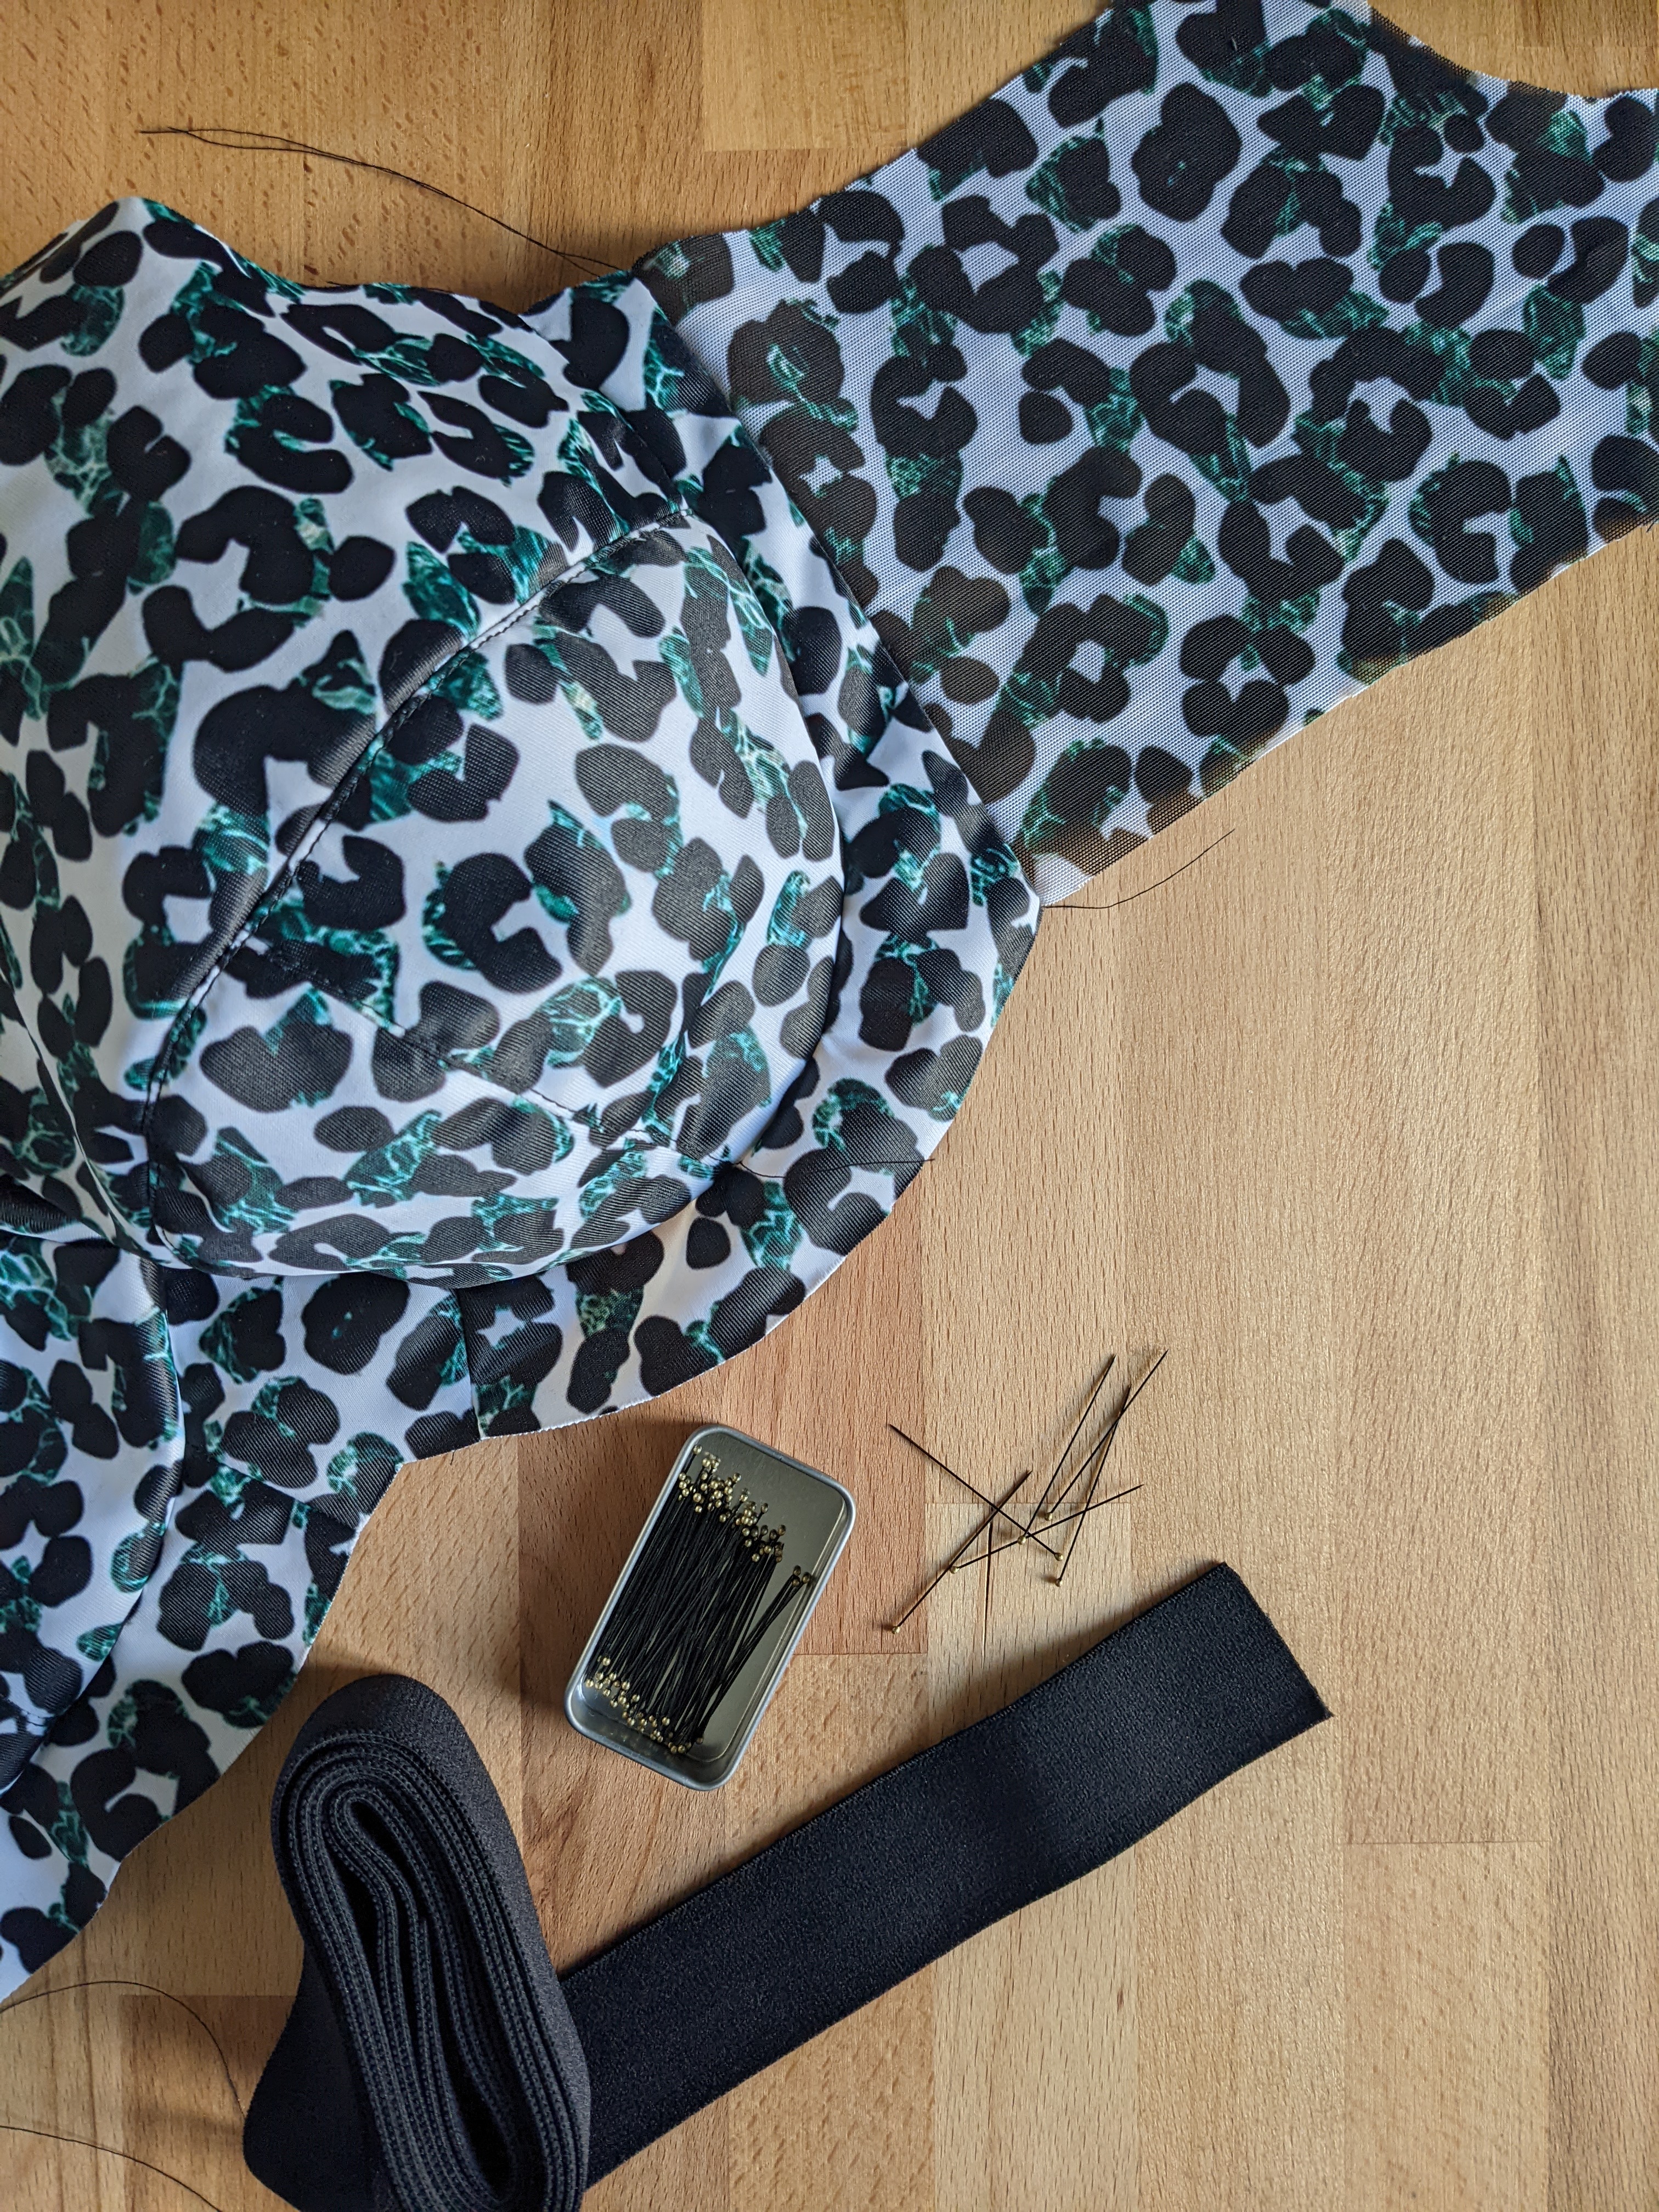
The fabrics and notions
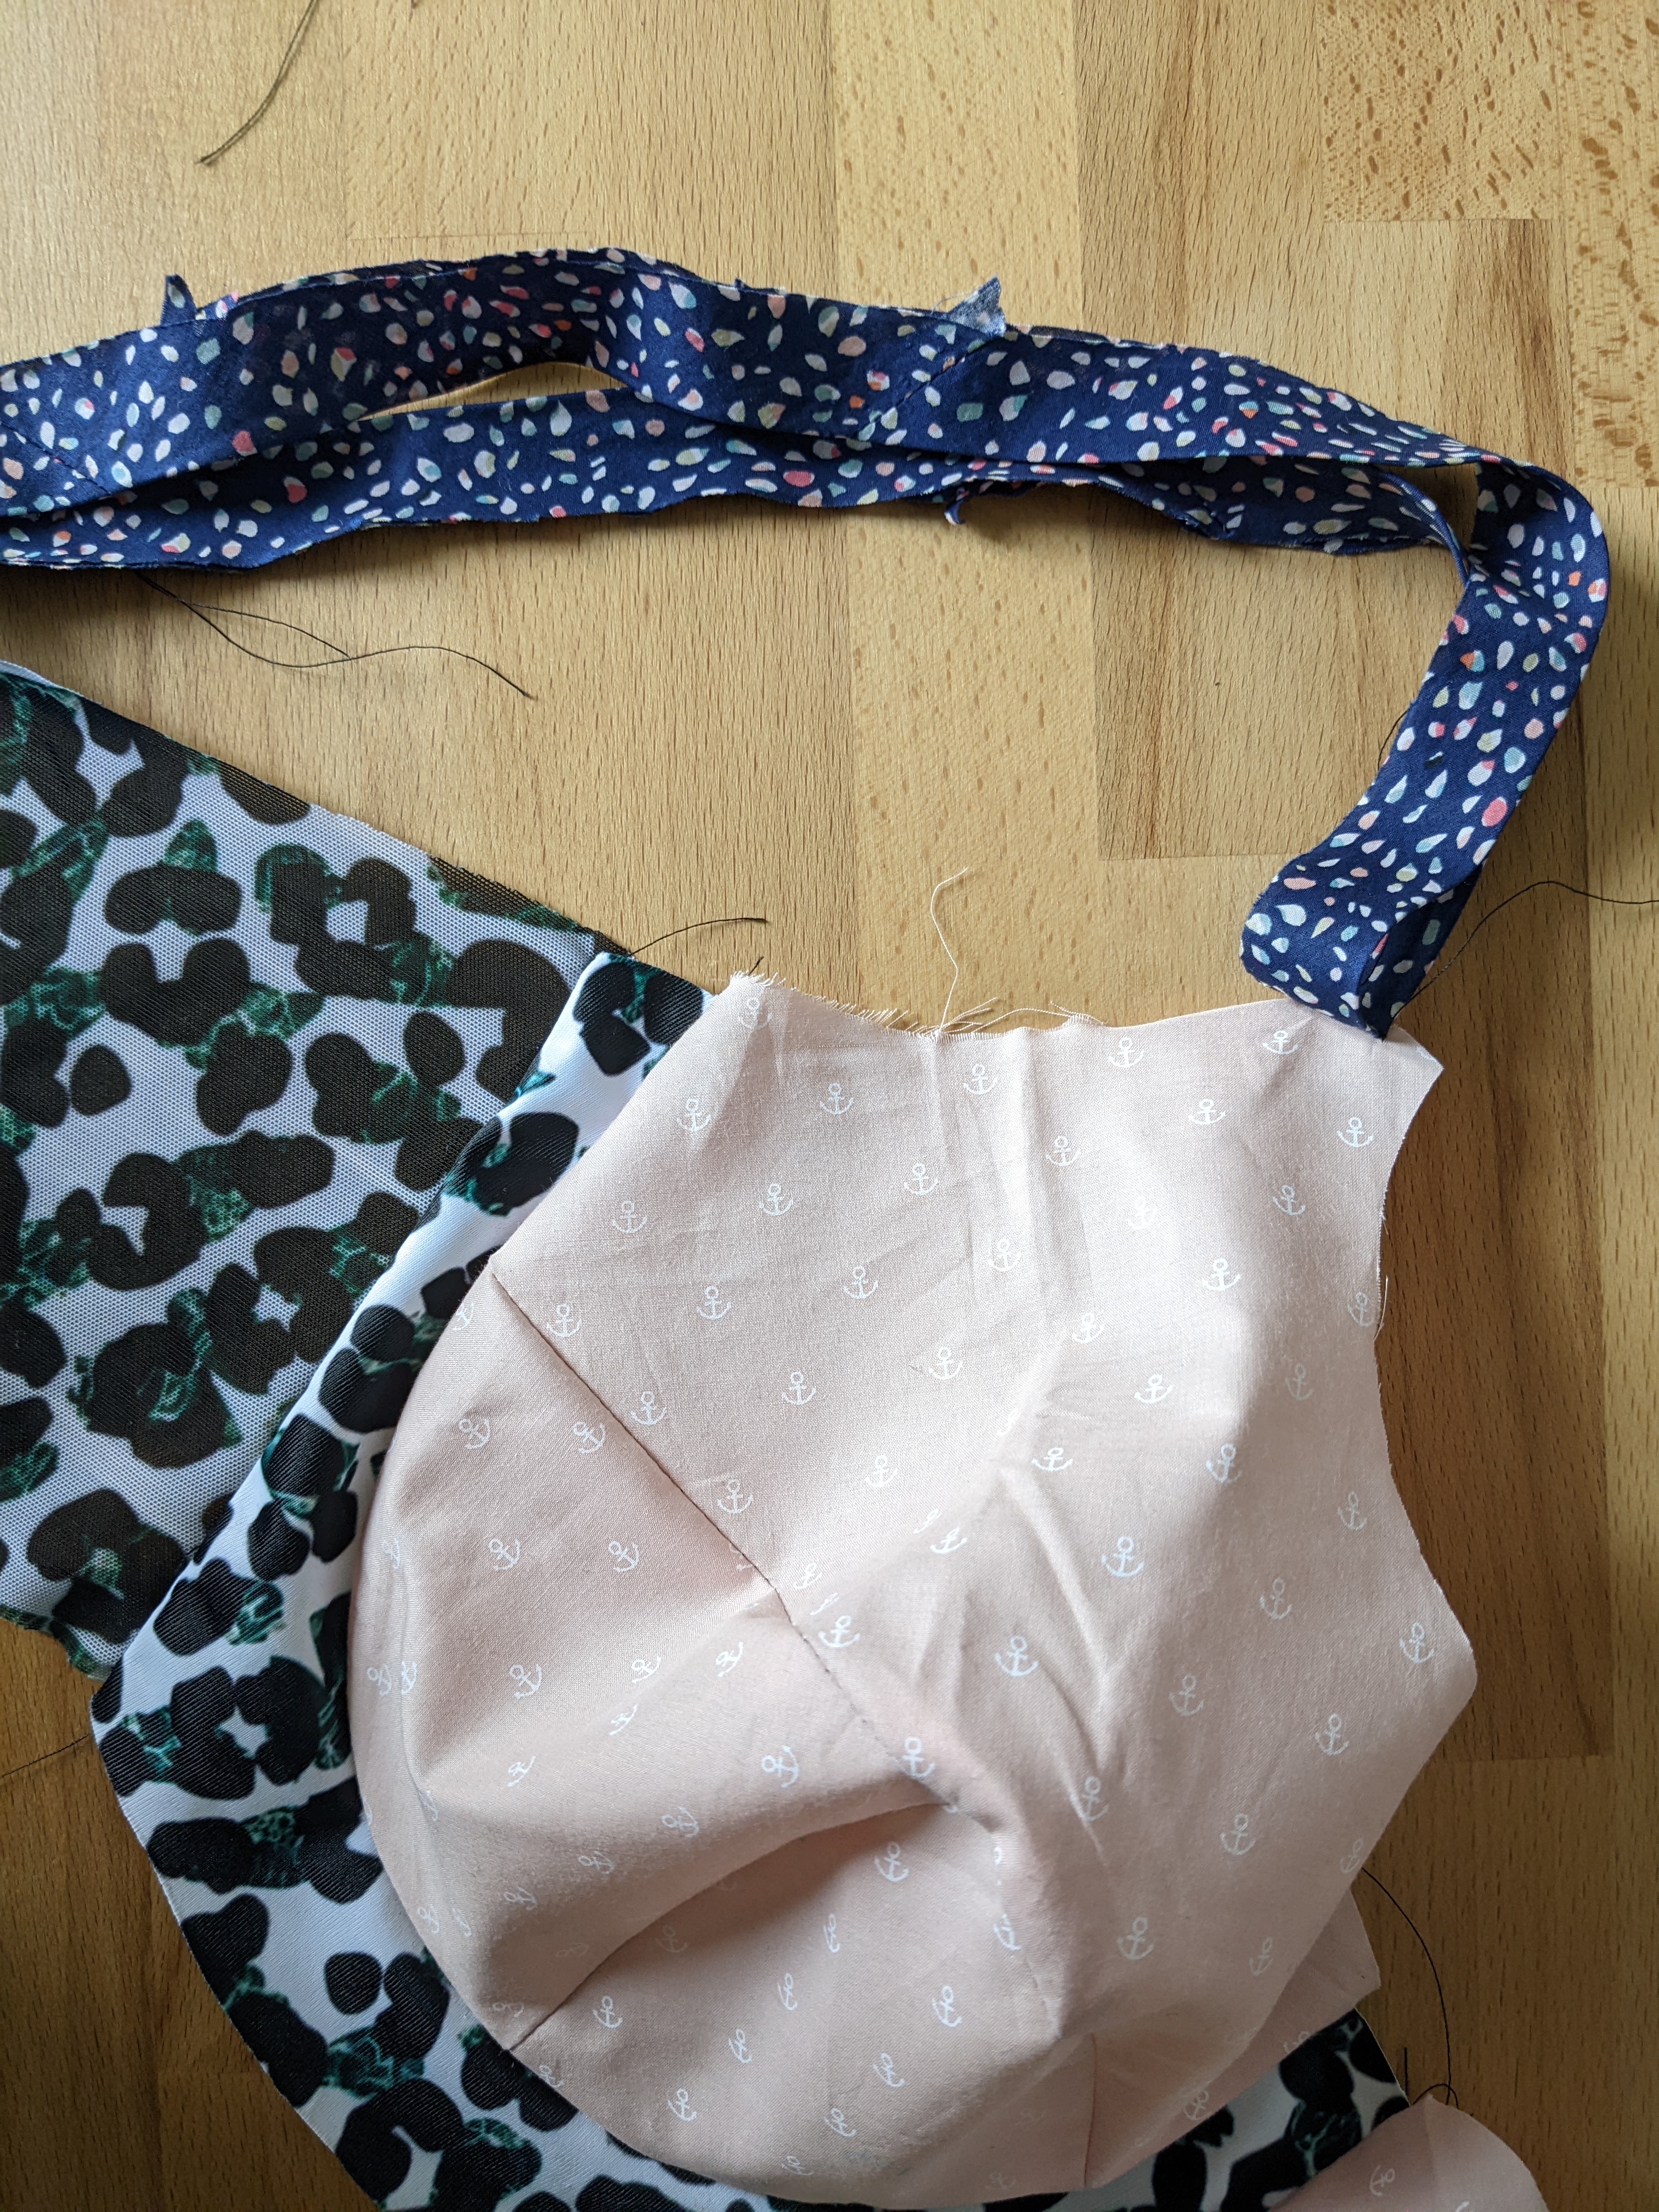
For this version, I immediately decided to try the lace version. So I used:
- soft skin-toned tulle for the lining of the cups,
- green lace from BWear for the outside,
- skin toned sheer cup lining for the cradle,
- skin-toned powernet (in one layer).
And since I didn’t have a fold-over elastic for the top of the cup (that’s the finishes the pattern calls for), I used a picot elastic from Charlotte Jaubert (I added the proper seam allowances beforhand, of course).
As for the other notions, the straps, the closure, I used stuff from my stash, and I no longer know the source… Probably a mix of supplies from Emerald Erin, BWear, Small Bobbins.
I also used BWear underwires: they are the Extra Long size 42.
Le montage
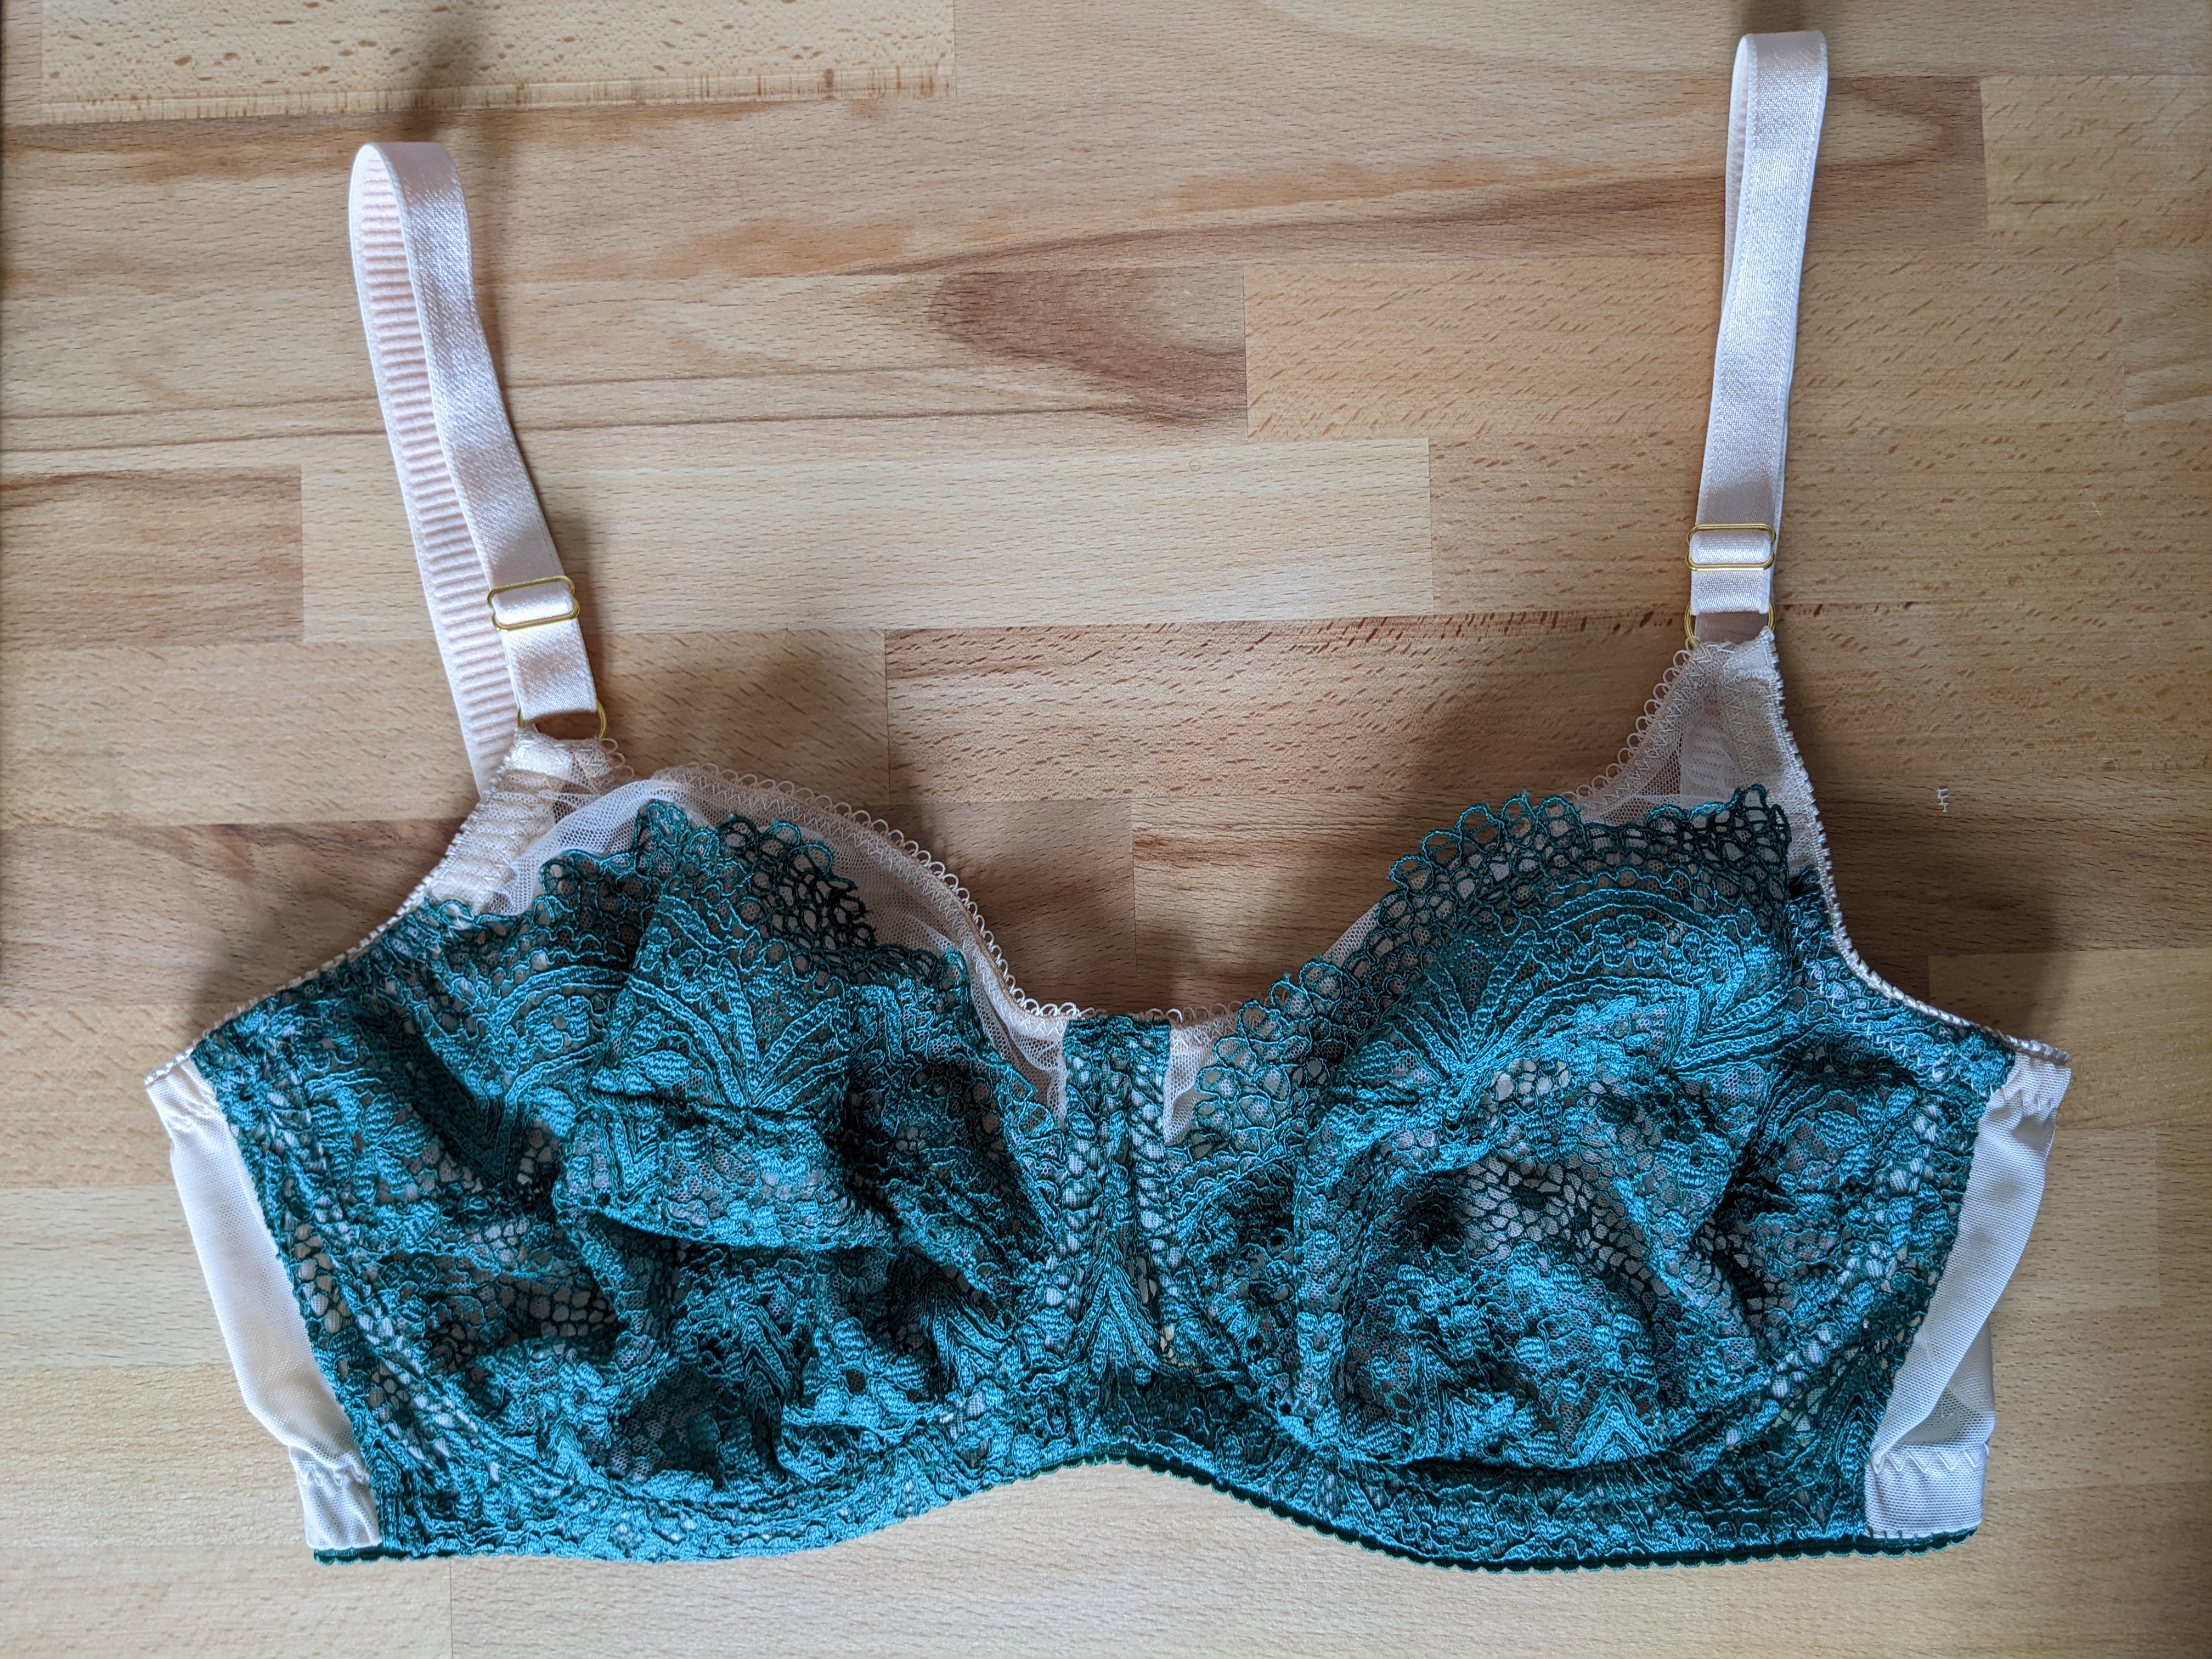
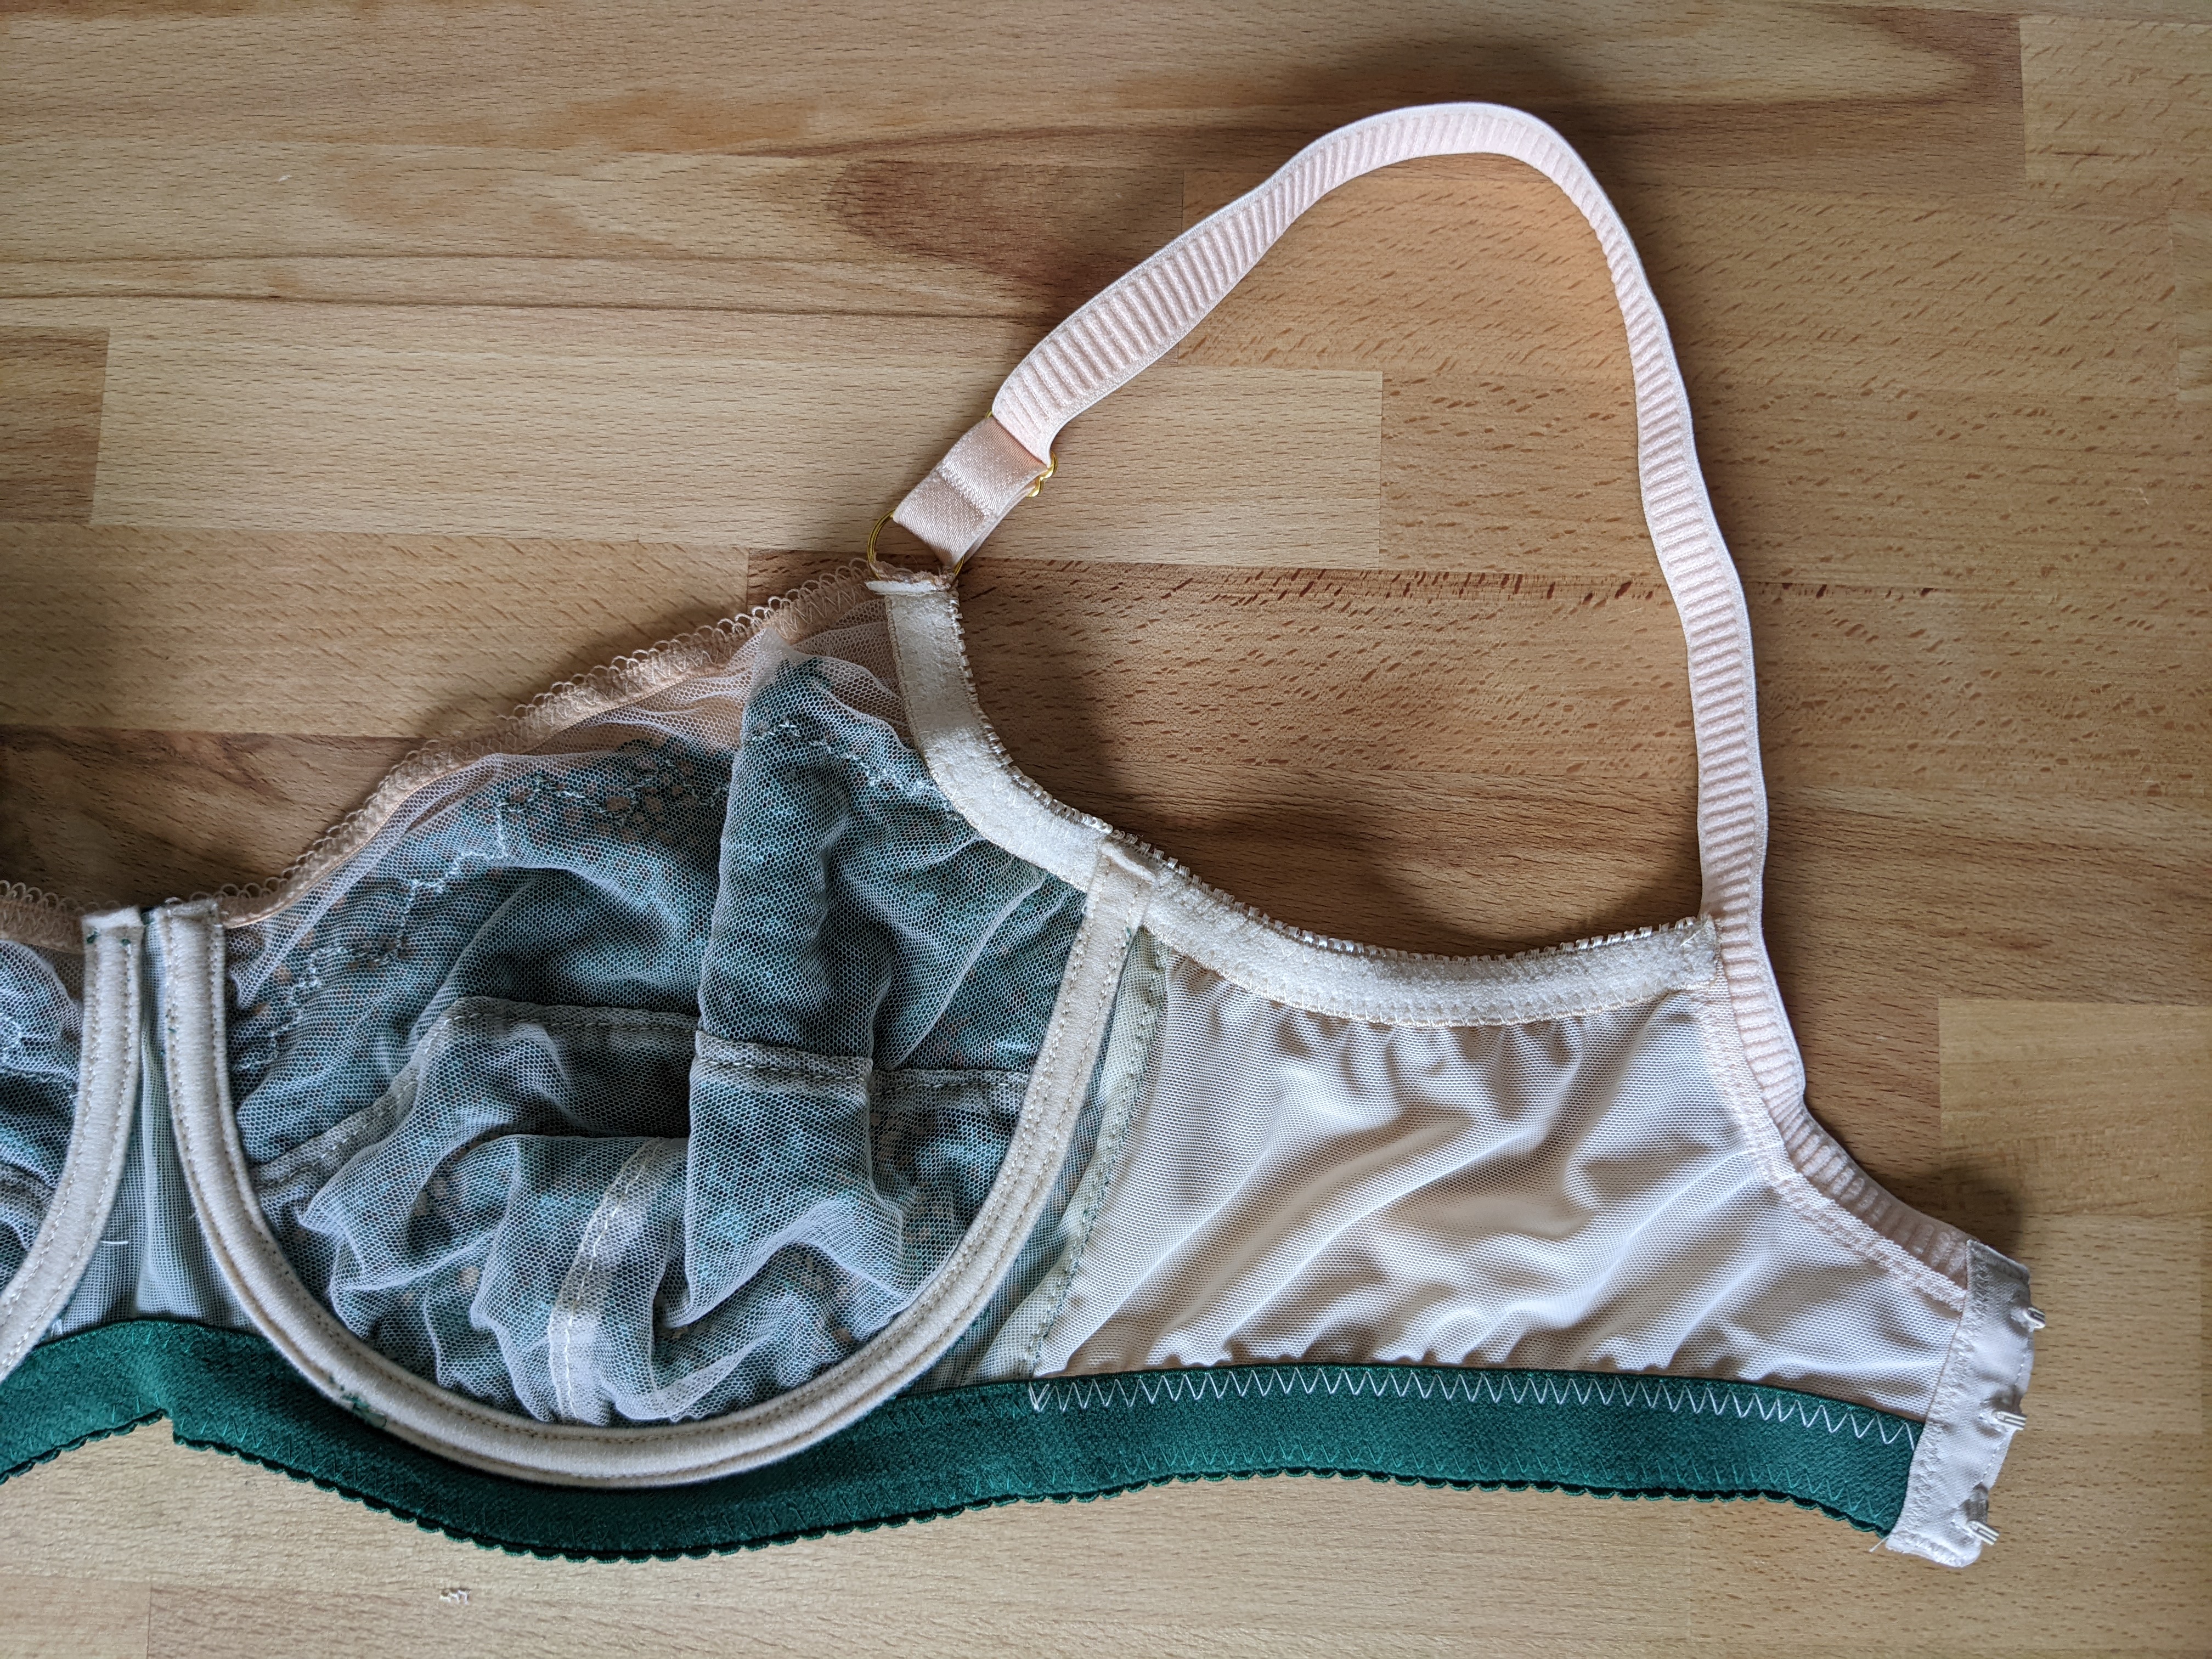
I followed the instructions exactly and everything was perfect. The only modification I made was to put the adjusters on the front instead of the back. This is a personal preference, I find it more practical. But other than that, everything went very well. Everything is clean inside with the seams enclosed, everything is beautiful.
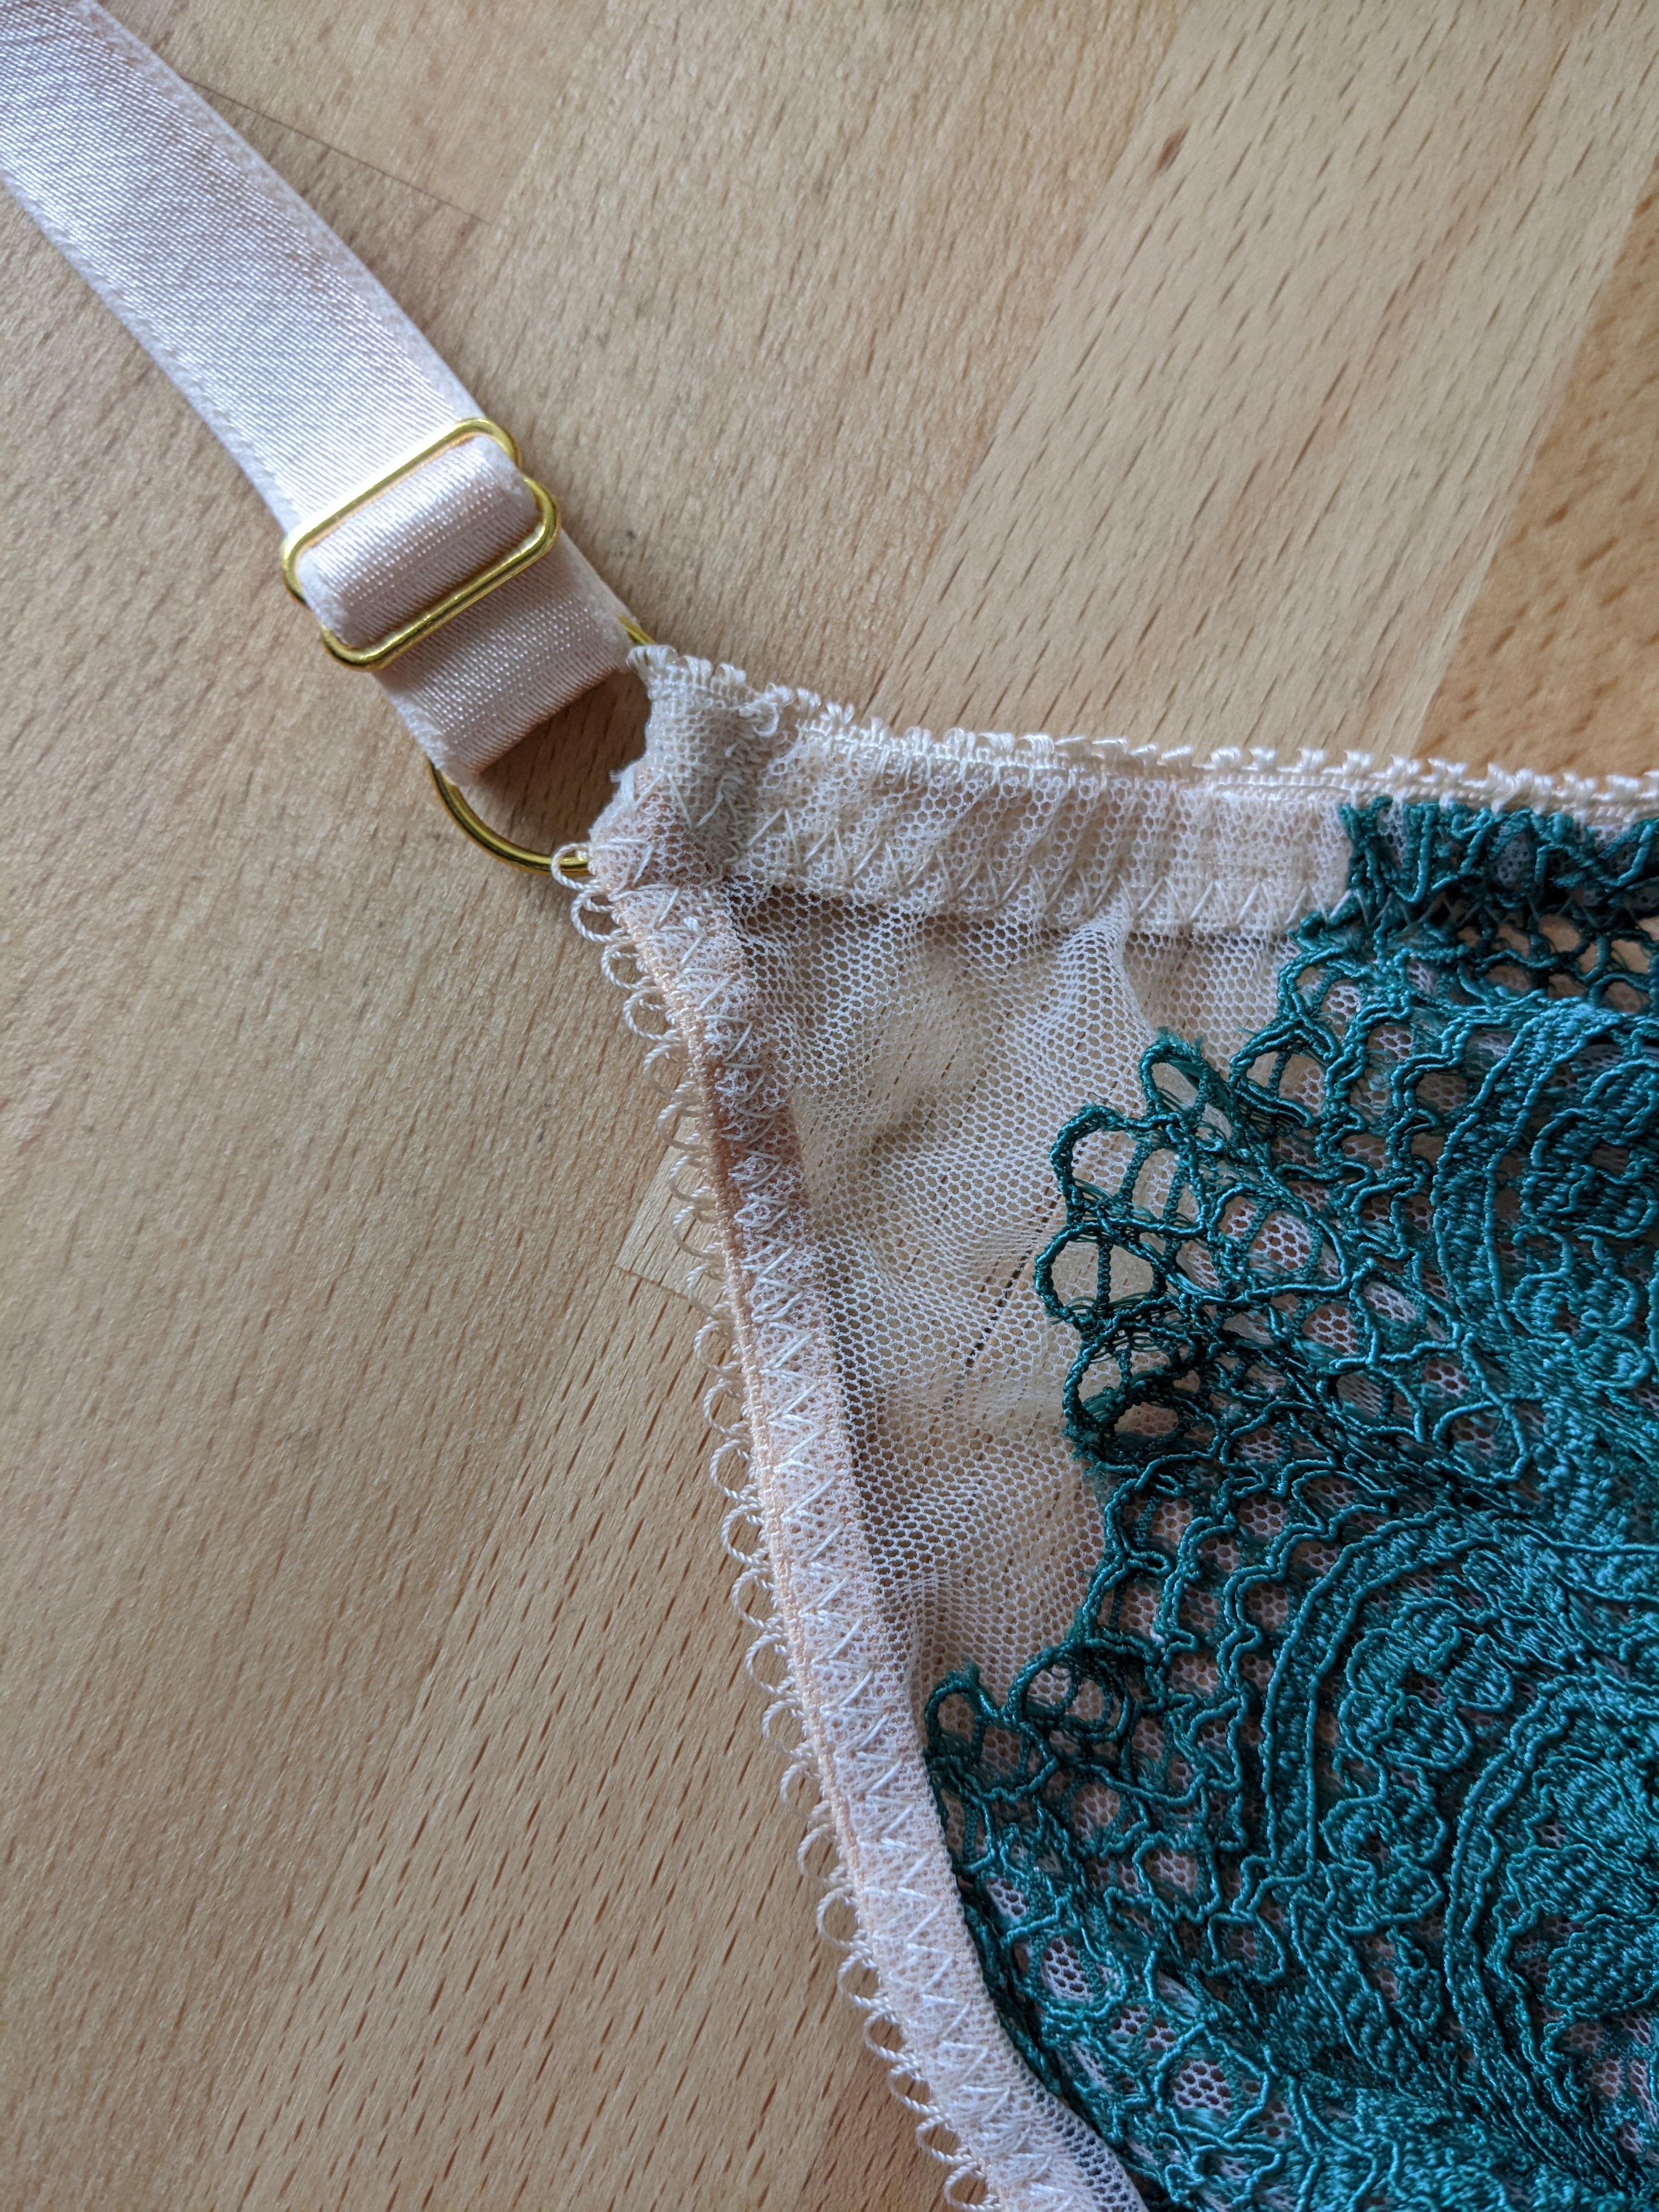
Verdict
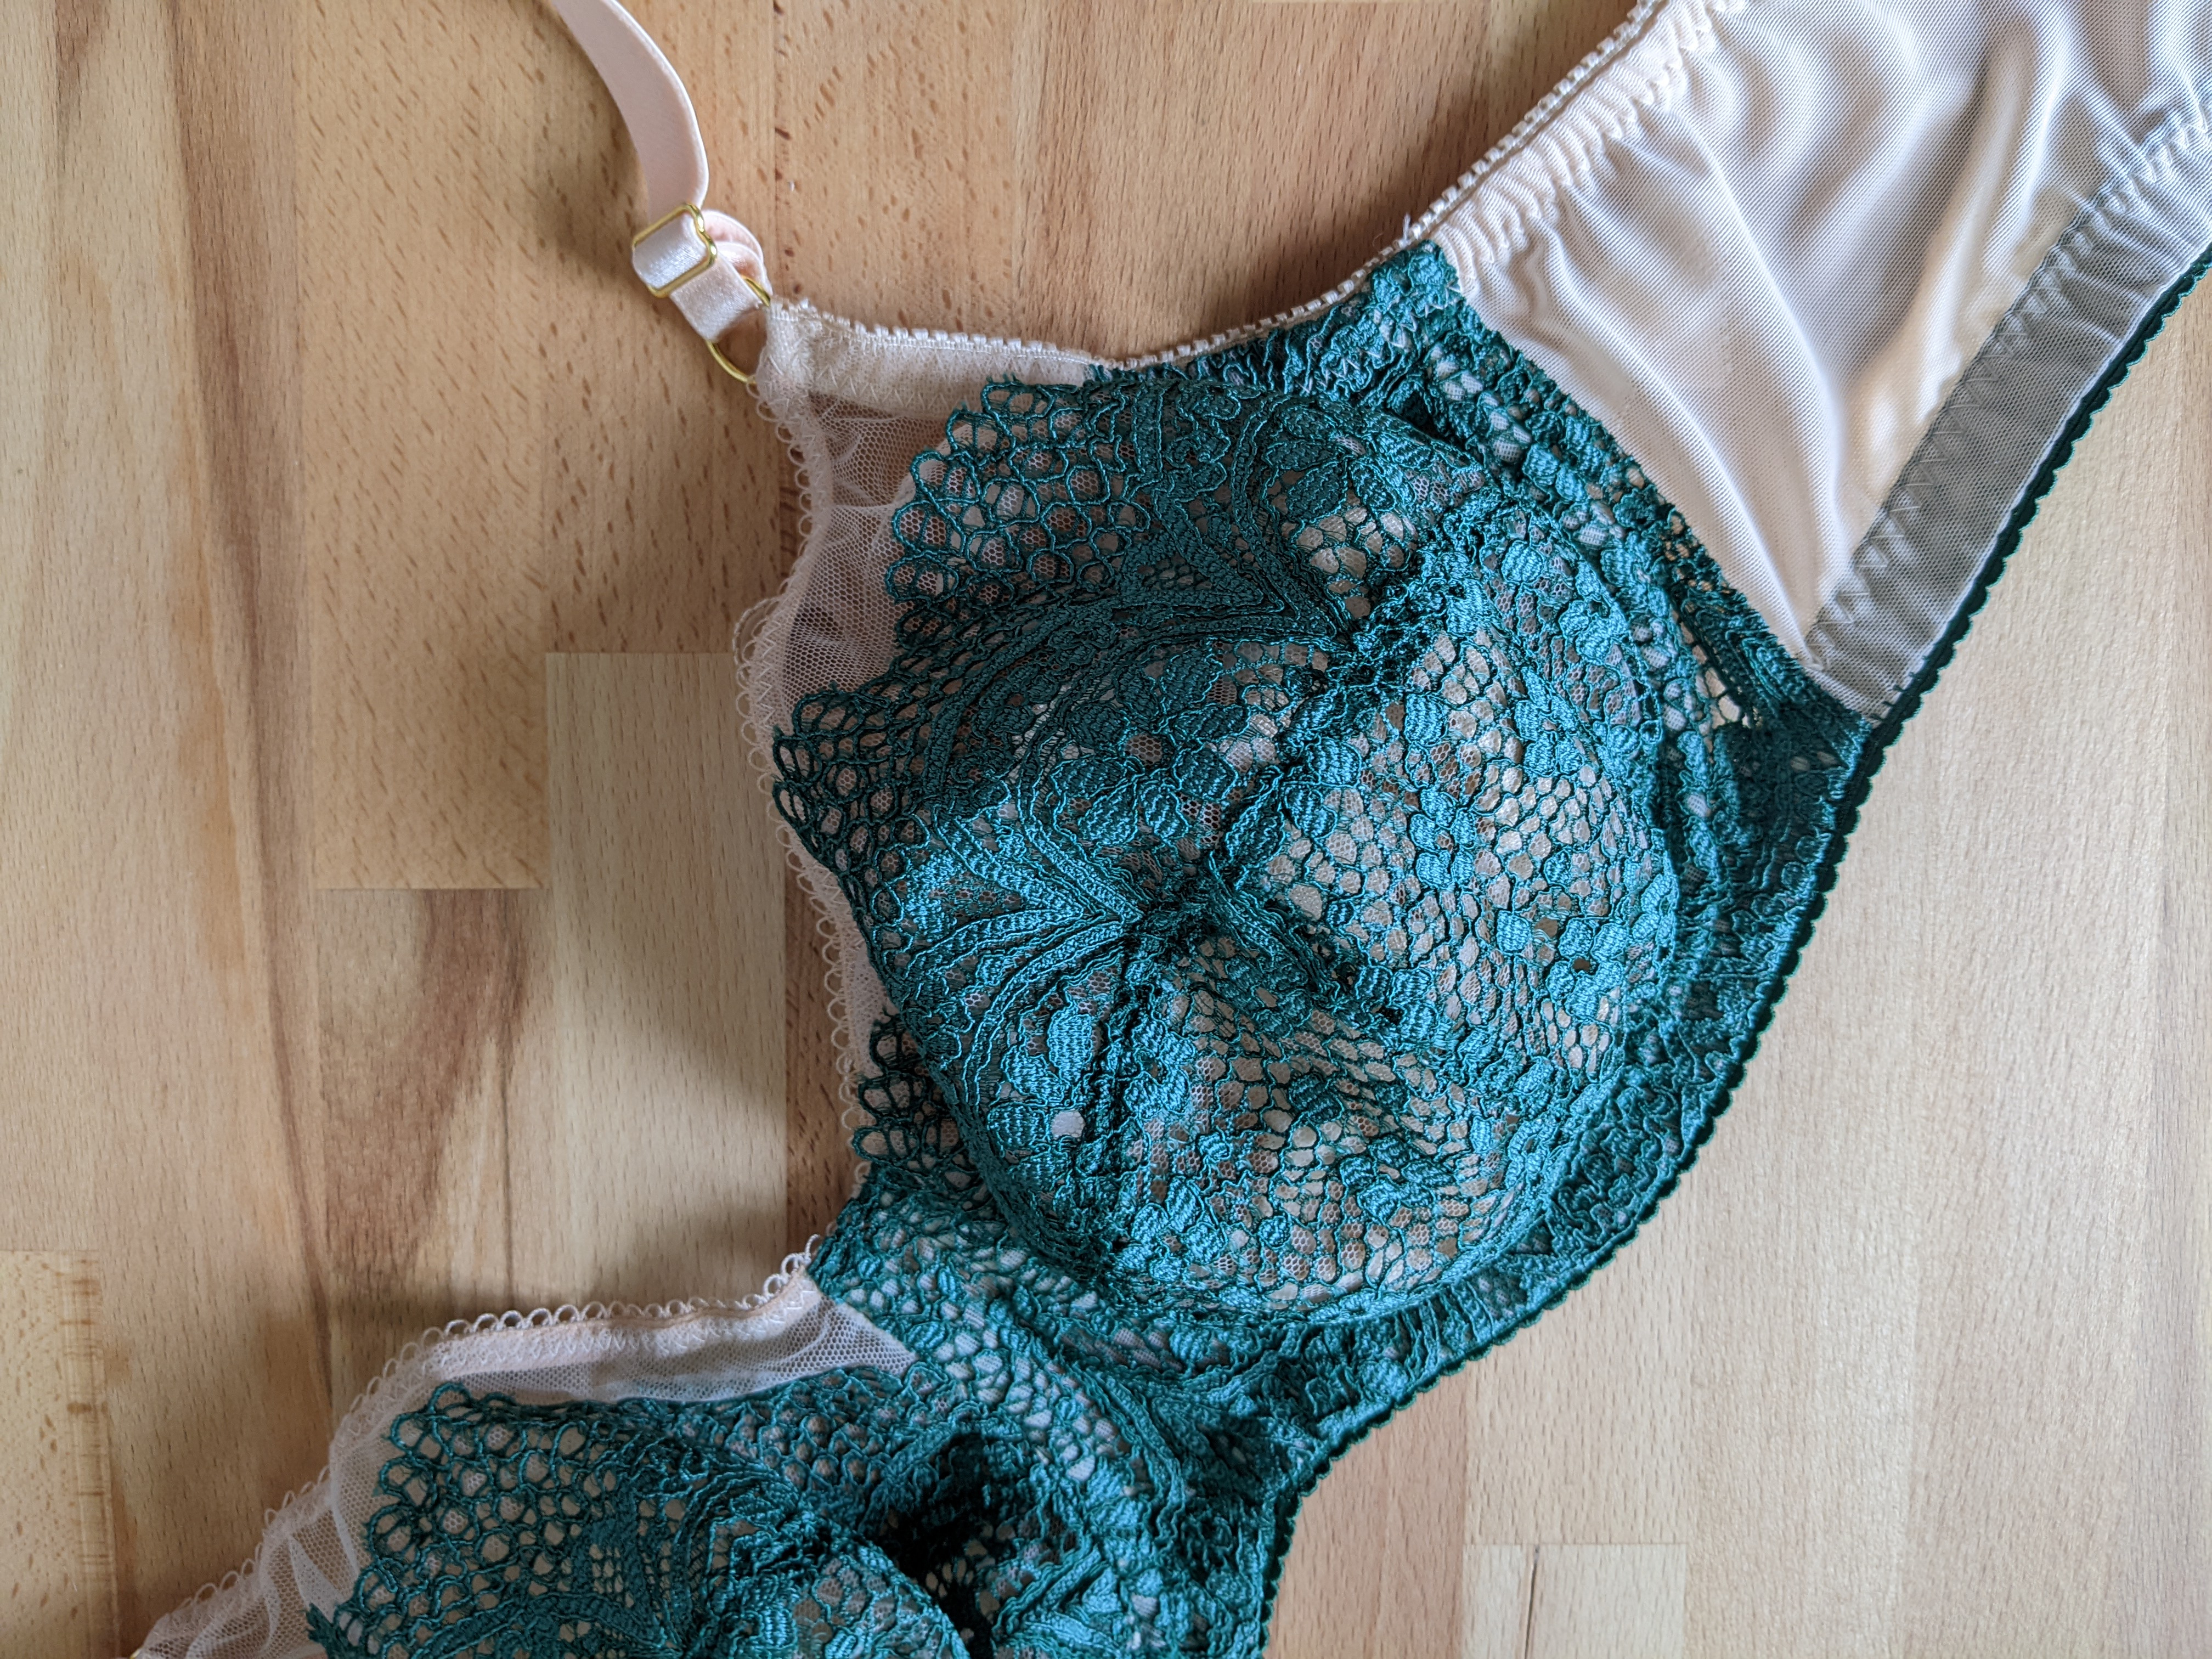
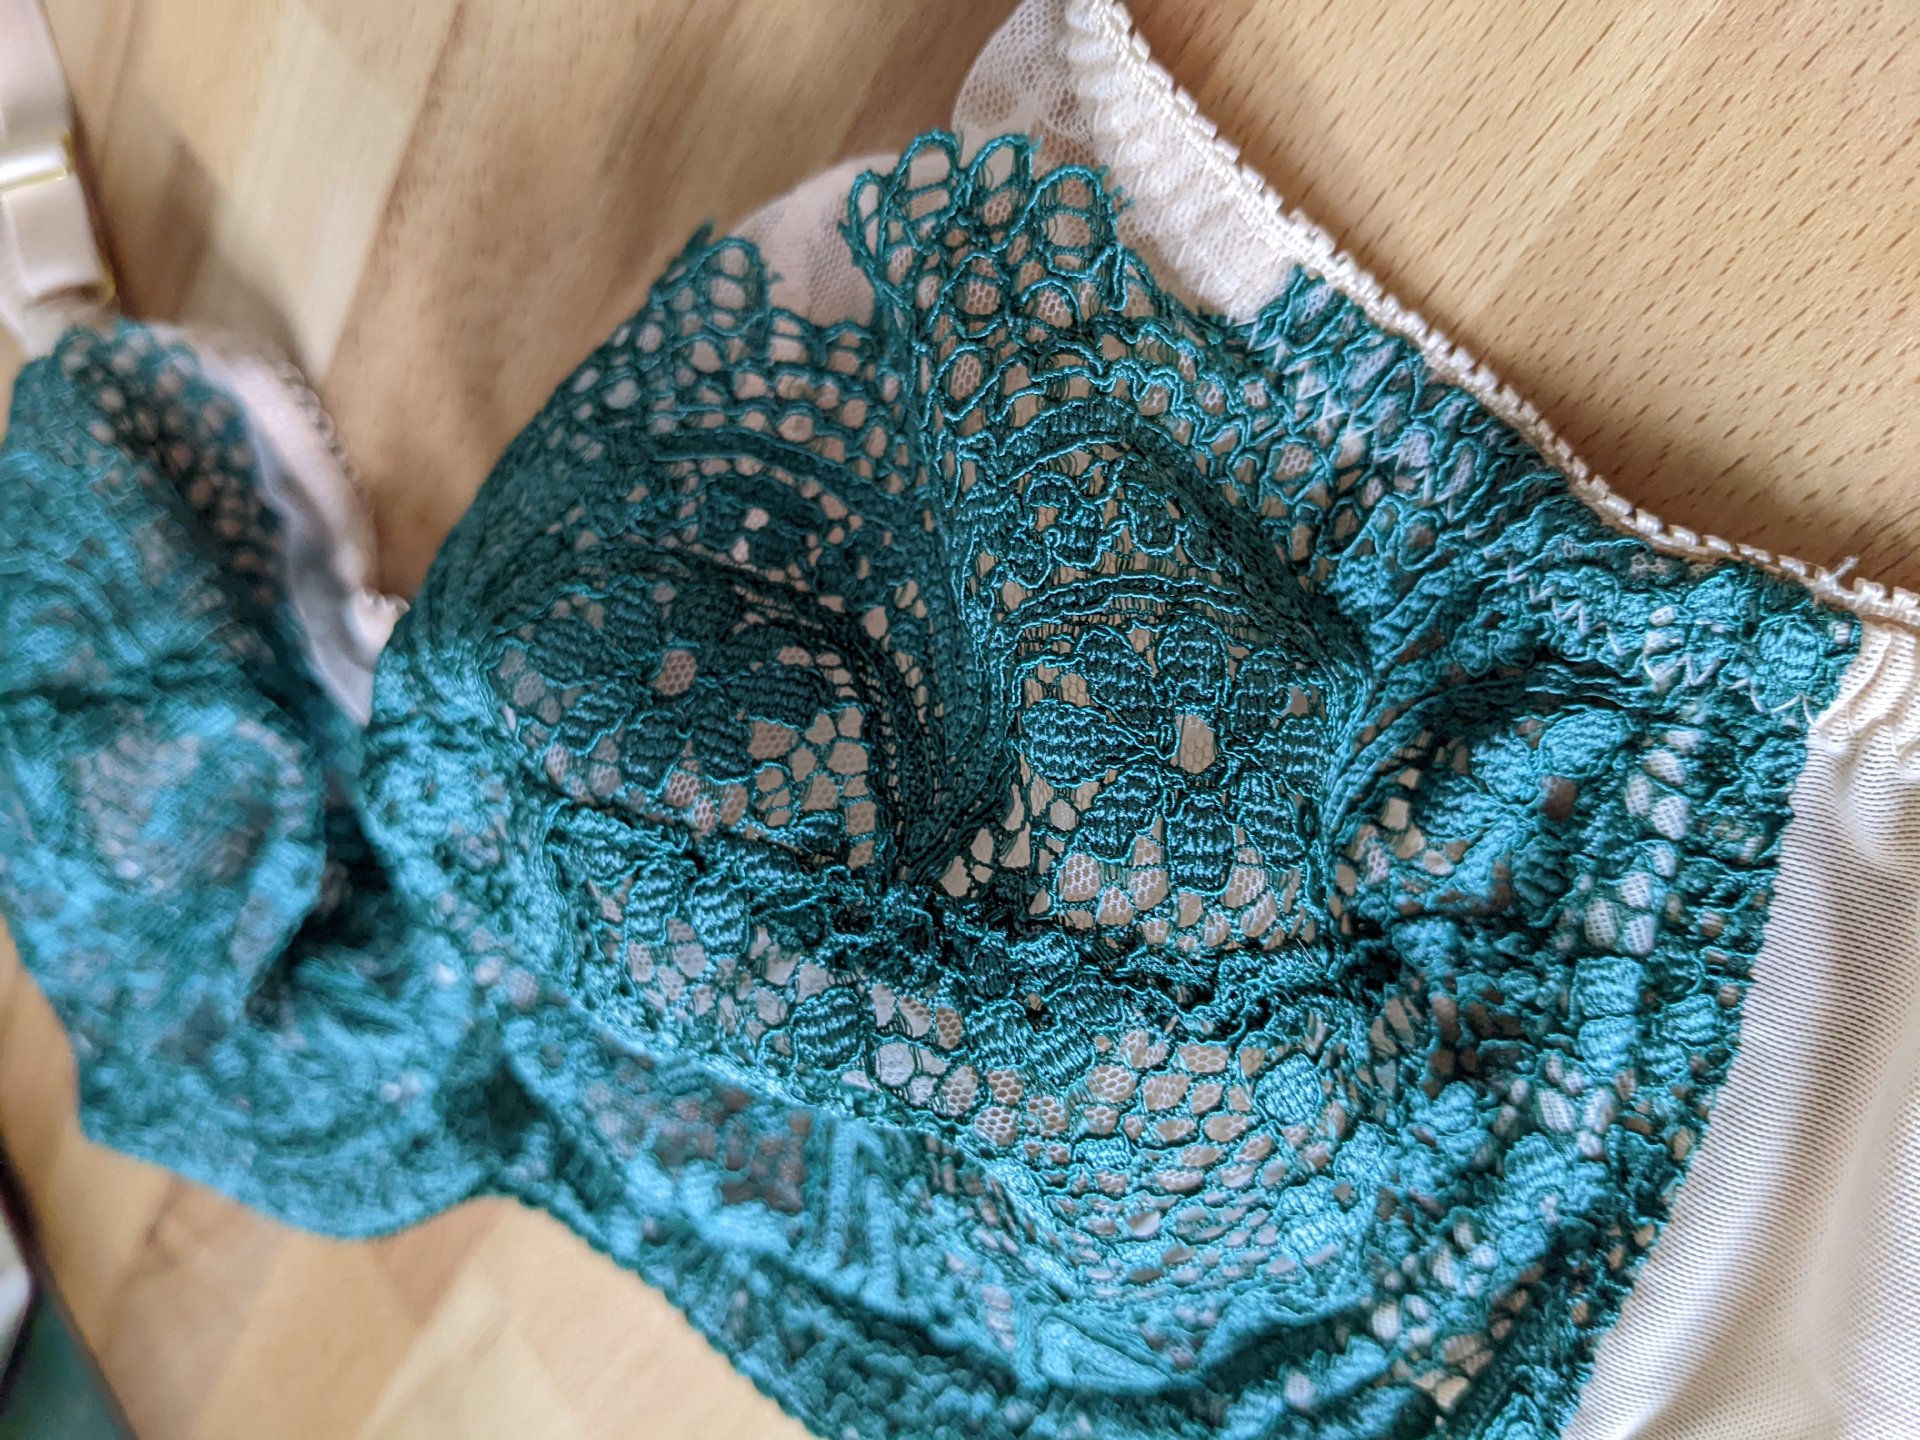
First fitting: well this bra is clearly more than wearable! The bridge lies flat, no spilling in sight. I really like the fact that the bra is rounded at the bottom, I find it very very comfortable. I’m really happy with this first version, and I really like the look of the green lace on the beige tulle. The only thing that needs to be changed is to move the straps a bit towards the center, they are a bit too far apart for me. No problem, that’s an easy alteration! I then went for a second wearable version.
My second wearable version
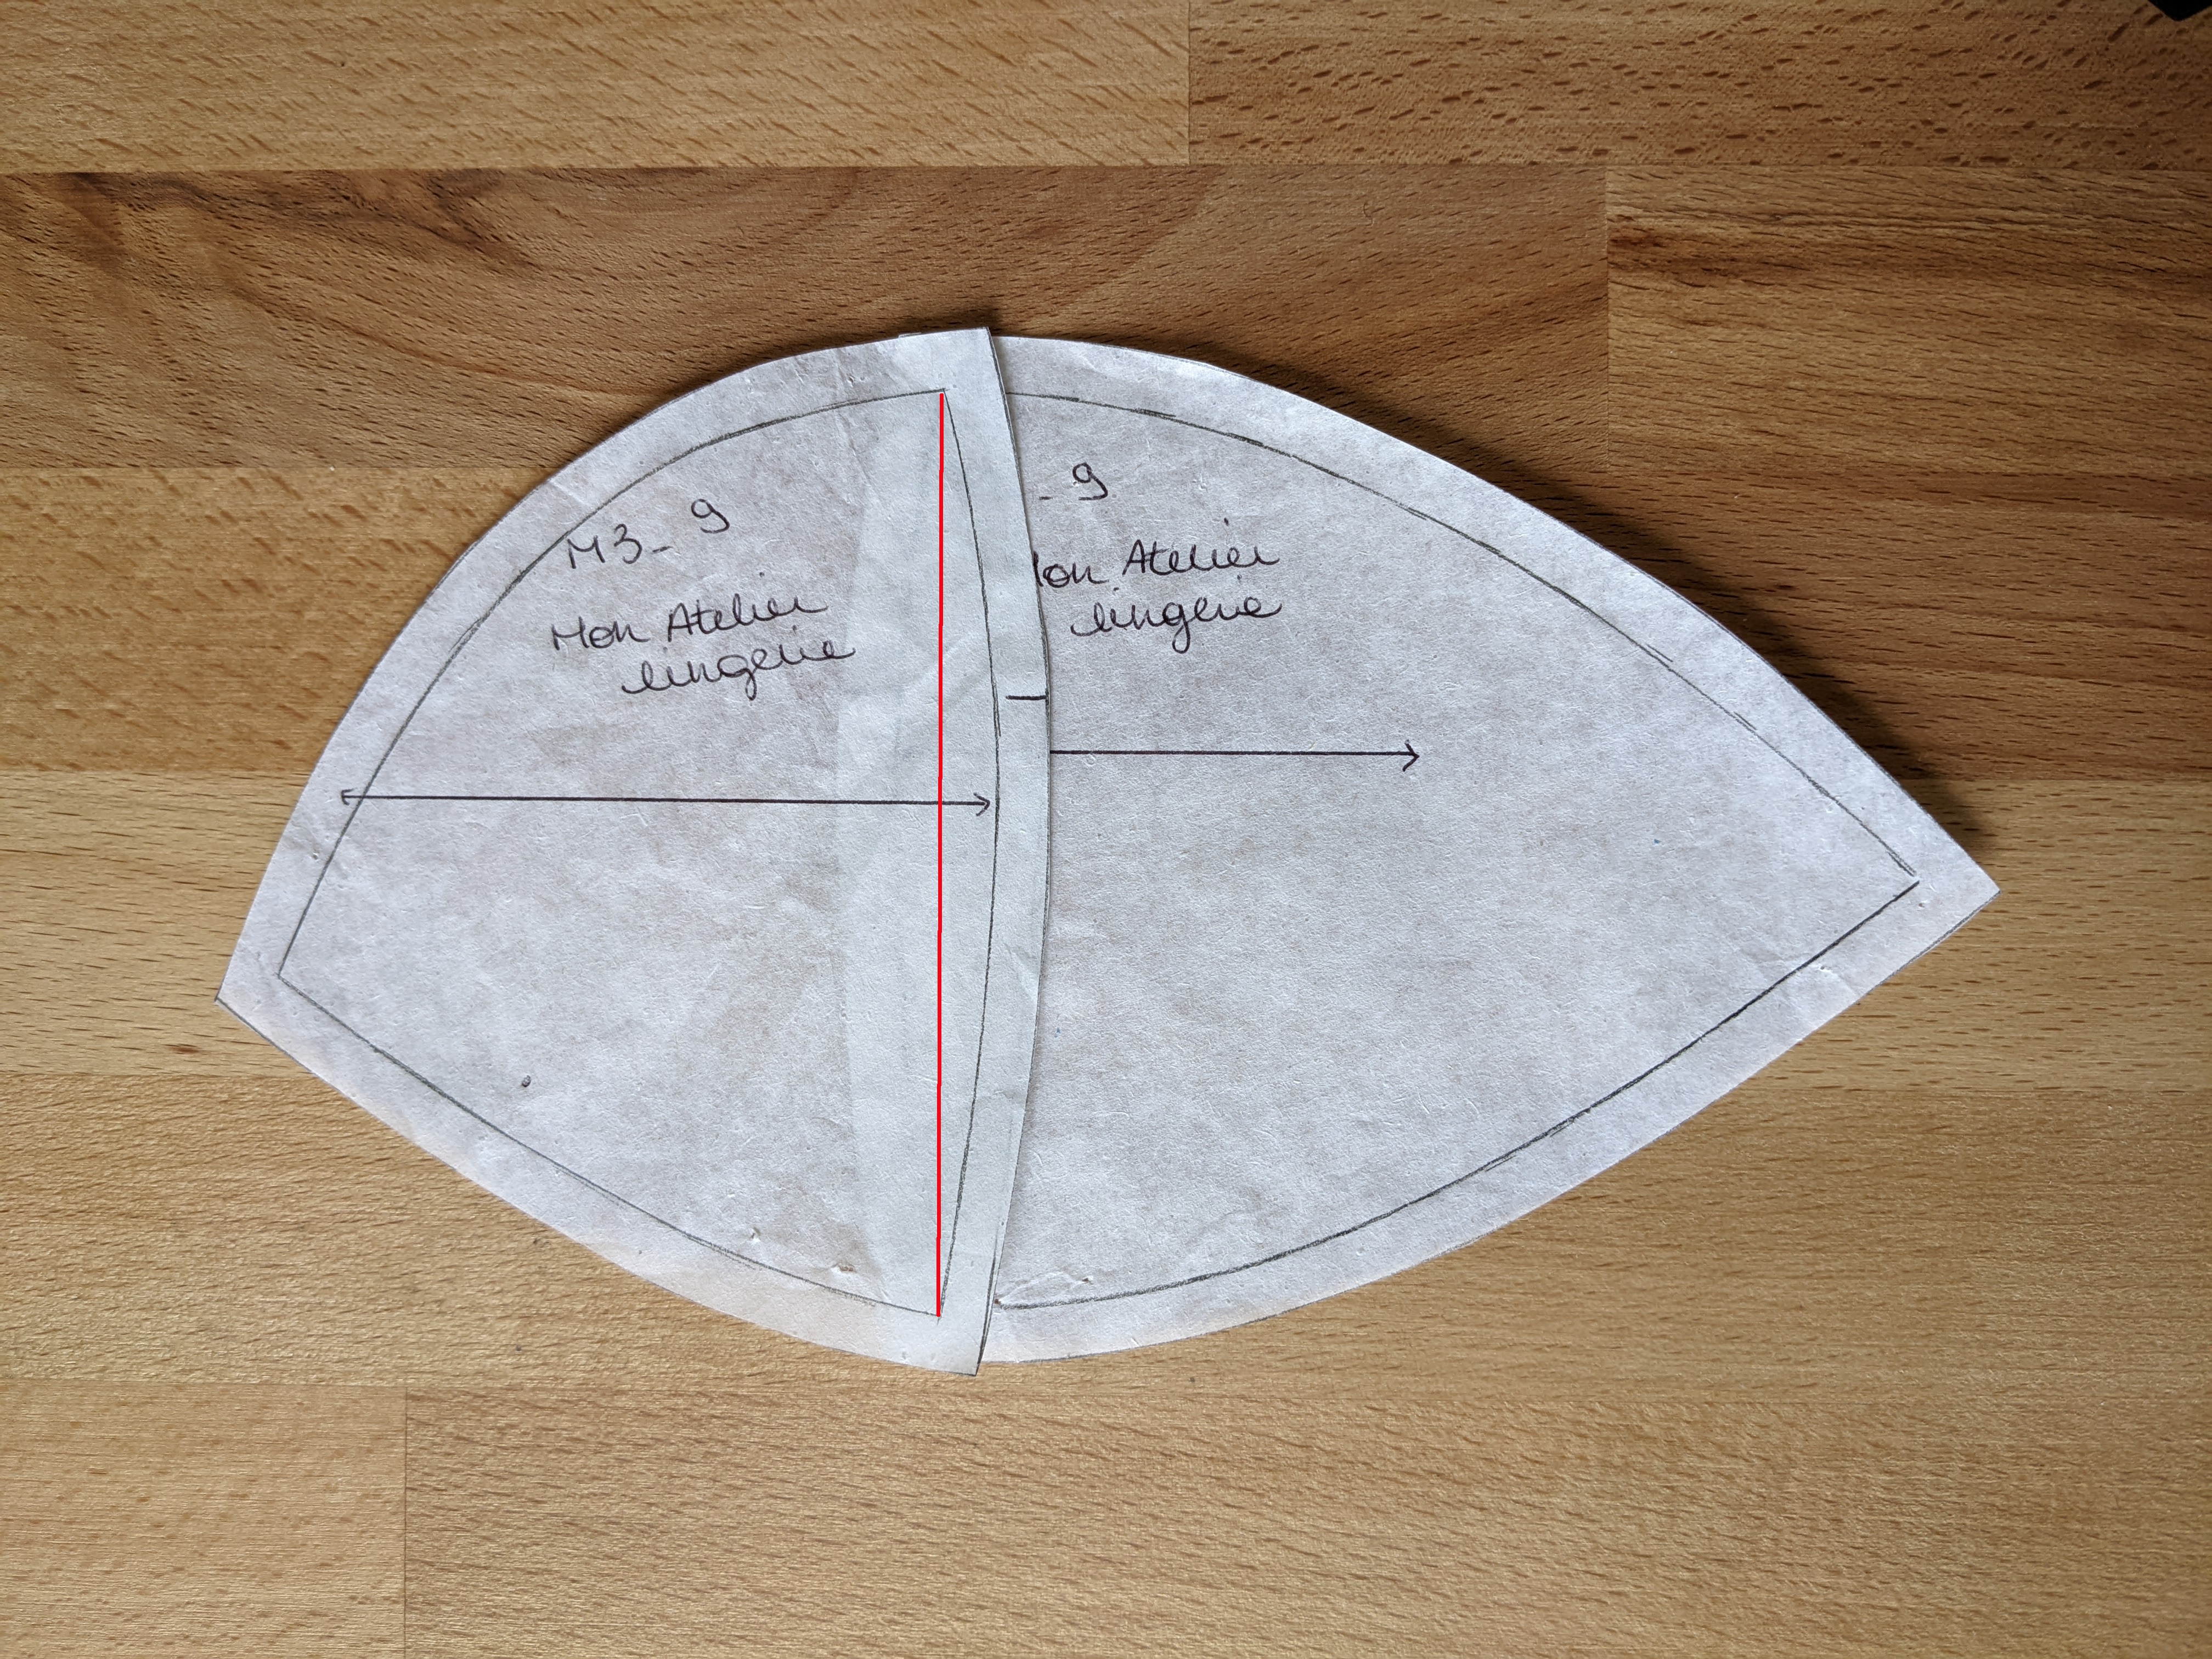
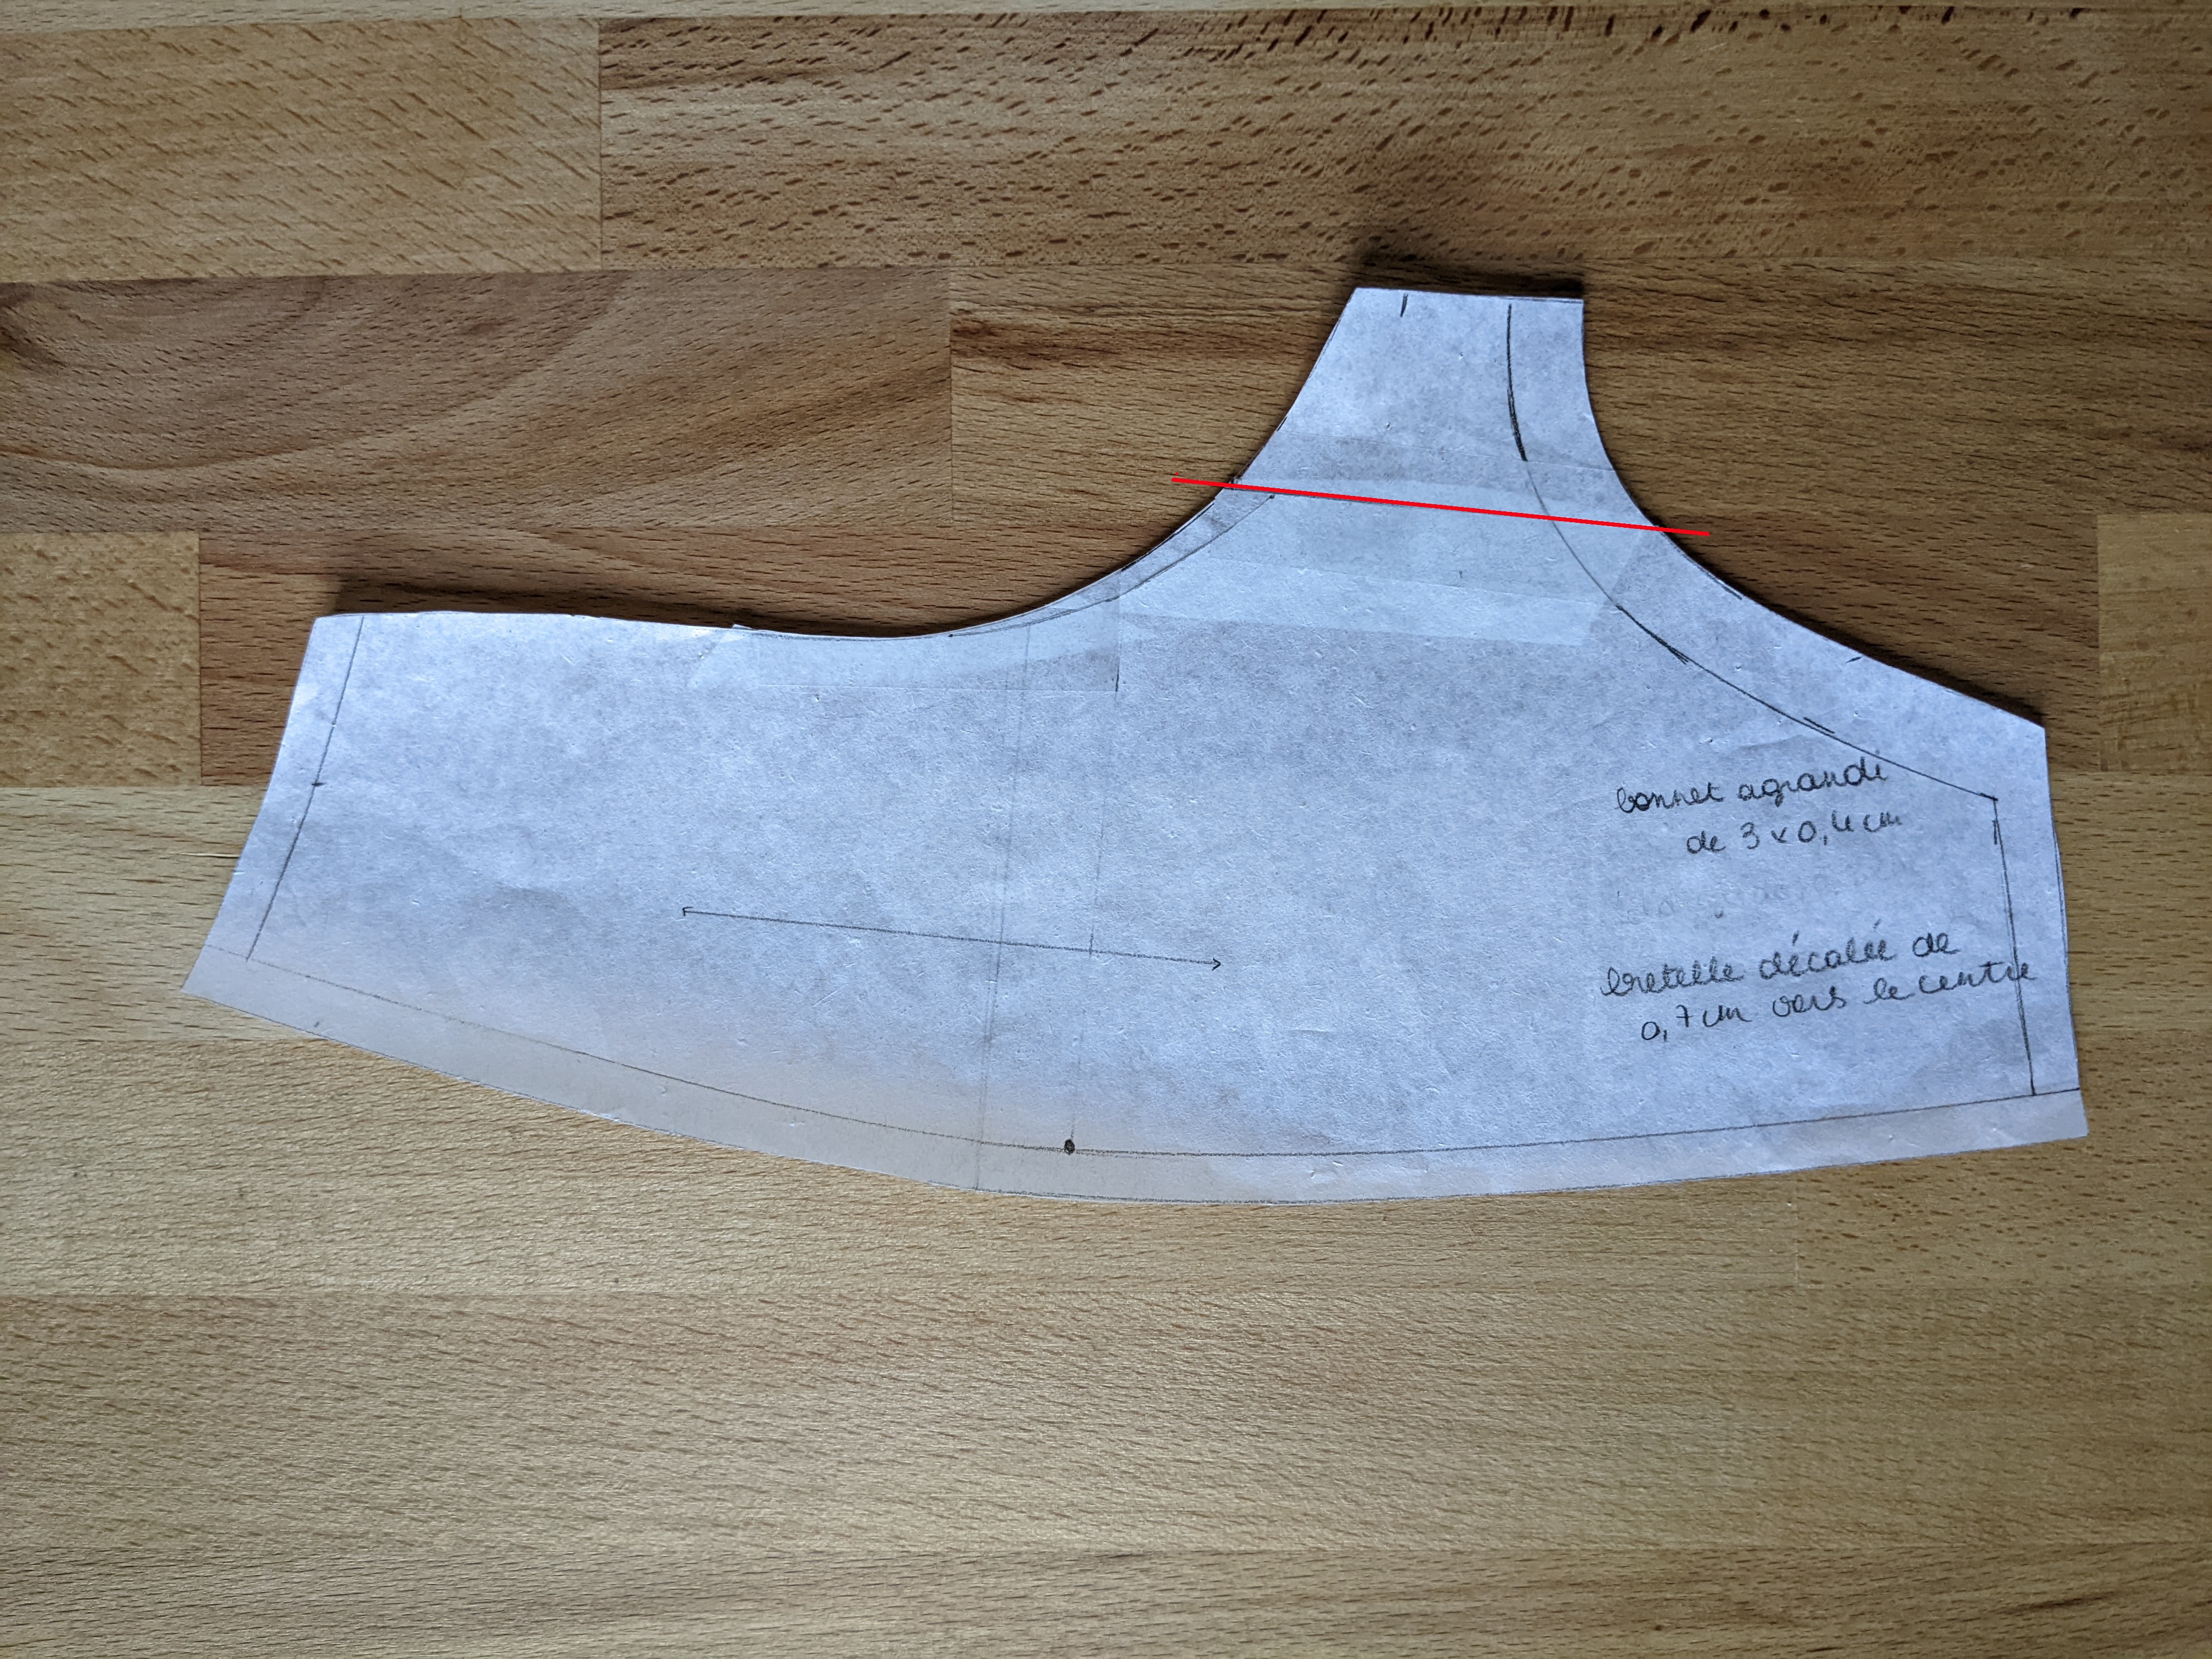
For this version, I moved the straps 0.7 cm towards the center. All the info to make this modification is in the book, but it’s really simple:
- you need to cut your top piece approximately 3 cm beneath the strap attachment point (see the red line on the picture below)
- you slide the created piece towards the center or the side depending on where you want the strap to be, you smooth the curves and voilà!
The fabrics and notions
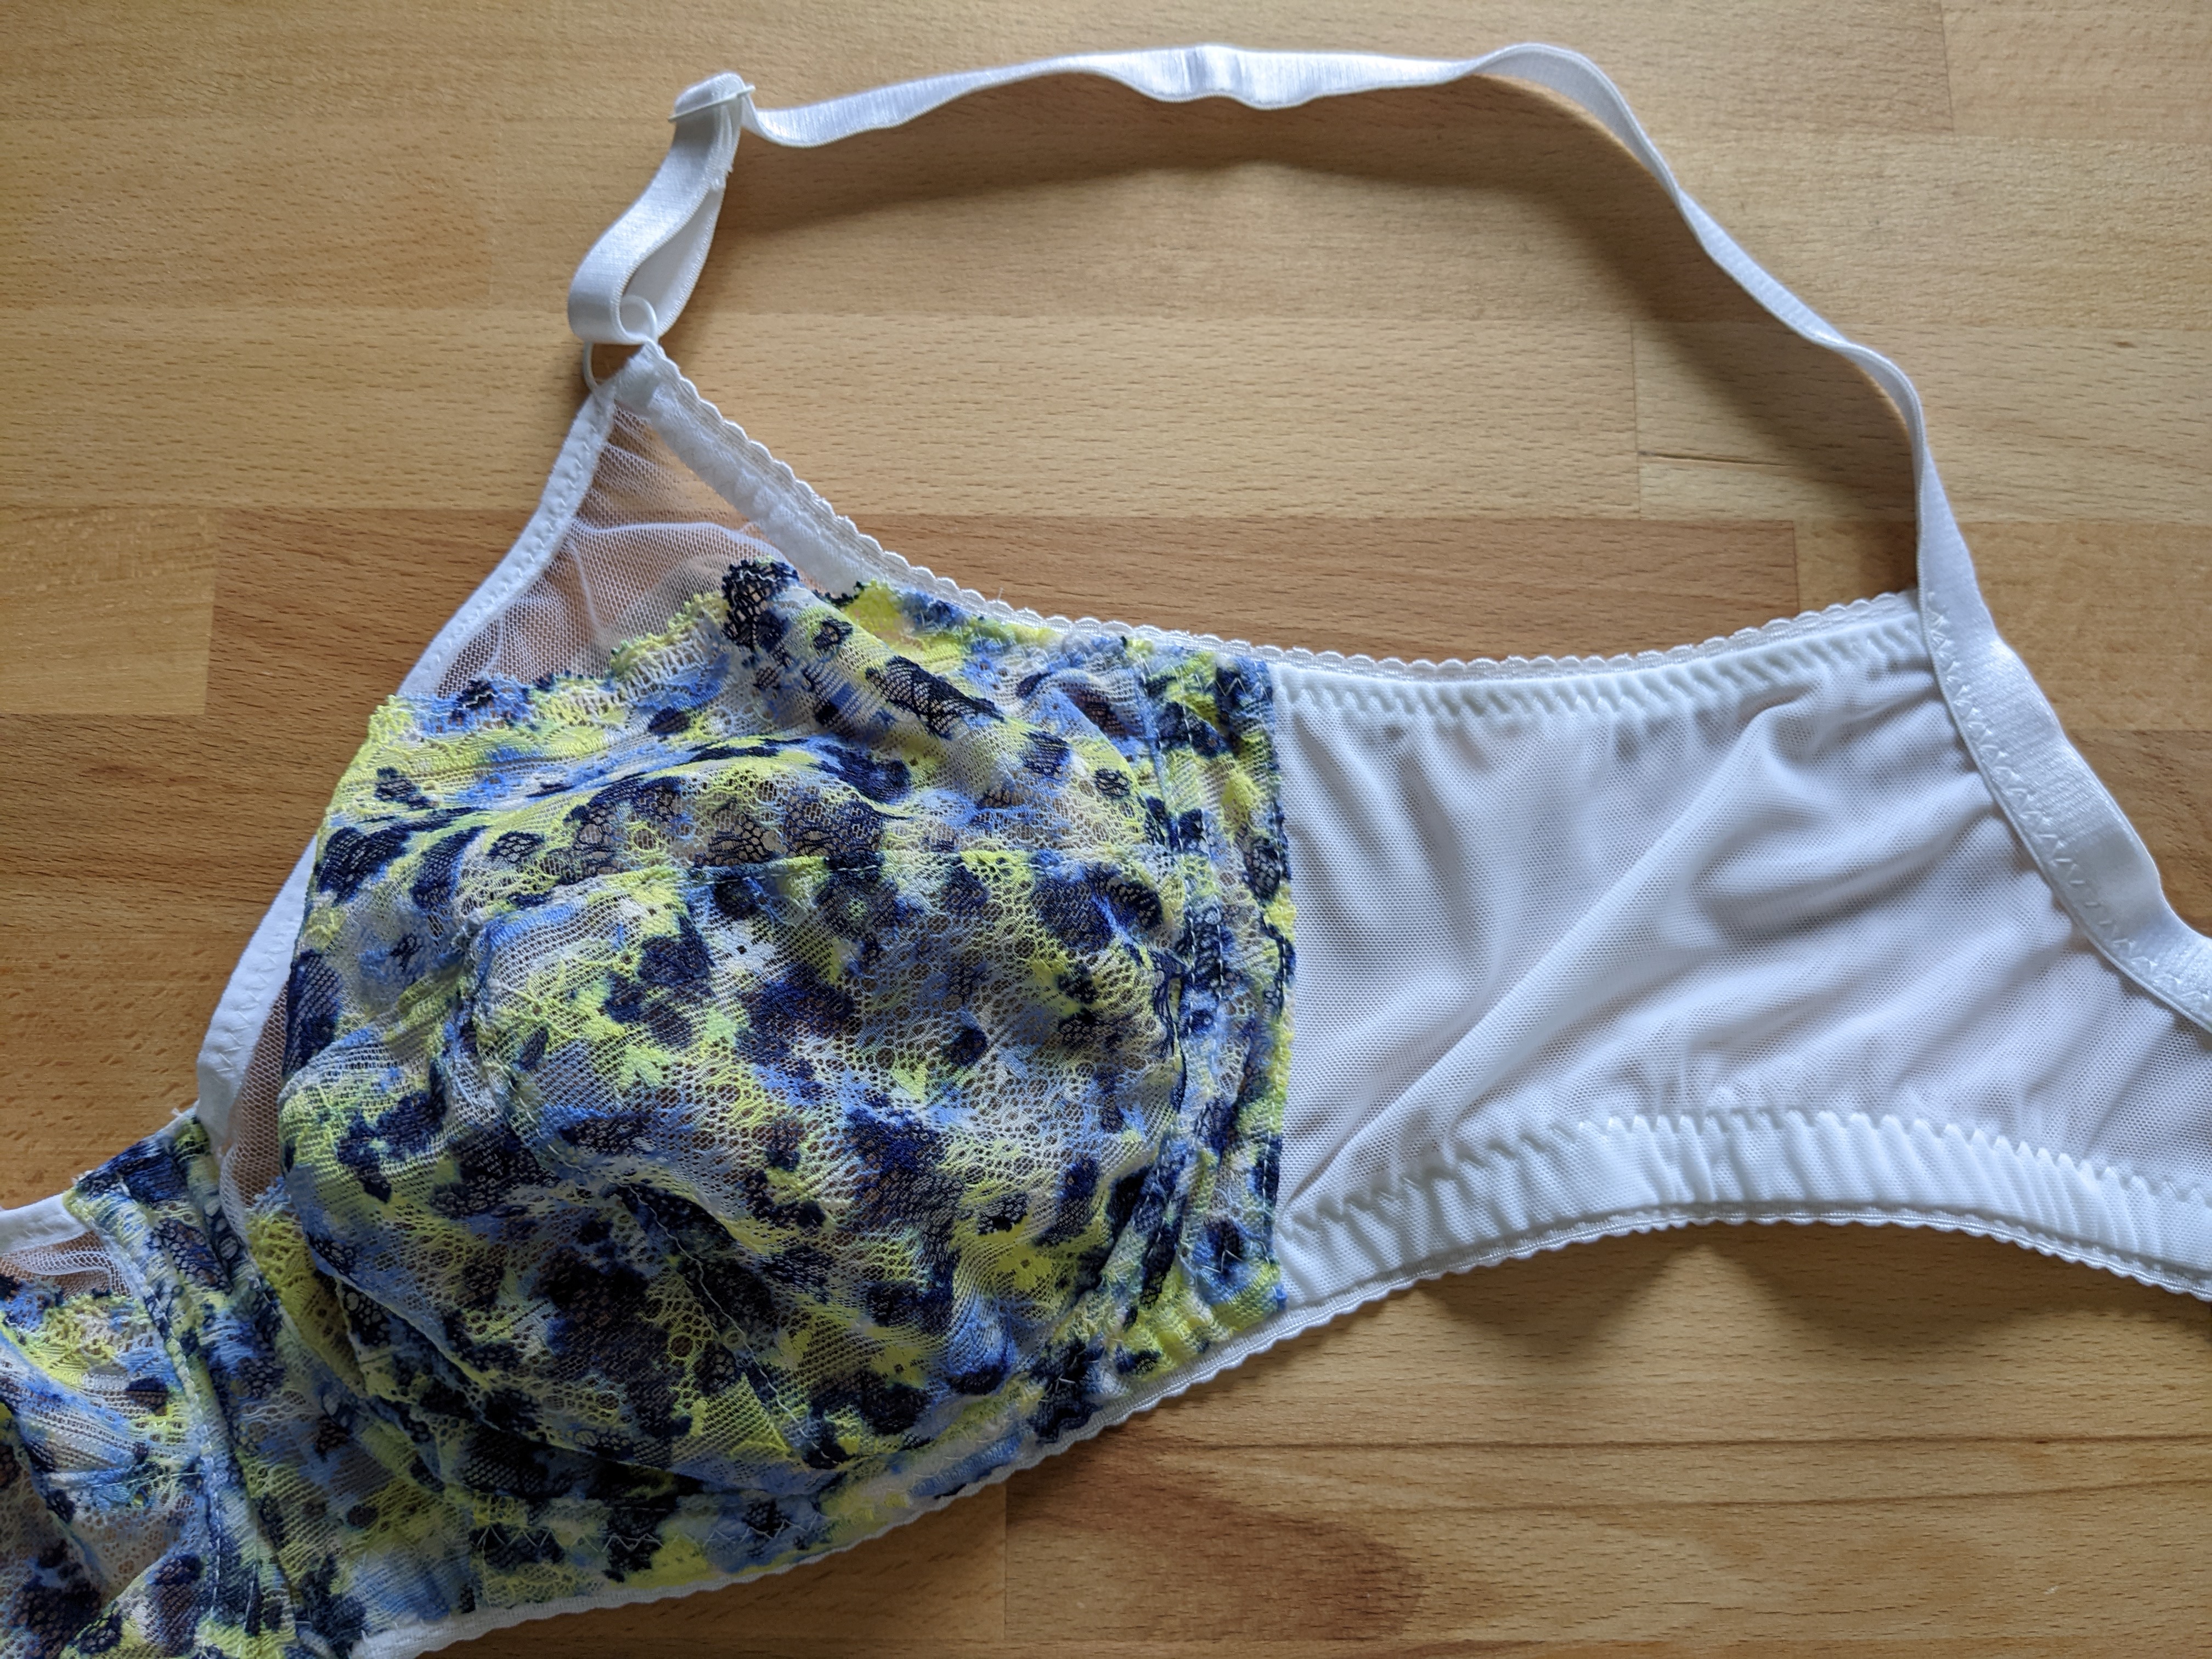
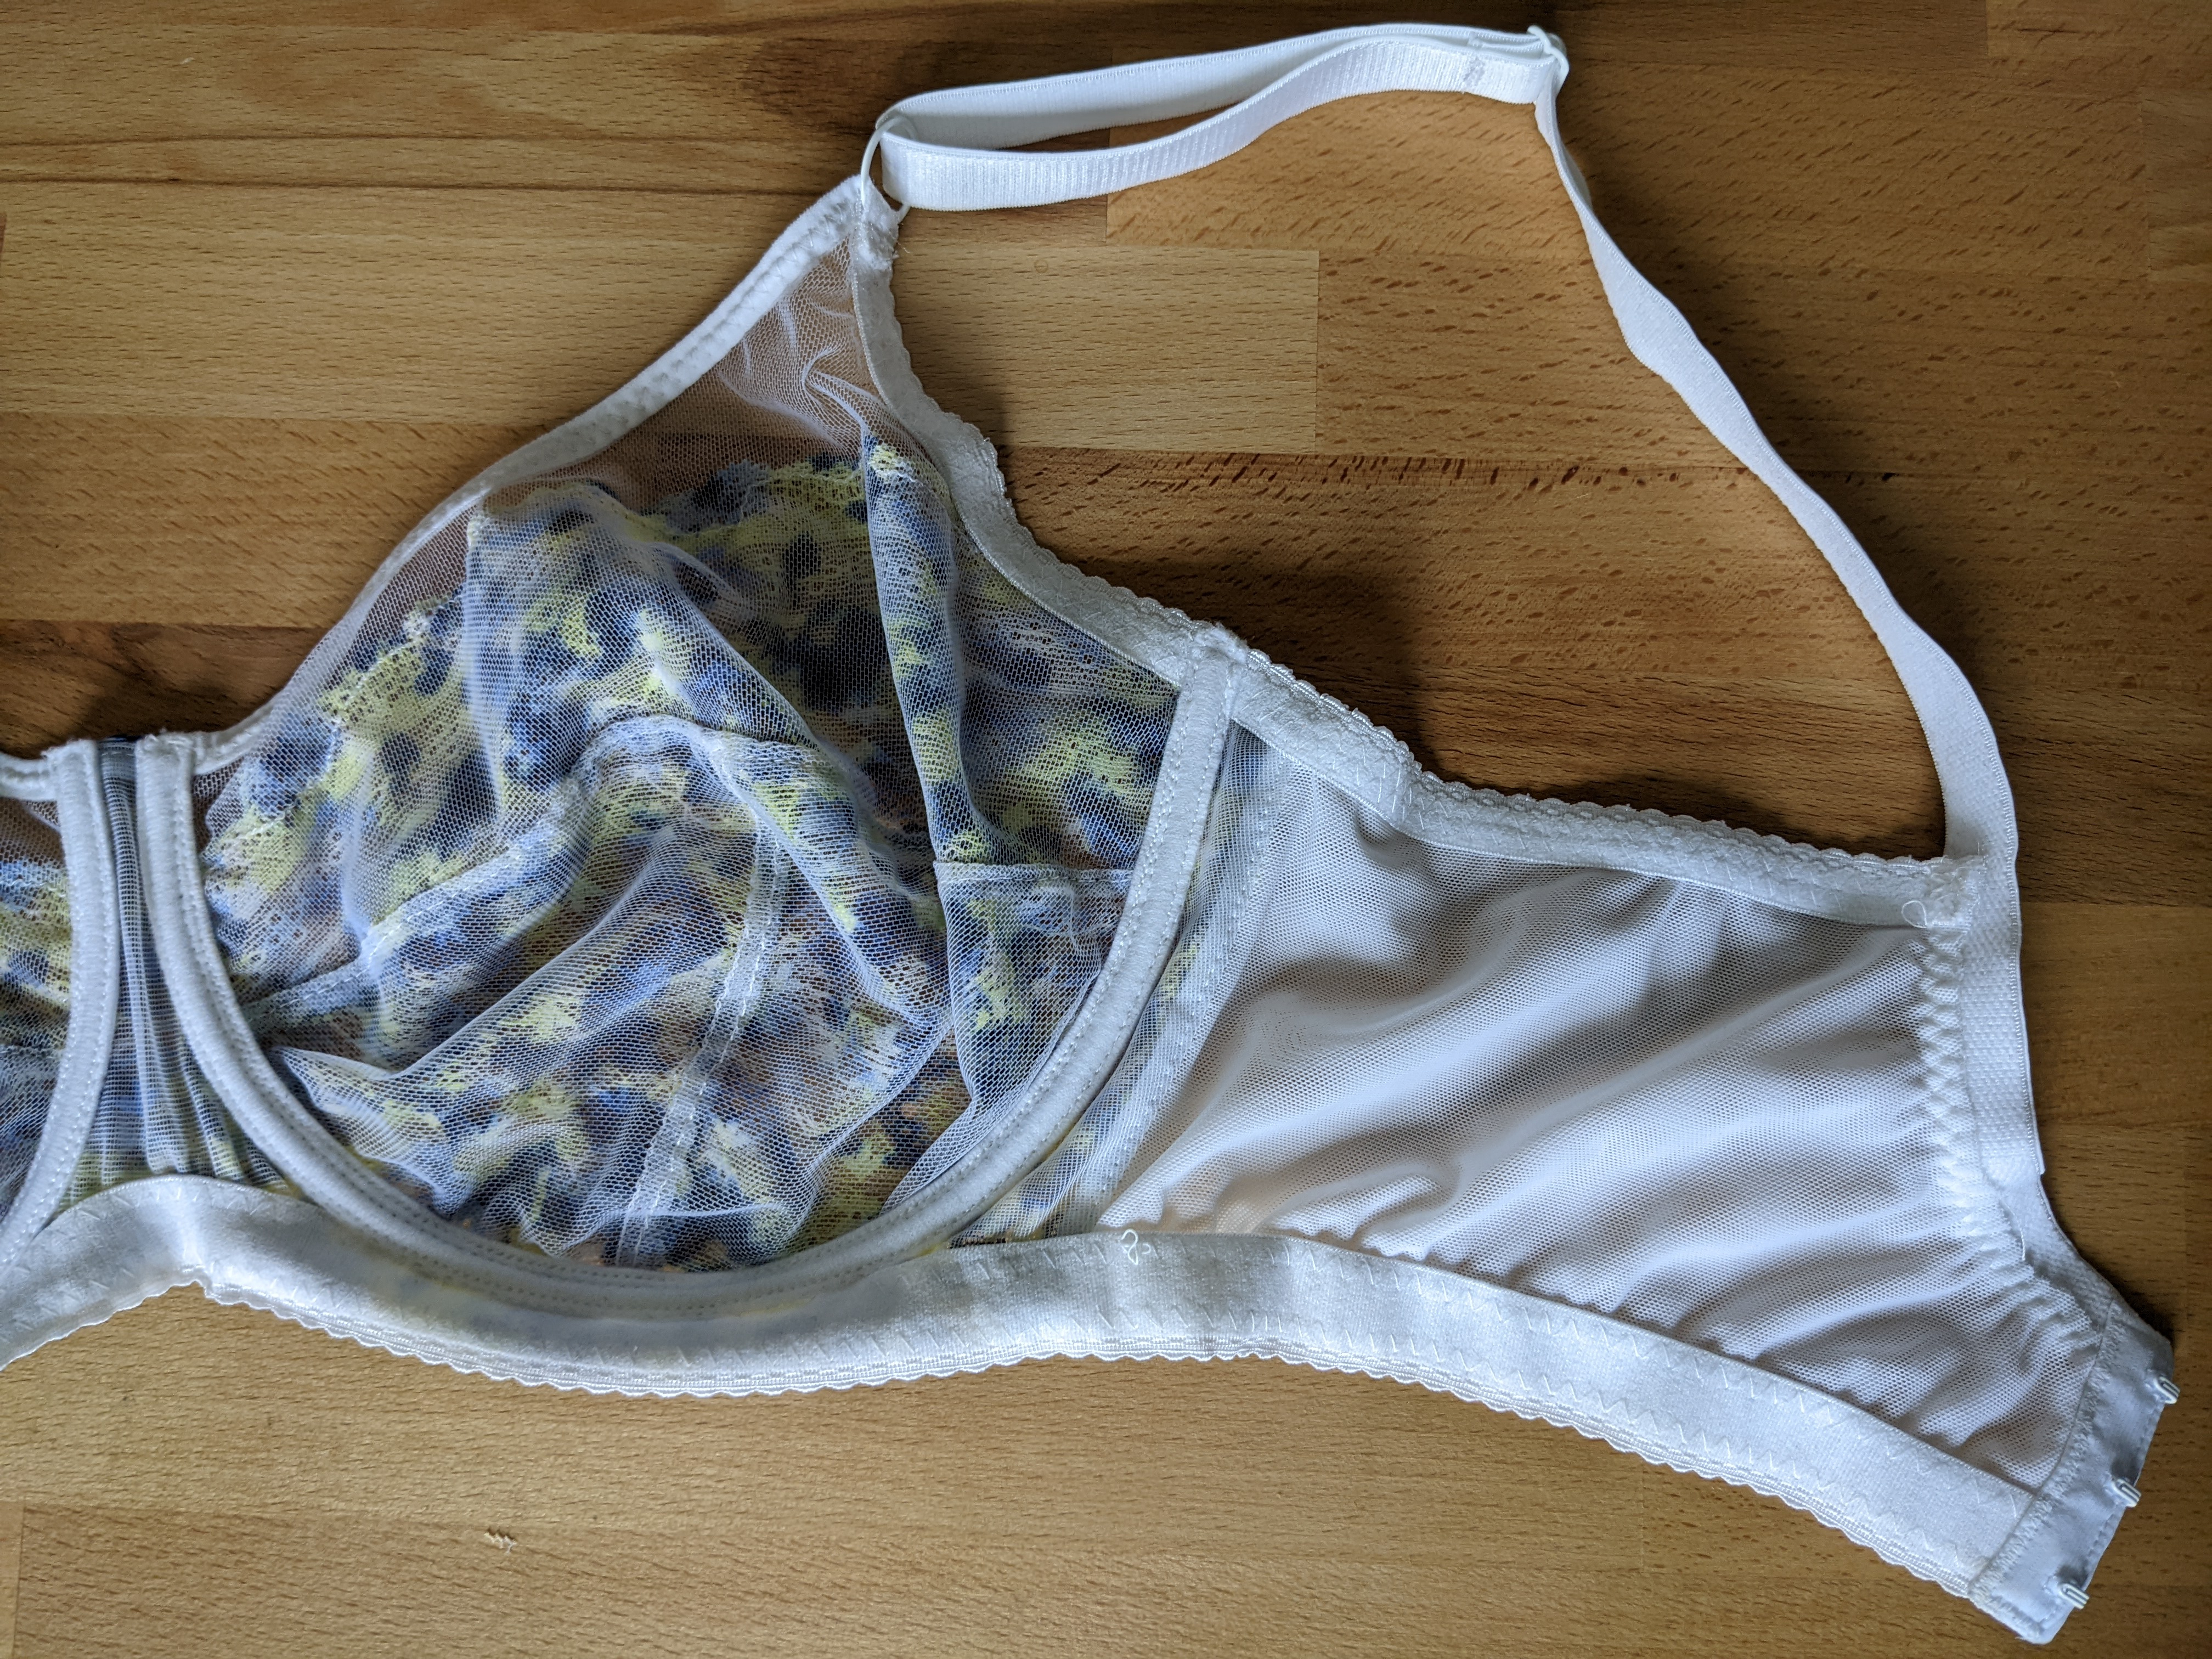
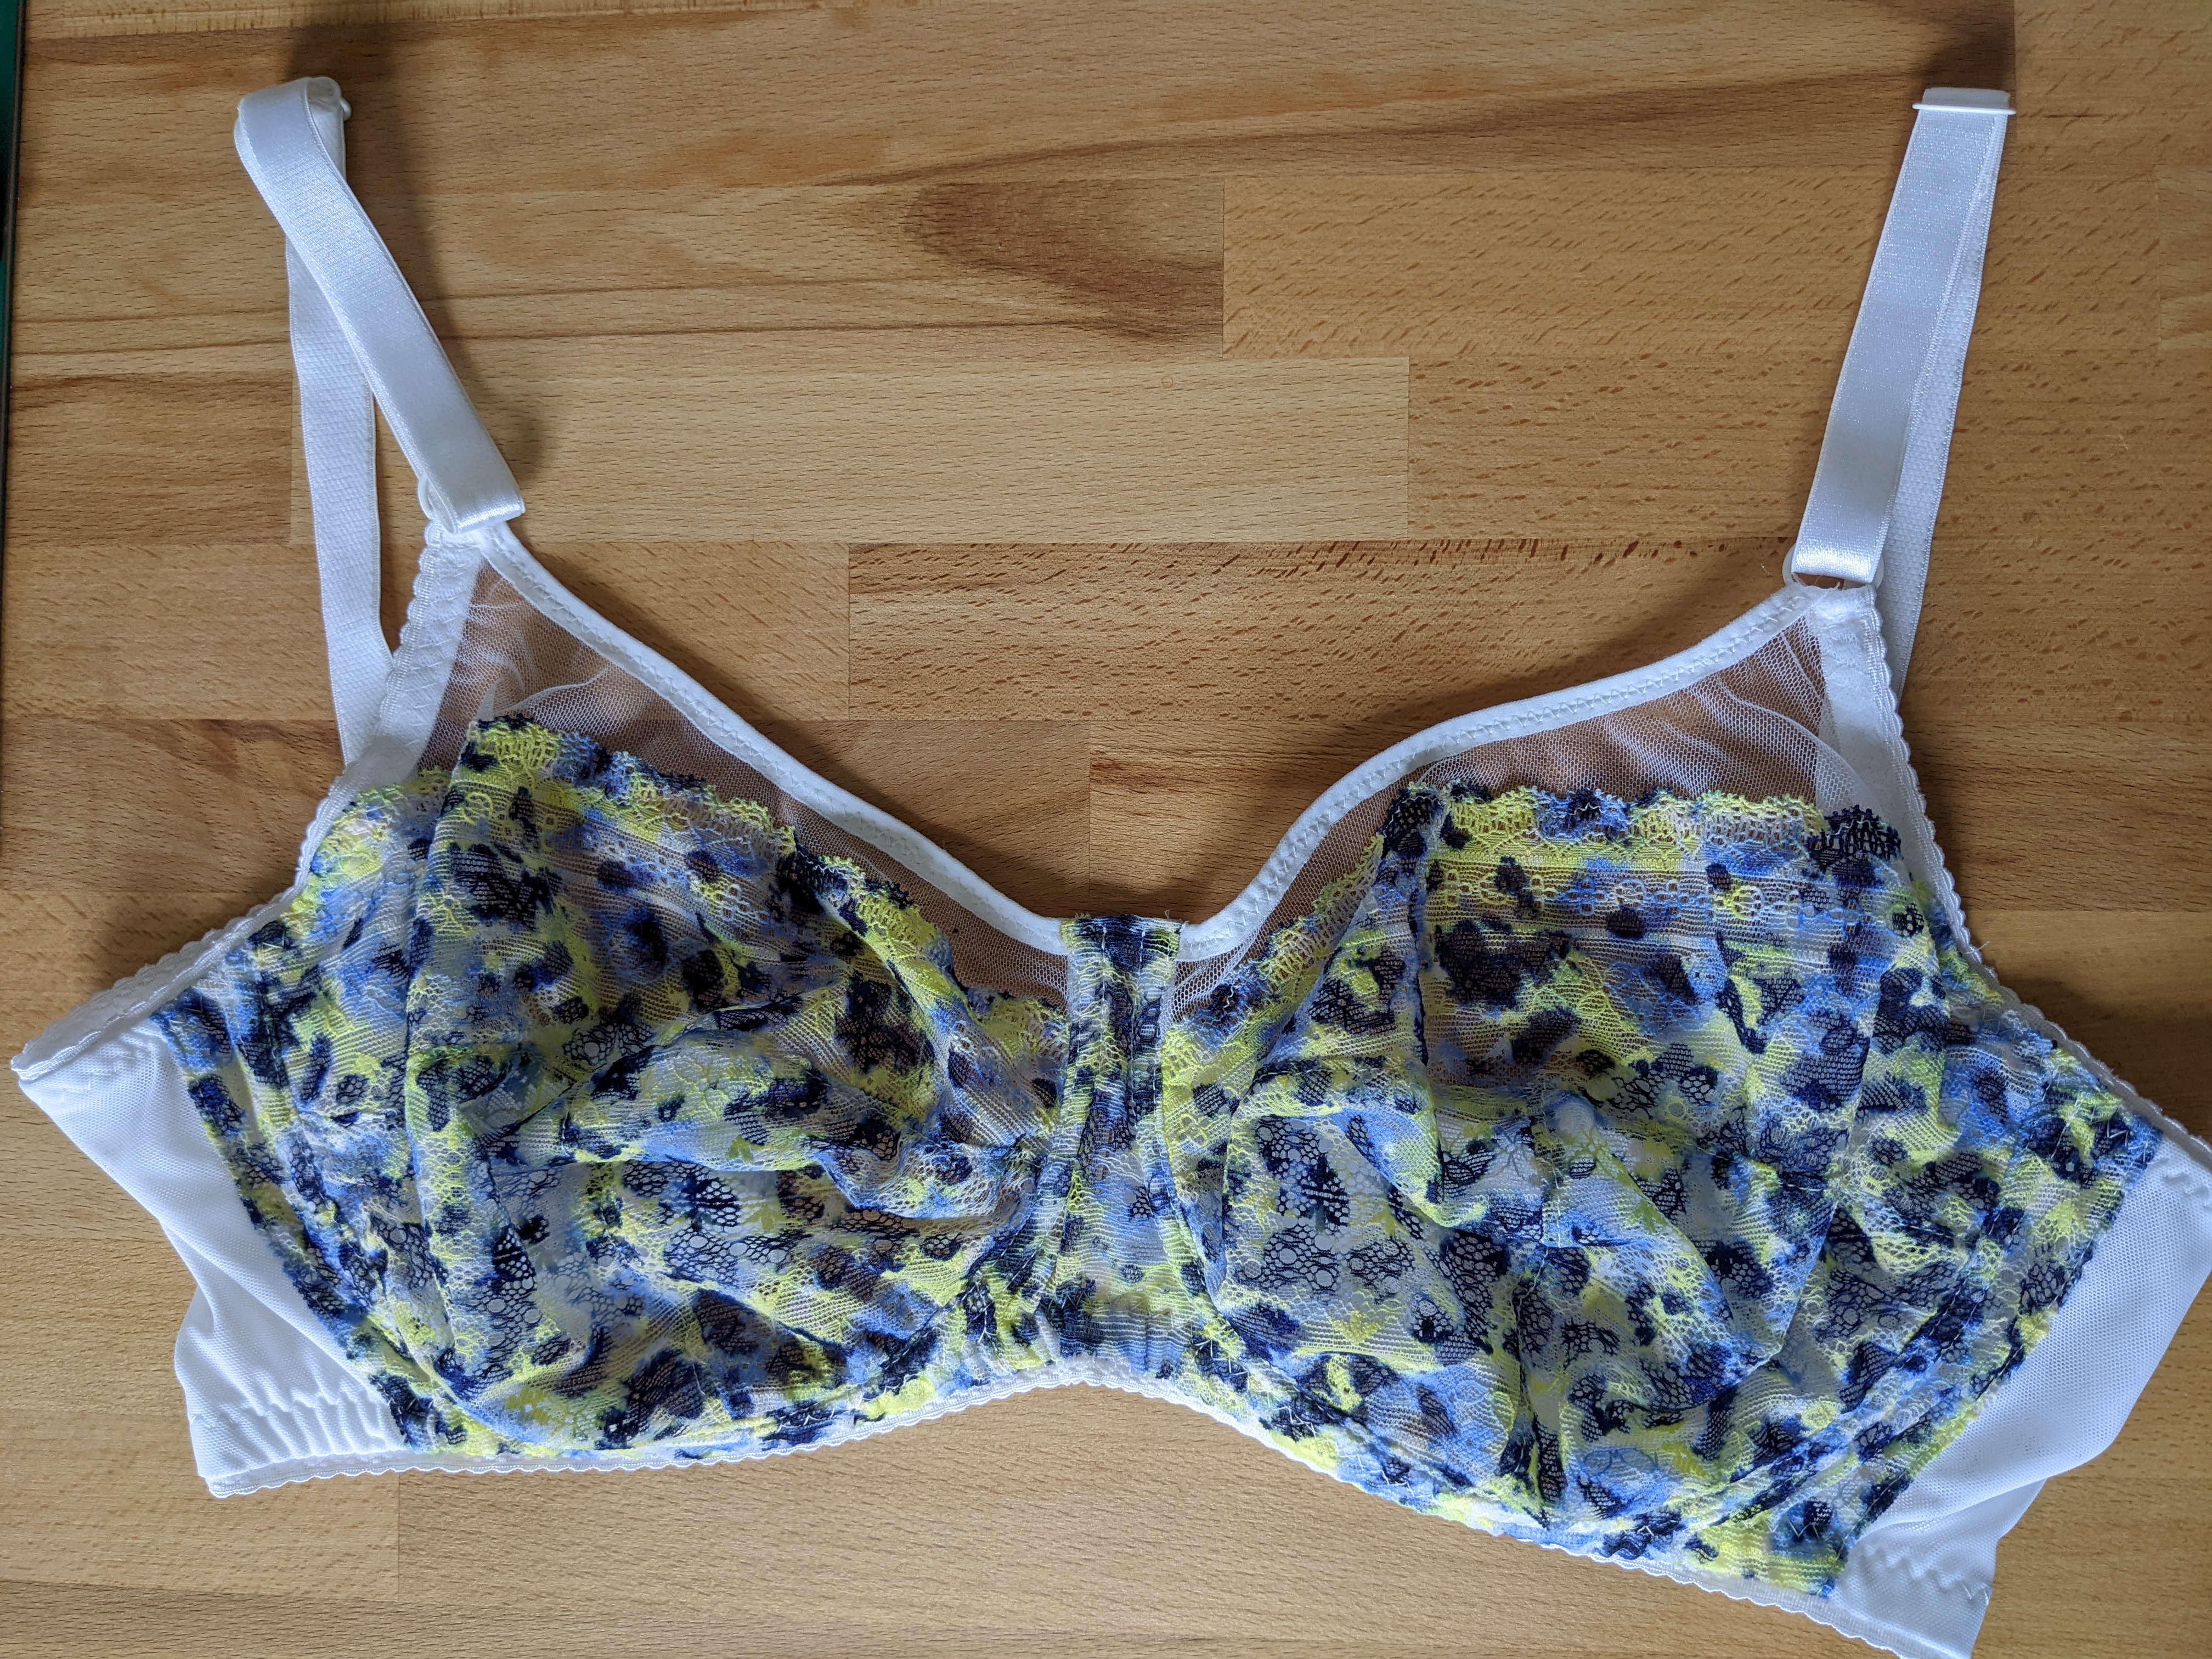
For this version, I also used the lace variation of the pattern. I used:
- soft white tulle for the lining of the cups,
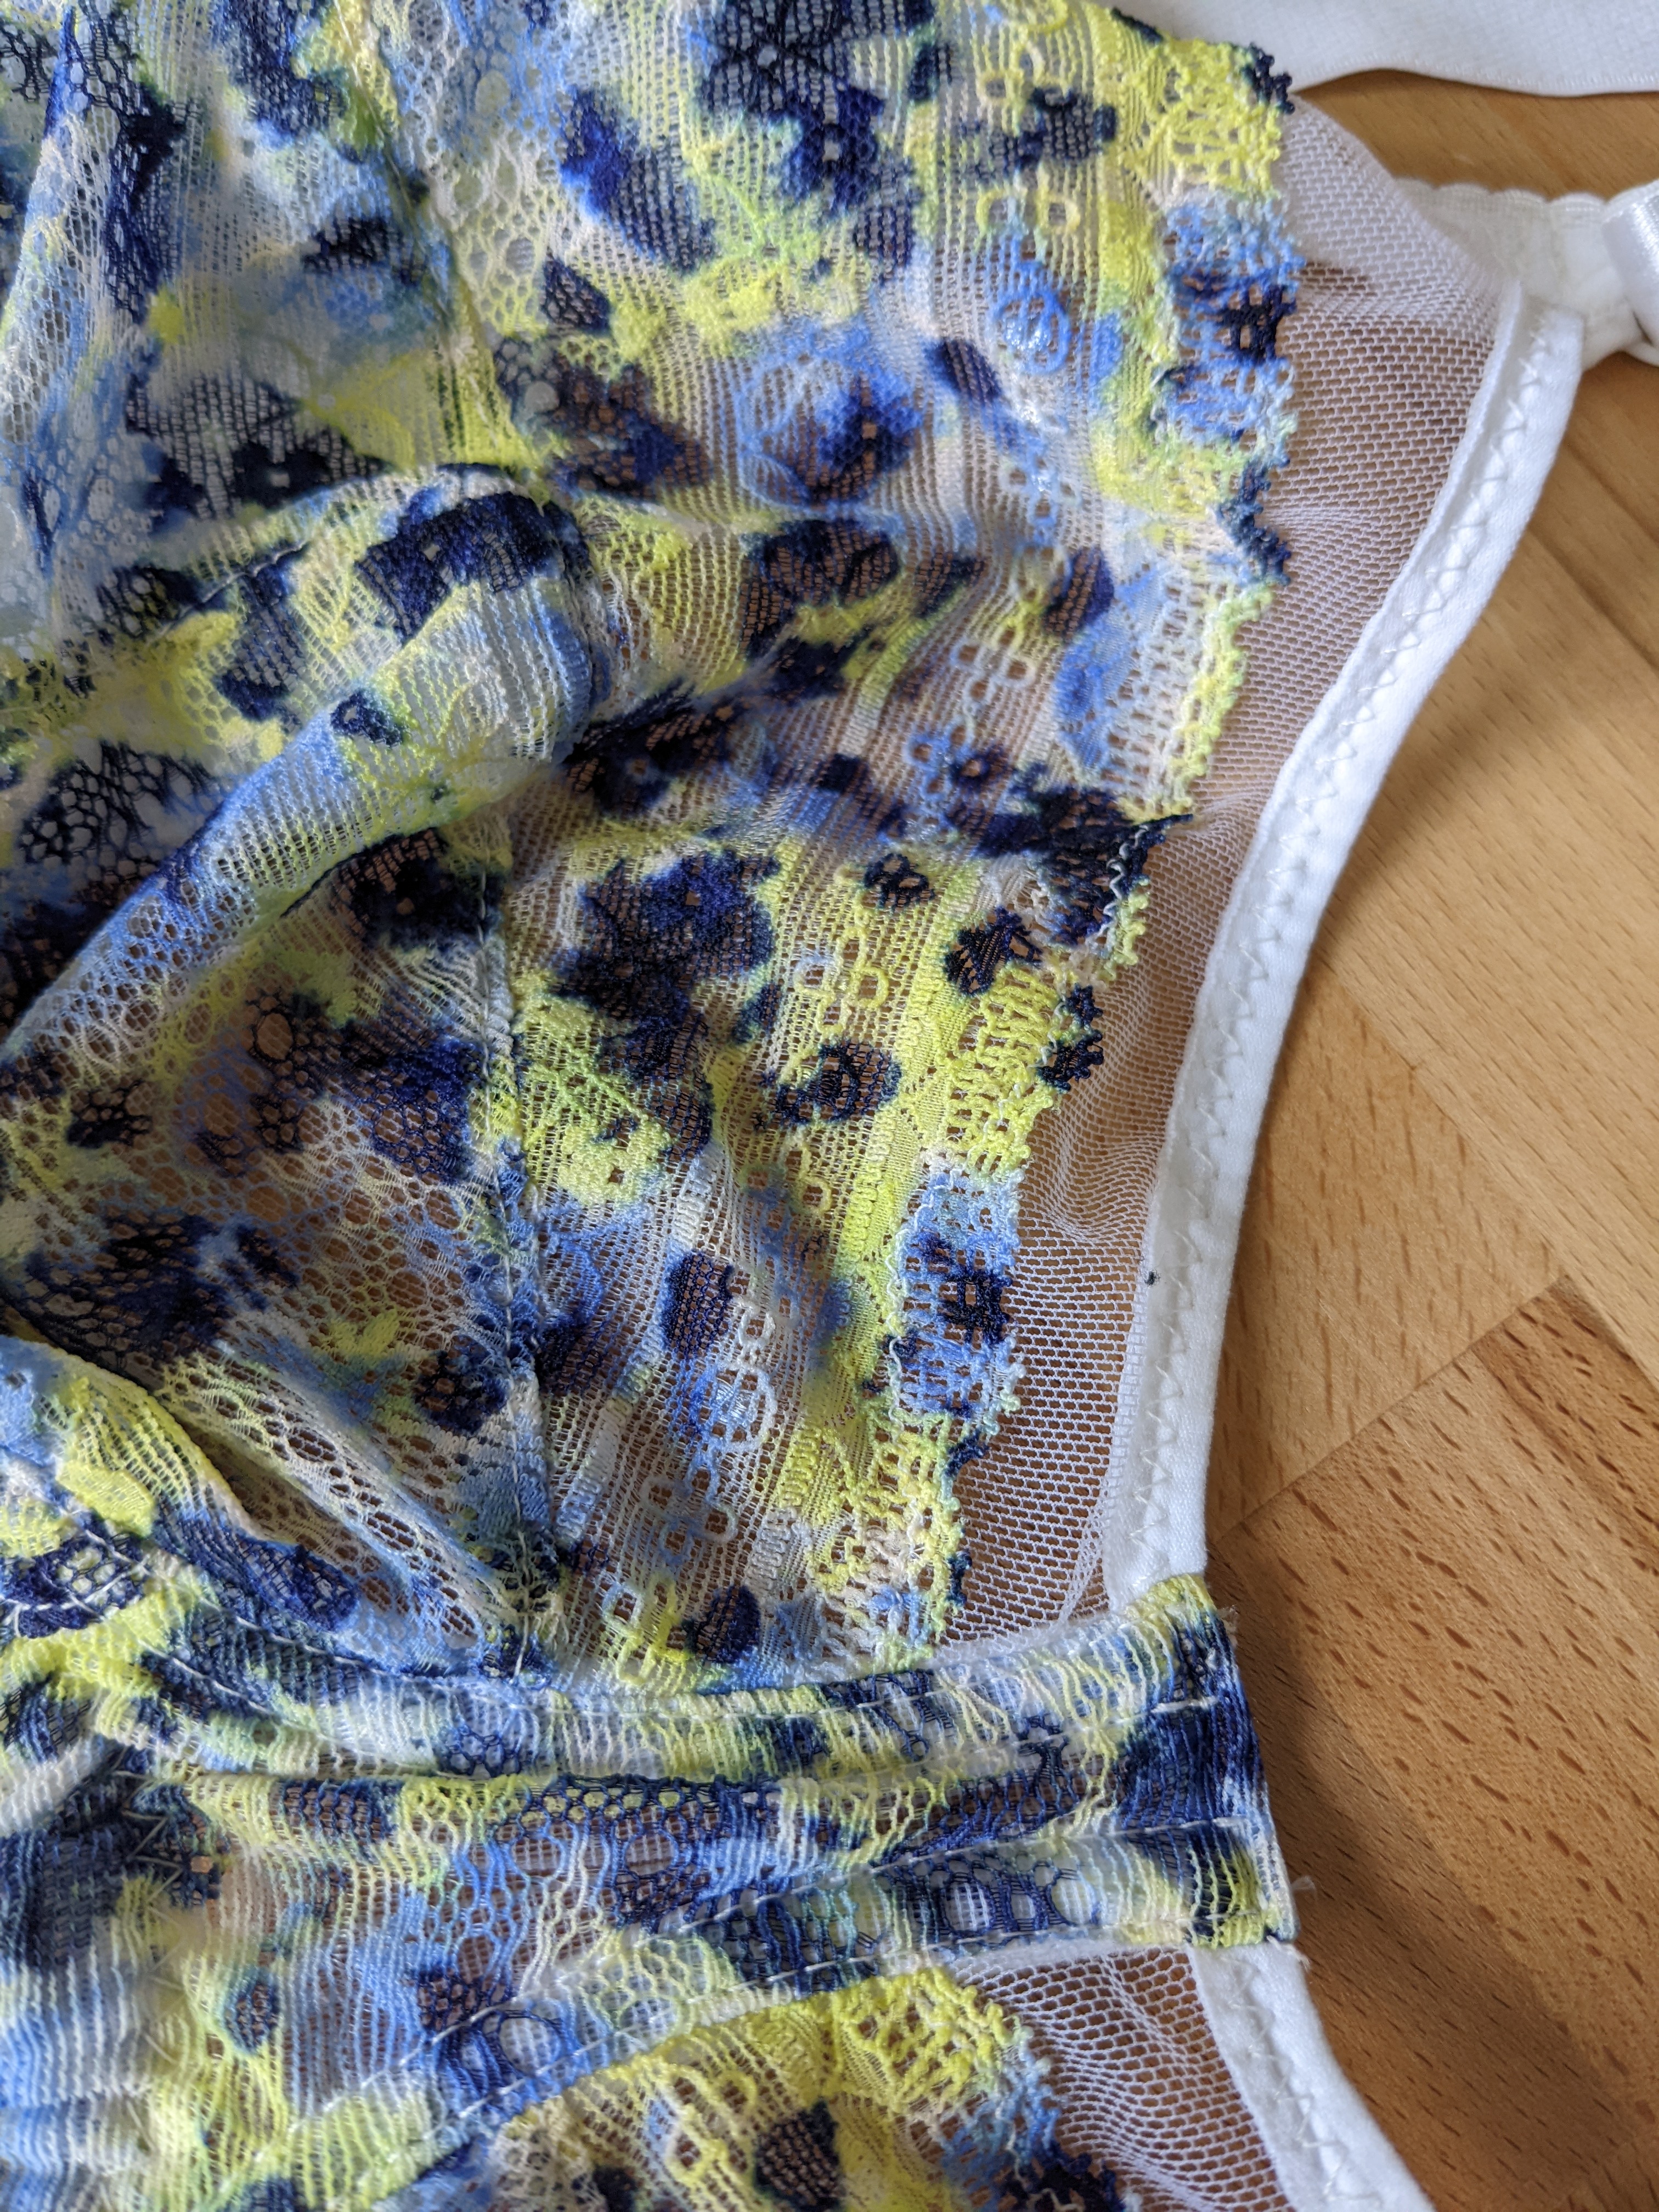
- watercolor lace from BWear for the outside,
- white sheer cup lining for the cradle,
- white powernet (in a double layer because I found it a little thin and soft).
And this time I went with fold-over elastic to finish the cups.
As for the other notions, I used elastics from a BWear kit.
I used underwires from Je fais mes dessous: they are basic underwires 2 in size 115. It’s the first time I used these underwires, and I have to say that they are more flexible than my usual underwires (from BWear or Emerald Erin). I find them too flimsy, and I don’t like them as much when I wear them… But that’s a matter of personal preference.
The fitting
Same as the previous version, nothing to say here.
Verdict
Well, I think I have my final version of this pattern. It’s comfortable, it gives me a nice shape, it fits well and the straps are well placed. For me this is really what bra sewing is all about: tackling problems, one after the other, until you get the perfect result. As far as I’m concerned, I find the pattern in the book very good. It allows you to get simple and basic bras for everyday wear but also more sophisticated variations with lace appliqués. And the cradle is really comfortable! The only small downside I found is that I would have liked to have the seam allowances drawn on the patterns rather than having to go and find them in the instructions to draw them myself. As someone who often has alterations to make, I find it tedious to go looking for them to add them to my pattern pieces… But apart from that, I really like it, and I think these 2 bras won’t be the last…
I hope this article gives you some pointers on bra fitting. I’d love to write more bra sewing tips and pattern modification articles…. I’ll try to make the time! If you’re looking for more references on lingerie sewing and specifically fitting, here are my main sources of references: